
A guide to budget-friendly and distinctive IKEA mudroom designs
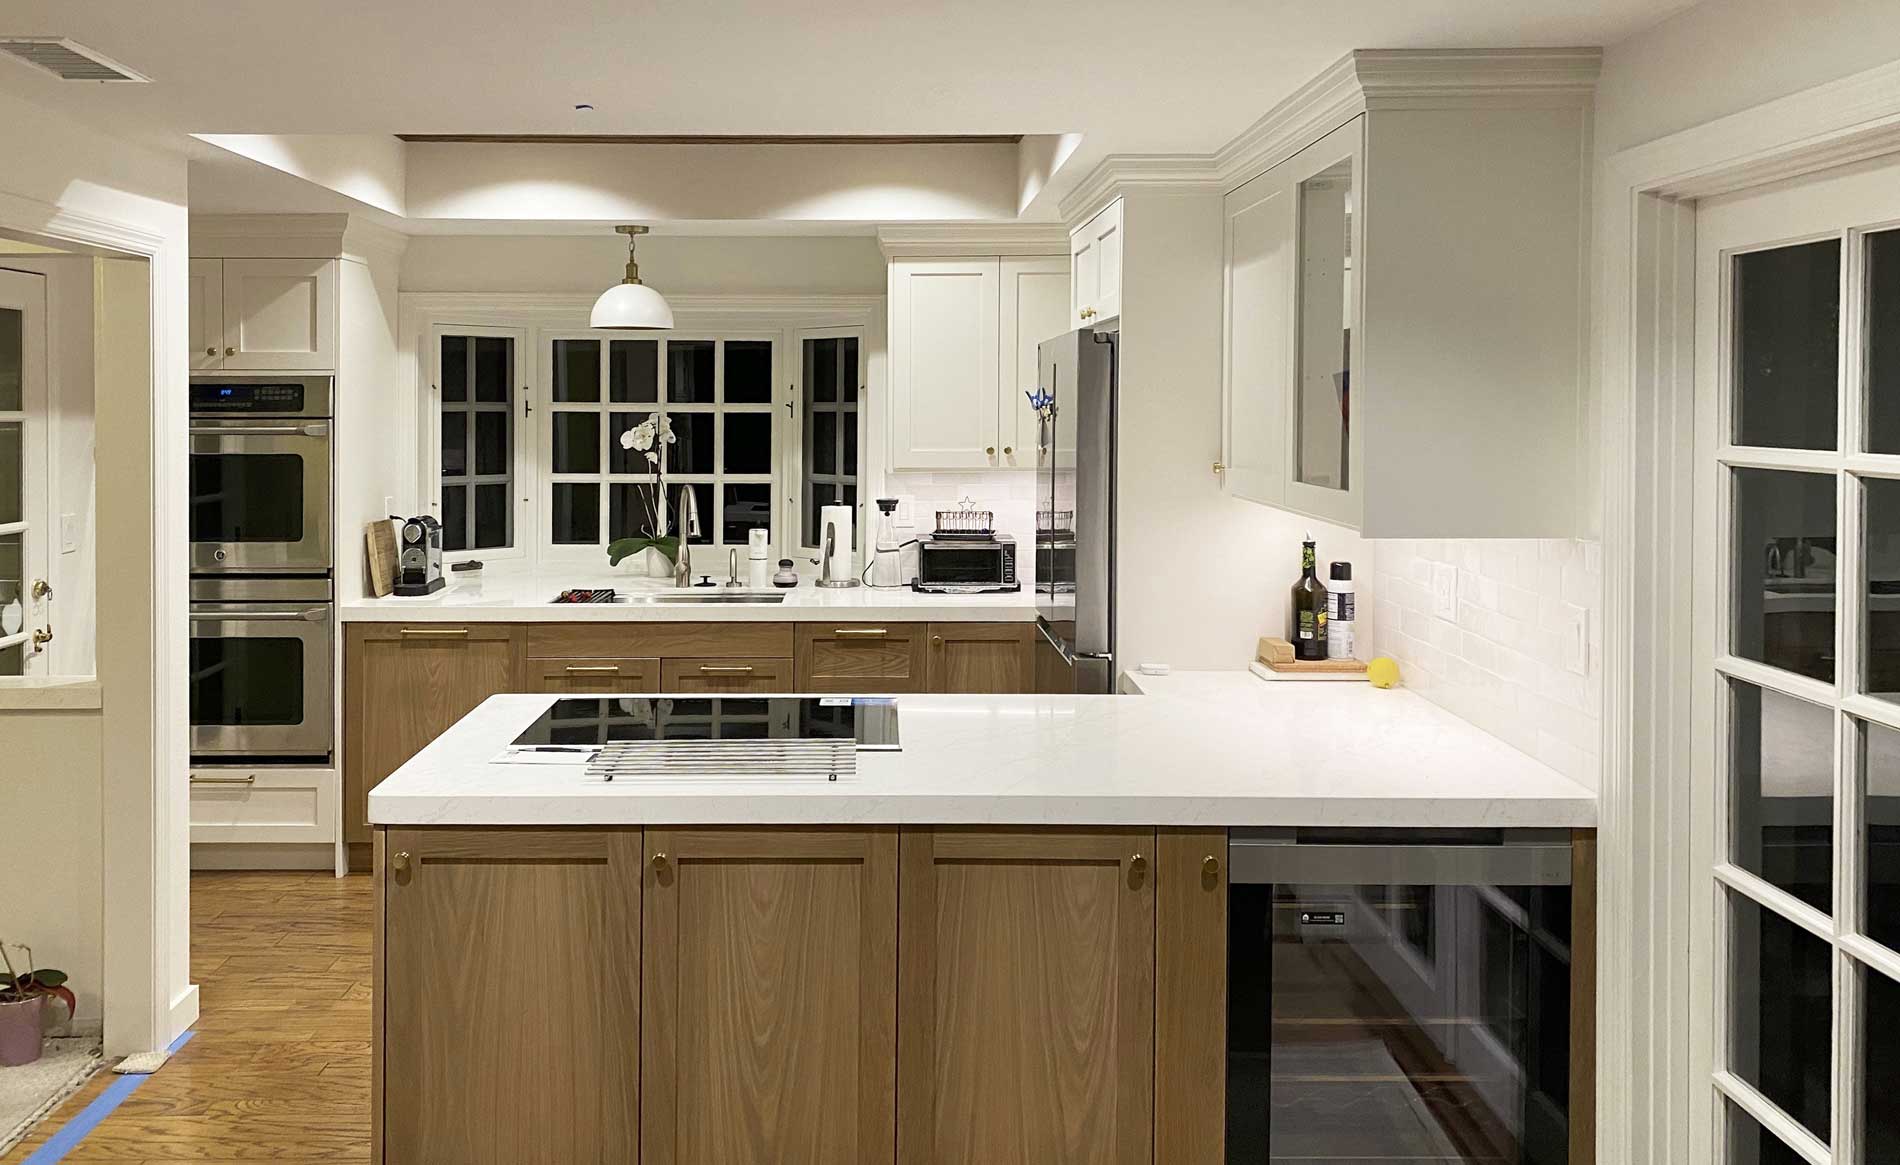
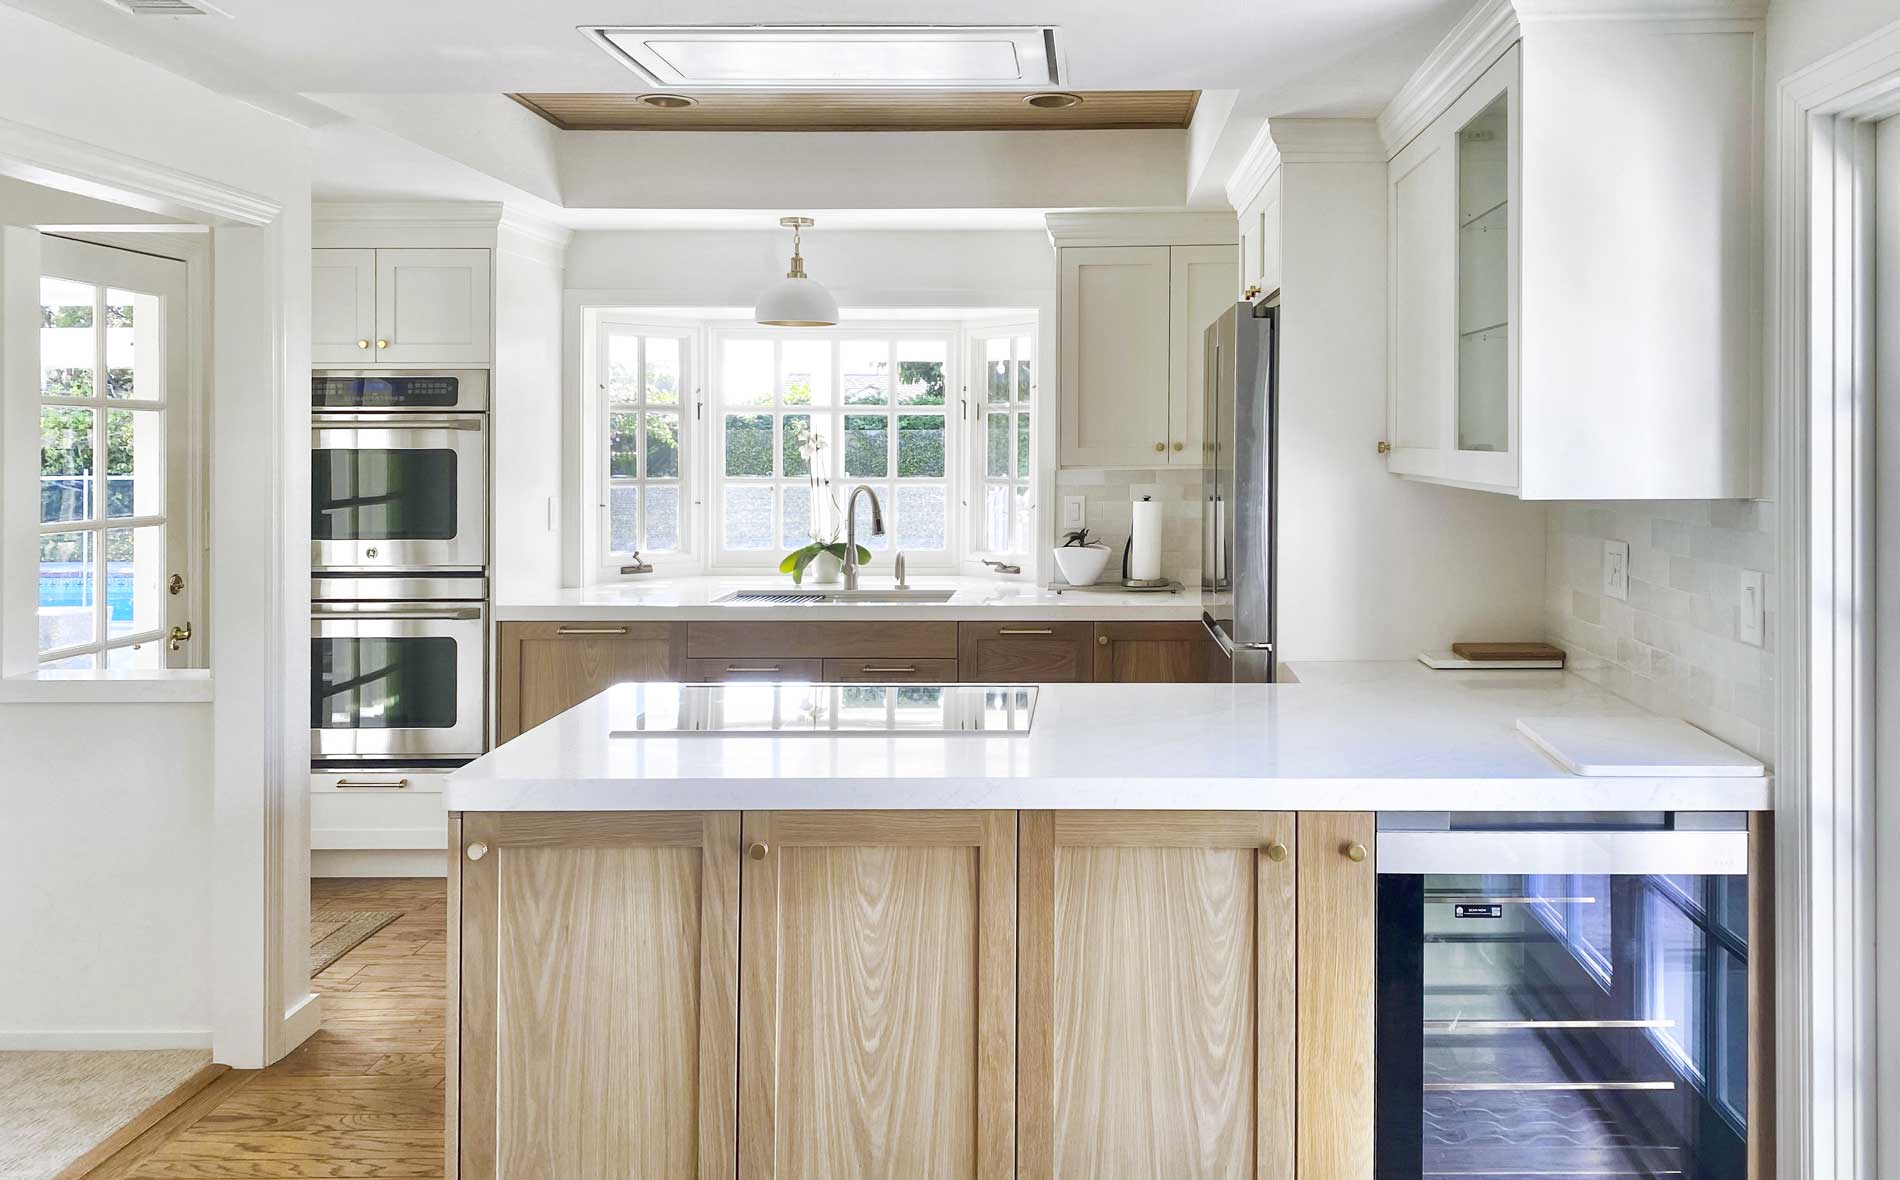
It’s the details that really pull a room together. In the kitchen, the most effective details not only improve the aesthetics of a room, they also provide better functionality. After designing hundreds of IKEA kitchens in all different styles, I’ve come up with a list of nine go-to tips for giving any kitchen that little extra something that can make a big difference in the day-to-day enjoyment of the room.
Lighting and outlets
Get task lighting right
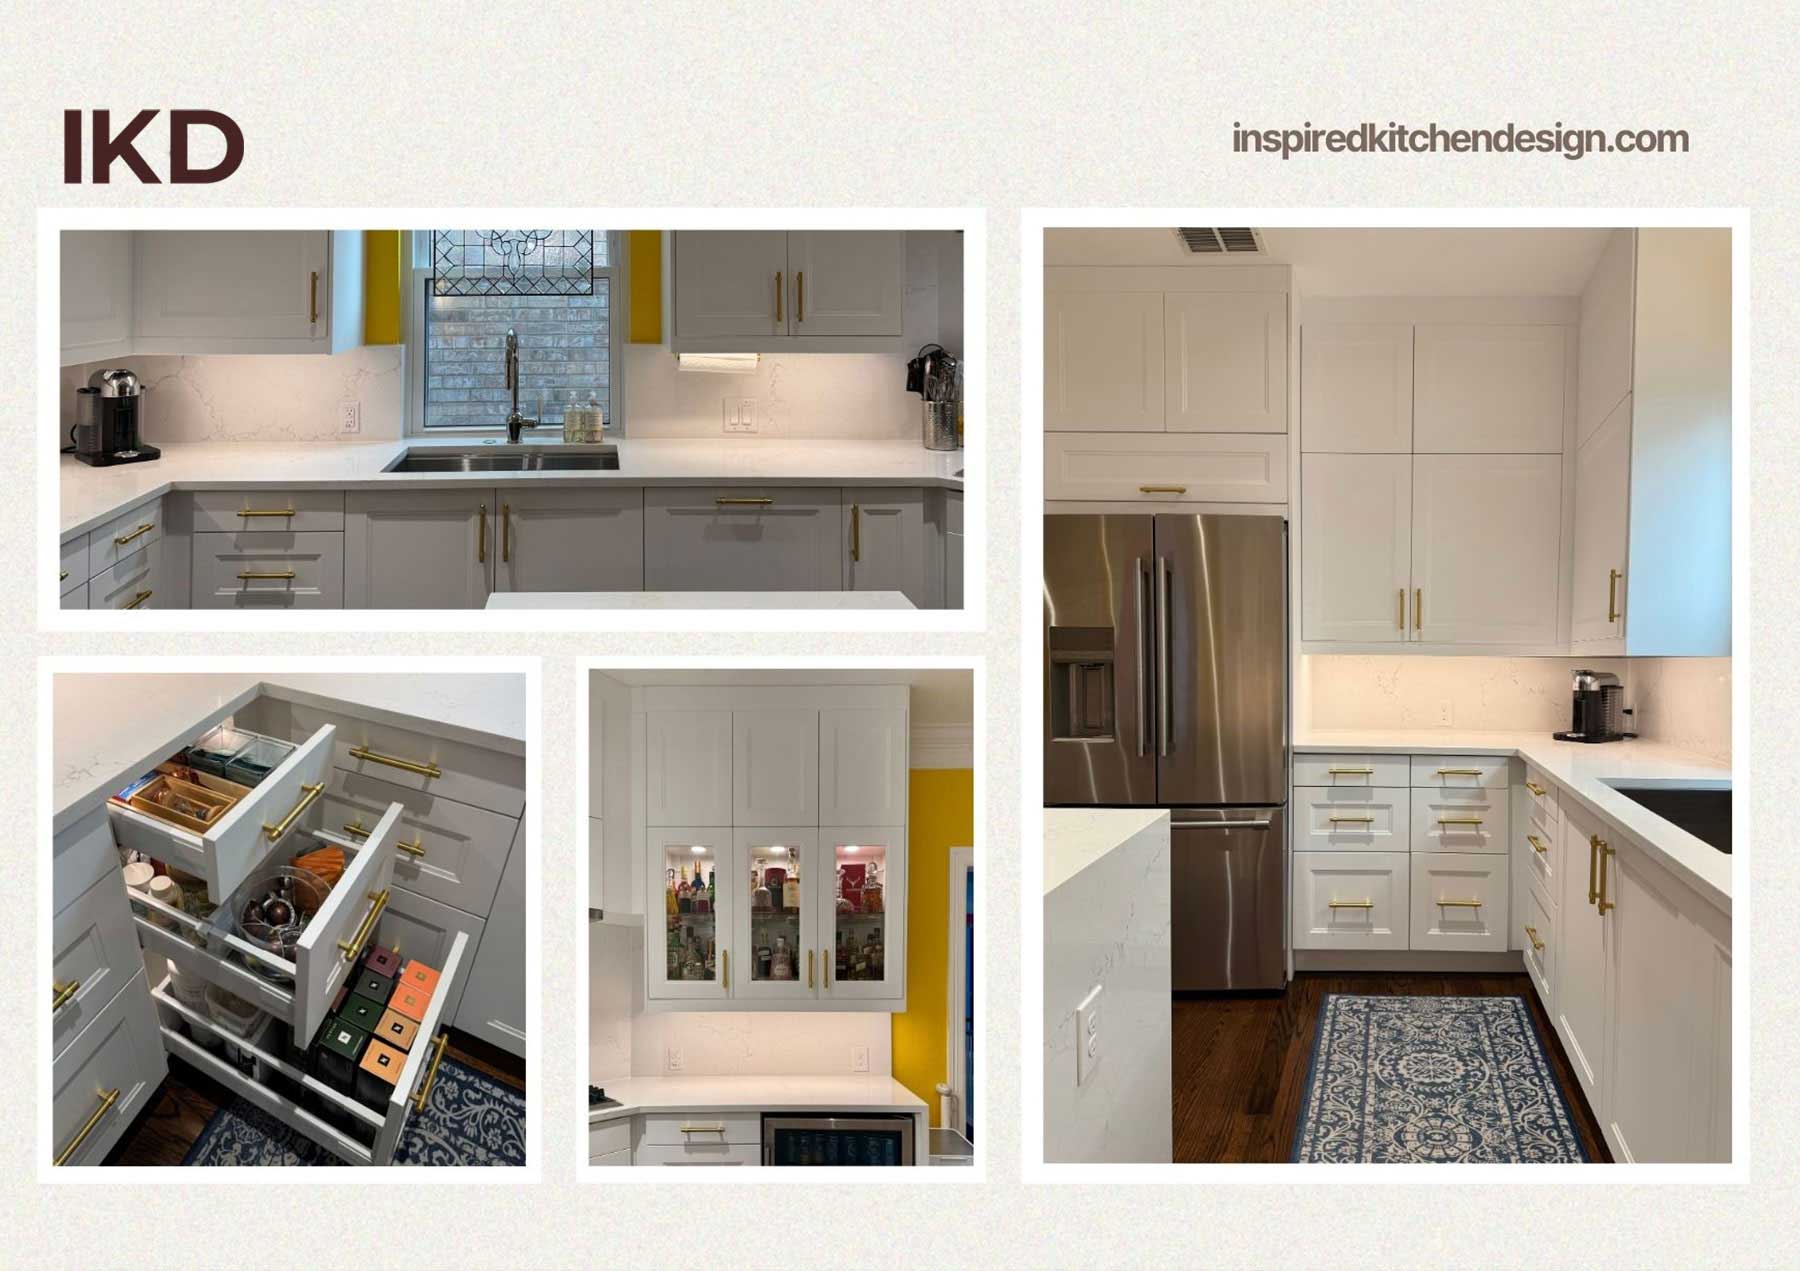
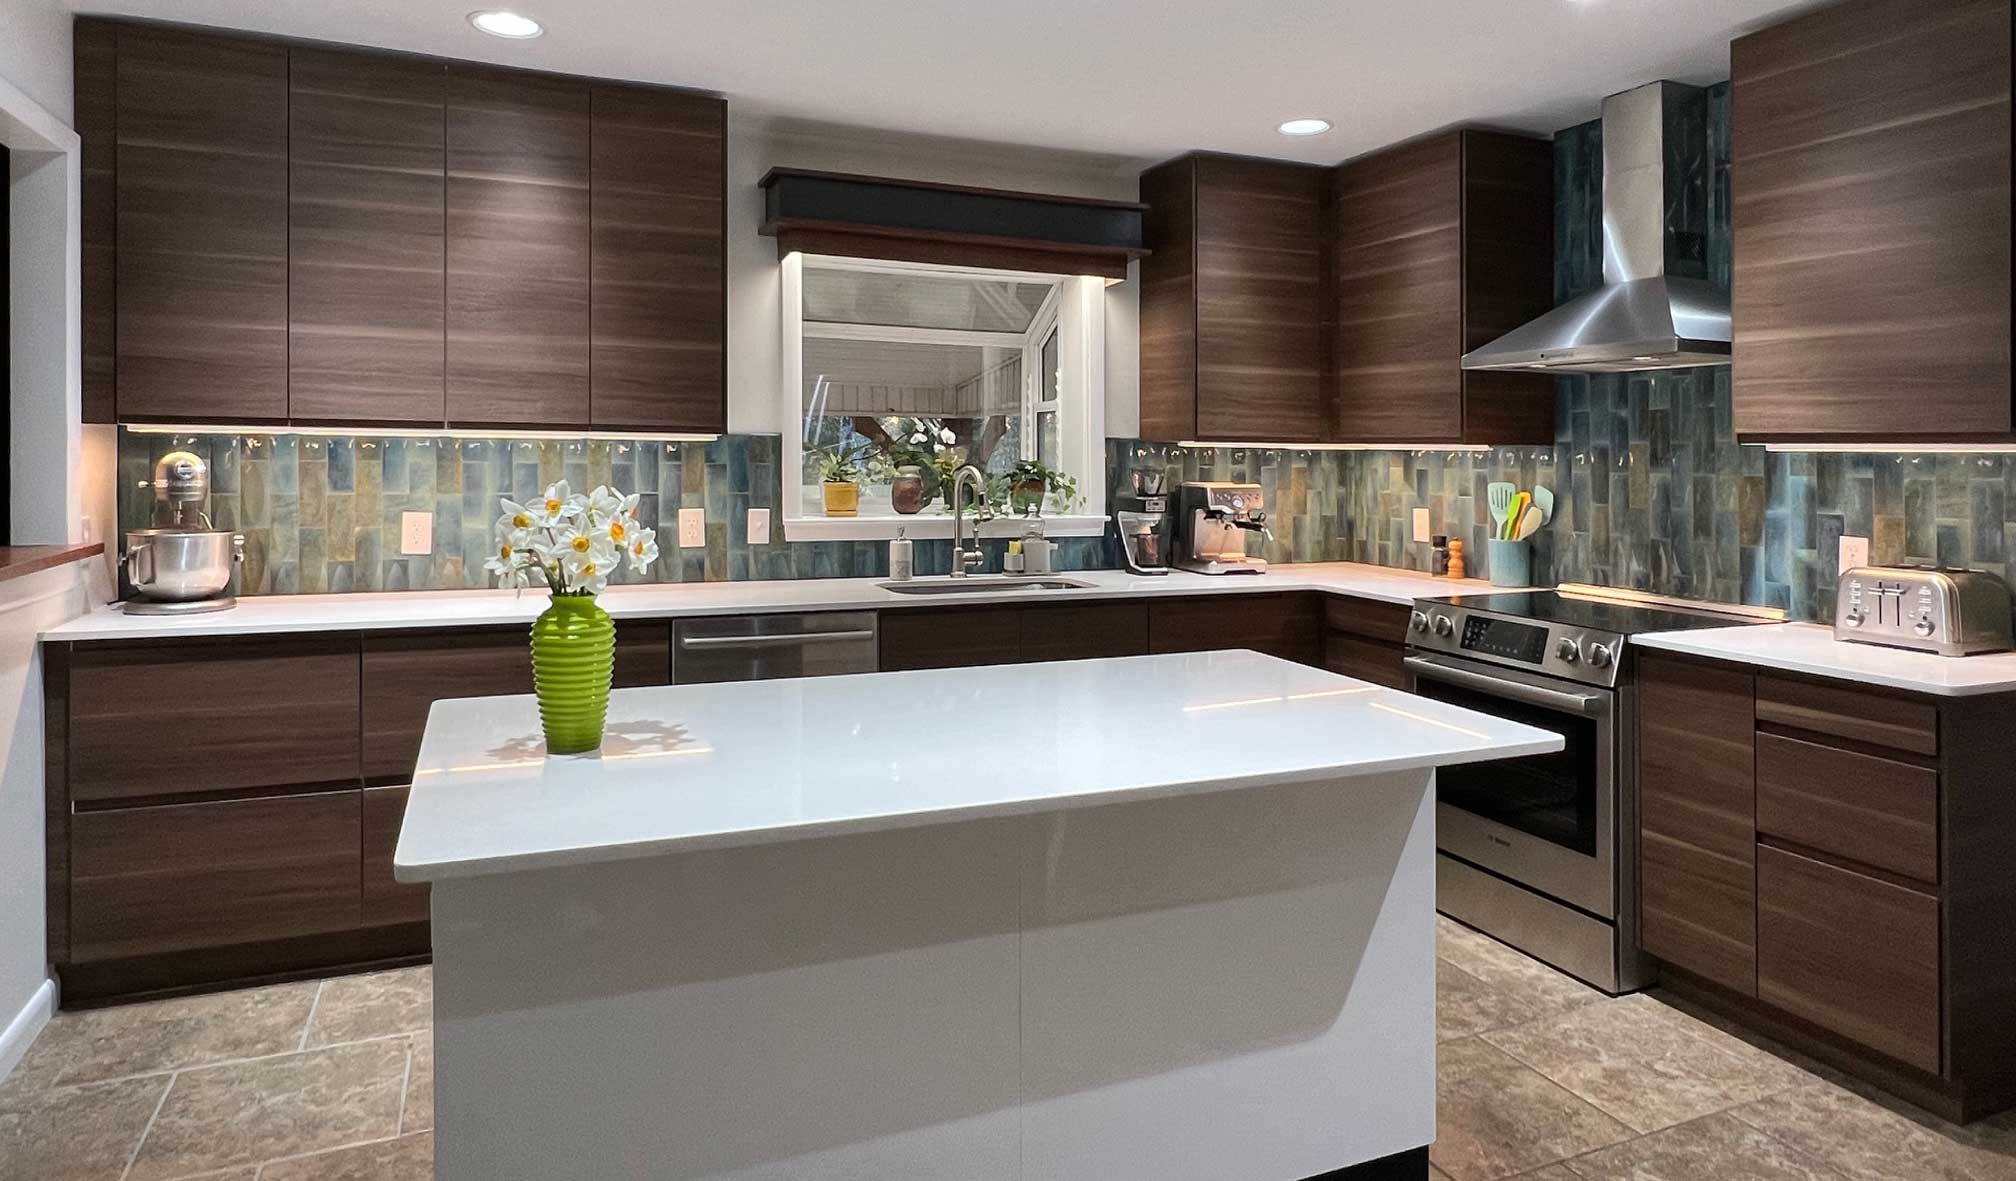
While kitchens can be beautiful spaces, they must also provide work spaces for meal prep and other activities. Task lighting—lighting that is mounted underneath the cabinets—is a great way to provide concentrated light just where you need it.
IKEA offers a range of under cabinet lighting options including OMLOPP, LINDSHULT, and IRSTA. To make the most of task lighting, be sure to place your light source on the forward edge of the cabinet rather than the rear.
If you place the unit too close to the wall, the light will fall mostly on the backsplash rather than on the countertop where you need it.
Why Design
with IKD?
Why Design with IKD?
Color coordinate your outlets
Because building codes often require quite a few electrical outlets in a kitchen (often one every four feet), you’re bound to have a lot of outlets in this room. Instead of defaulting to a basic white, black, or beige outlet, choose something that either blends with or contrasts to the color of your backsplash tile or wall.
Many lighting and big-box stores carry a wide variety of outlet styles and colors, including Amazon.
Mix up your outlet styles
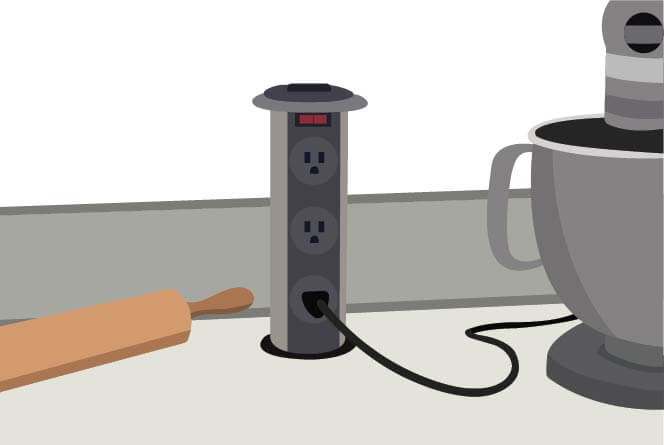
Another way to bring in some variety and sophistication to your IKEA kitchen design is to use different kinds of outlets. In addition to the standard wall outlet, did you know that you can also use under-cabinet plug molding strips, modular track outlets, or pop-up outlets?
Just installing an outlet sideways can help you refine the look of your IKEA kitchen by allowing for a lower profile along the wall.
For instance, a sideways outlet on the wall behind a small appliance like a toaster will be completely hidden from view. By getting a little creative with types, colors, and placement options, you can make your outlets work more beautifully in your design—and even add some useful functionality.

Storage and functional spaces
Maximize your island prep space
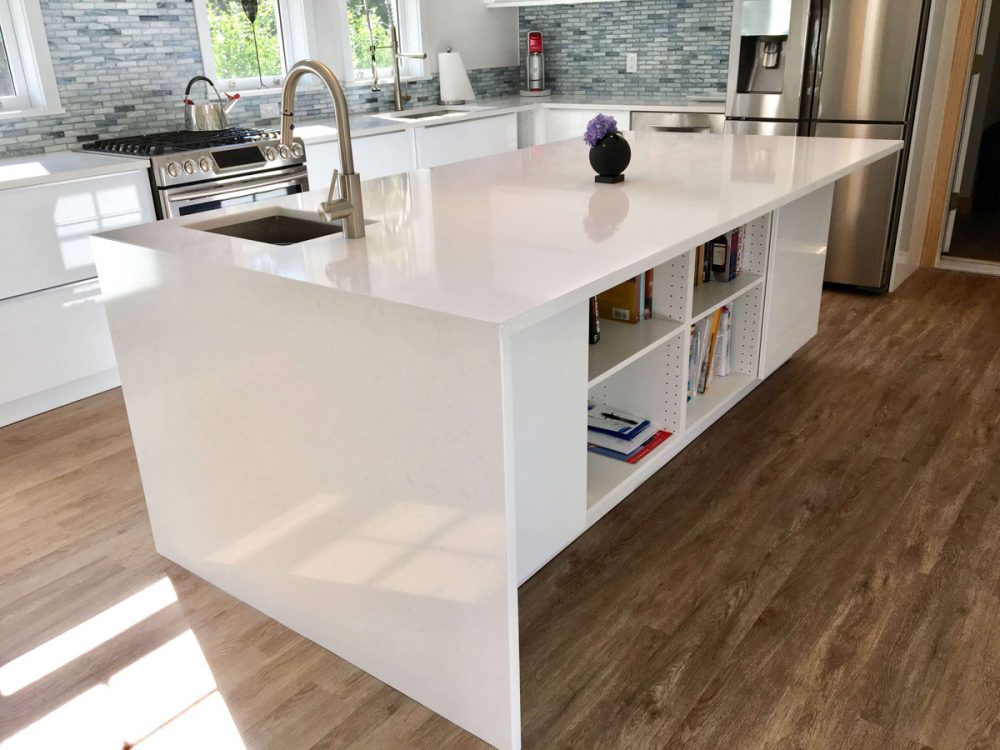
The kitchen island is a central focus of most of of my IKEA kitchen designs. It’s where everyone in the family gets things done, from food prep and serving to homework to general socializing when you have company over.
One mistake many people make is to assume that the prep sink should be placed in the center of the island. While this placement seems logical, it actually limits the available workspace on either side of the sink. Instead, consider placing the sink on one end of the island. This frees up the other two-thirds of the surface to be working space.
Consider speciality storage options
One of the biggest challenges in any kitchen is finding a place for everything. Between appliances and cookware and all the other paraphernalia that belongs in the kitchen, even the most organized of us can be hard pressed to find adequate storage for every item.
Luckily, IKEA kitchens offer a variety of specialized storage options. Take, for example, lid storage. No one wants to have to dig through a random pile of lids to find the one they need. Instead, you can use a simple organizing accessory such as IKEA’s VARIERA lid organizer.
Another common cause of kitchen clutter is charging various devices—phones, speakers, tablets, etc.. You can eliminate the unsightly tangles of cords on your kitchen counter by using a compact charging station or by creating a hidden charging station by installing an electrical outlet inside a drawer.
Conceal appliances
Appliances are a necessary element of any IKEA kitchen, but that doesn’t mean they have to be the focal point. For larger appliances, such as refrigerators and dishwashers, adding coordinating paneling can create a clean, continuous look. For smaller appliances, you can create an IKEA kitchen “appliance garage” that will not only keep things like your microwave and toaster out of sight, but also free up valuable counter space.
Spacing and placement
Give the hood some space
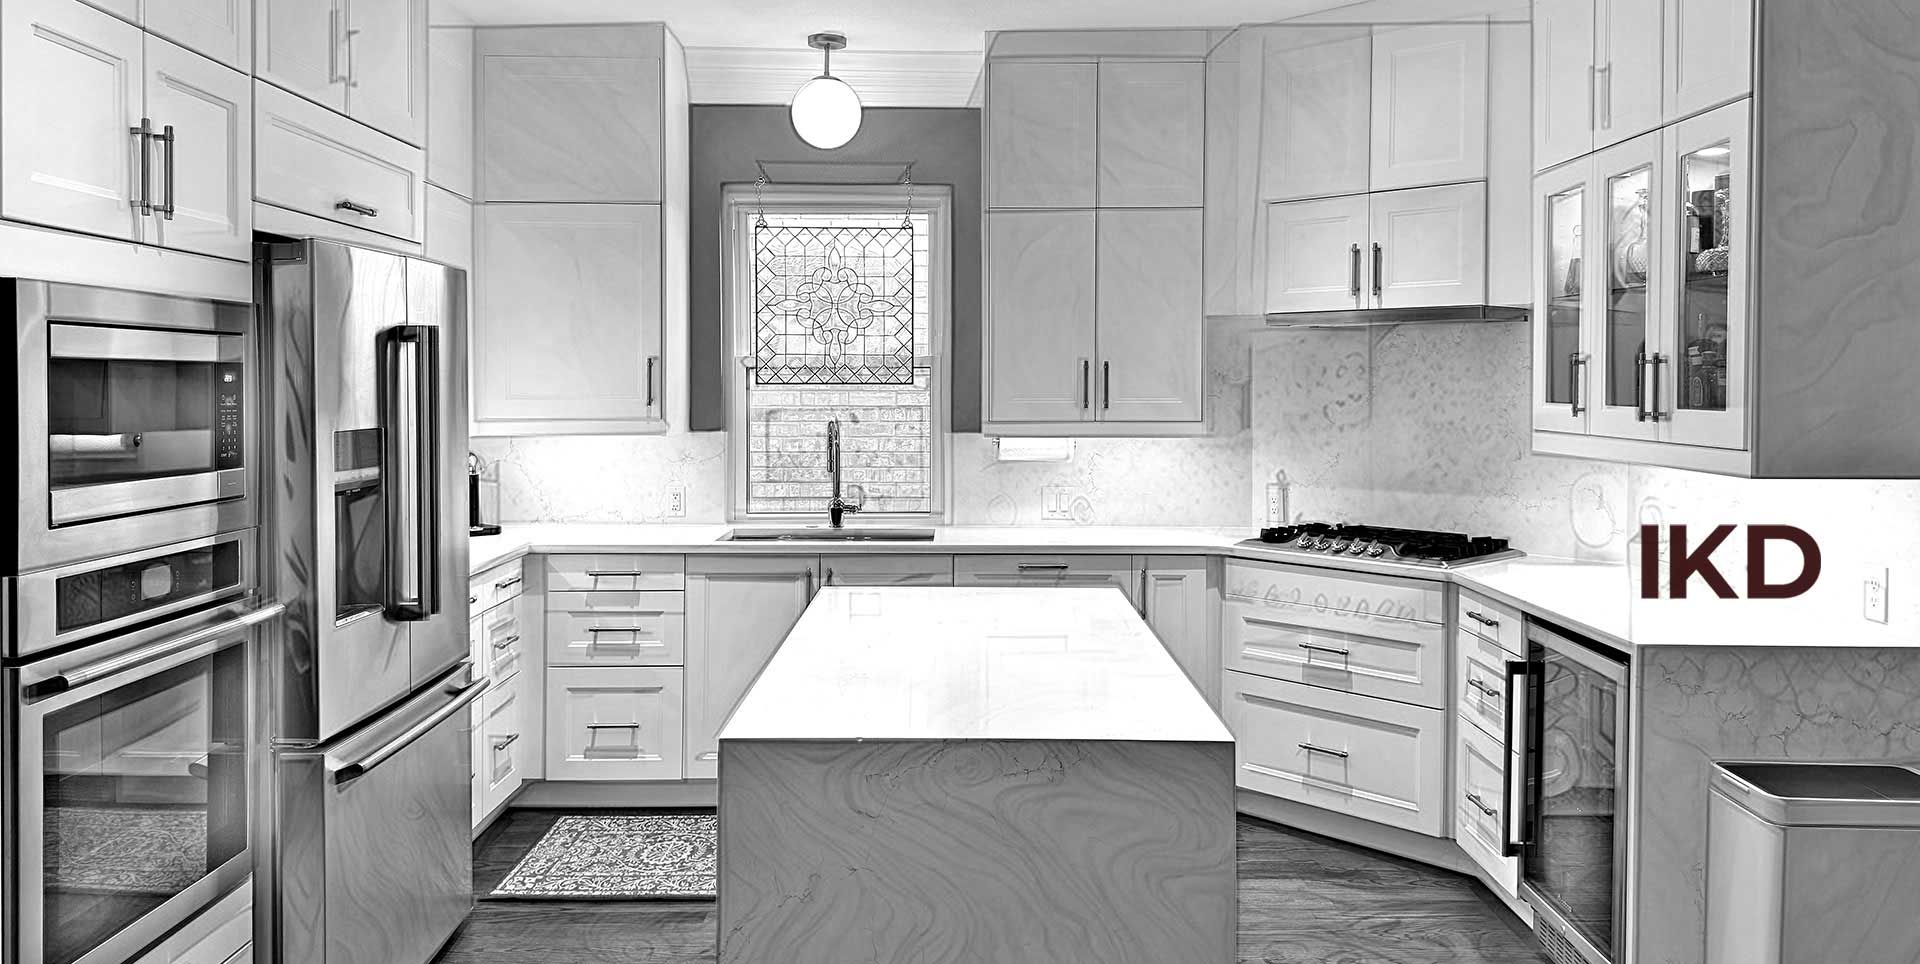
If your IKEA kitchen design includes a chimney hood over the stovetop, make sure you leave at least two to three inches of open space between the hood and the wall cabinets on either side. This placement detail serves two purposes.
- First, it ensures that the hood doesn’t look cramped or crowded.
- Second, the additional space will help the exposed sides of the cabinets stay cleaner for a longer period of time.
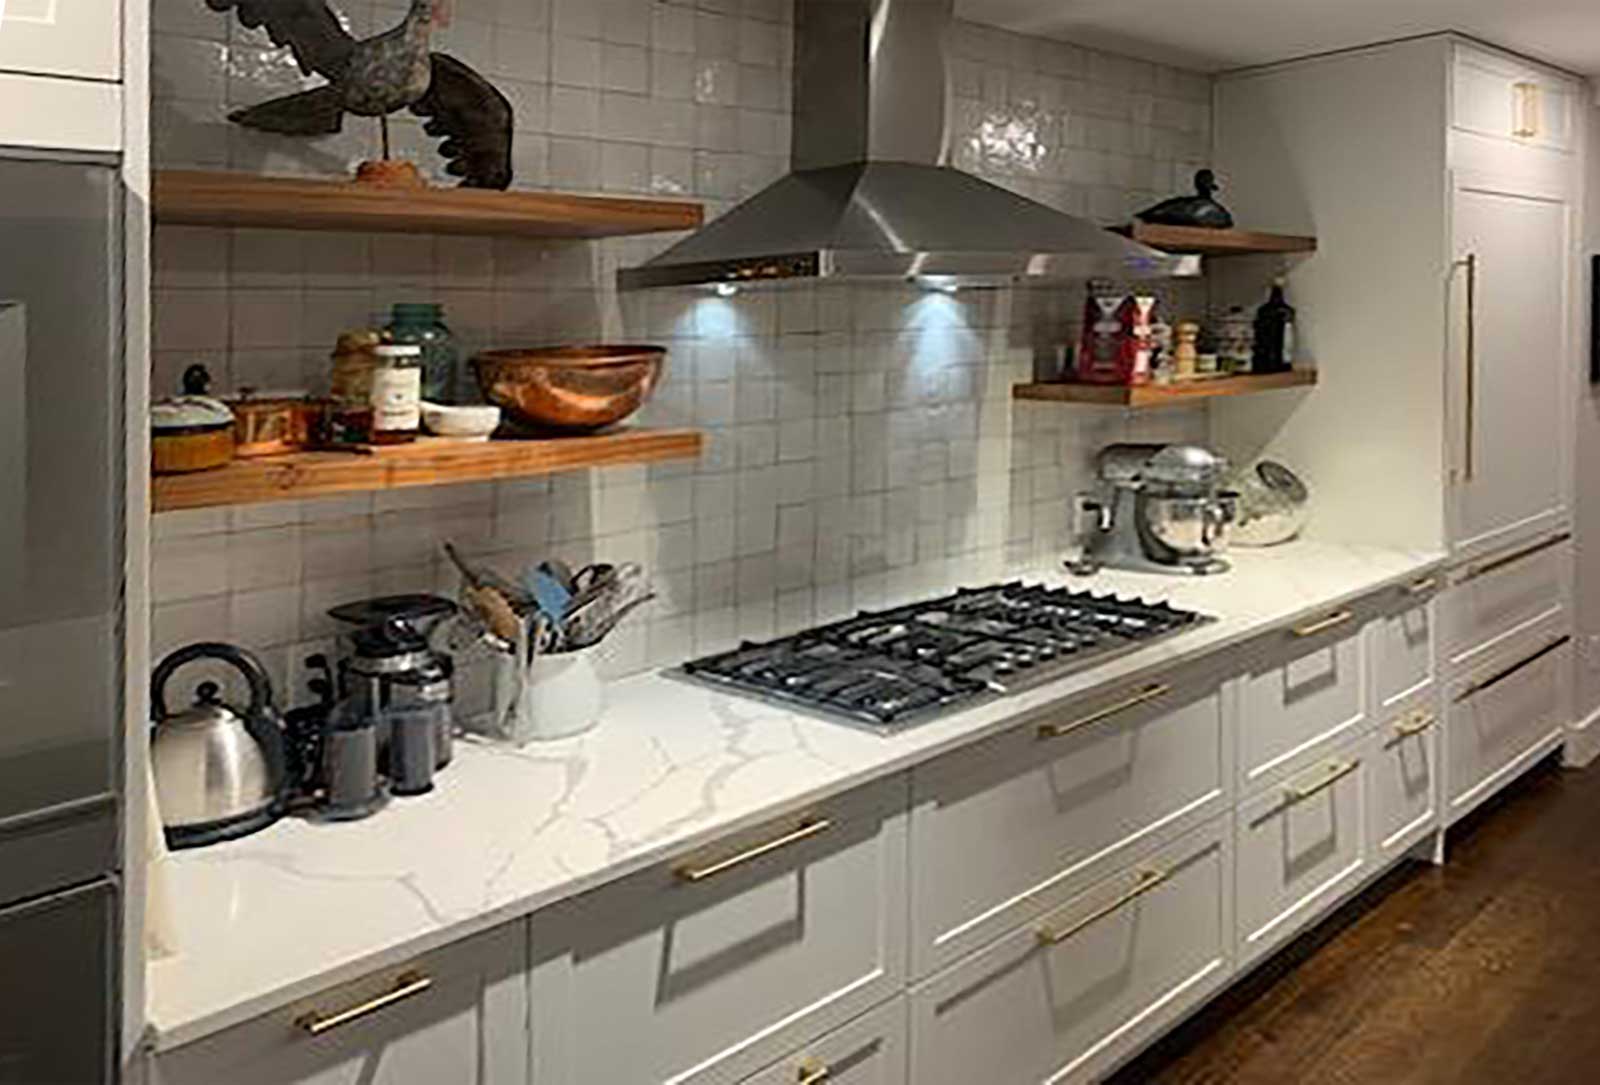
Keep floating shelves and glass-front cabinets away from cooking spaces
Floating shelves are a big trend in IKEA kitchens right now, which is unsurprising based on all the design options they offer.
One key tip I always use with my clients, however, is to place floating shelves a good distance away from anything that throws off steam or grease. If you put this kind of open shelving too close to the stovetop, for instance, the shelving and objects on the shelf can quickly build up an unpleasant film that’s difficult to clean.
The same rule applies to glass-front cabinetry, which also gets dirty more quickly and easily than traditional cabinets.
Step back and consider the functional zones in your IKEA kitchen
Even as you’re working out all these special little touches, remember to also think about the bigger picture.
Every IKEA kitchen has its own flow, and you create that flow by planning out how each area will be used and making sure that you have positioned everything (appliances, storage, etc.) to best serve the needs of each “zone.”
For instance, if your design includes both a prep sink and a cleanup sink, you definitely want those in separate spaces. Most likely, the prep sink will go in the island while the cleanup sink might be placed in an out-of-the-way spot.
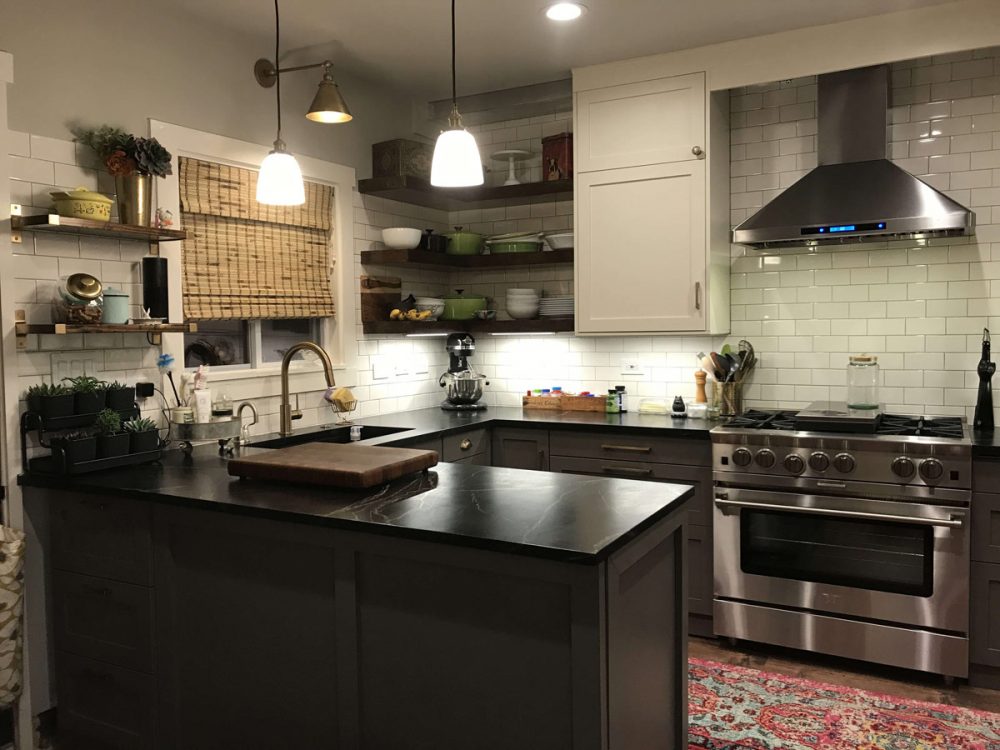
Each detail of your IKEA kitchen design matters. After all, for most people, it’s the most-used room in the house. It’s where you grab your coffee in the morning, prepare your dinner in the evening, and—usually—where all your friends and family congregate when you get together.
AS professional IKEA kitchen designers, we’ve had the pleasure of creating aesthetically beautiful and highly functional designs for hundreds of client homes. No two are ever alike, but each one is perfectly suited to the needs of the people who use it.
Get a Professional IKEA Kitchen Design – All Online
Work with our certified kitchen designers to get a personalized kitchen designed around your needs and vision. If you’re interested in learning more about our service, make sure to check out our IKEA Kitchen Design Services.


