
Part 2 in a series about the checklist items for a successful IKEA design
We have been taking a look at some points you need to review right after your design has been completed and before you start building. This is the second part of this series. You can always take a look at the first part right here.
We’ll continue this checklist with other three important features of your kitchen that need to be checked. You’ll have to ask yourself the following:
5. Have you planned sufficient under-cabinet lighting?
Why Design
with IKD?
Why Design with IKD?
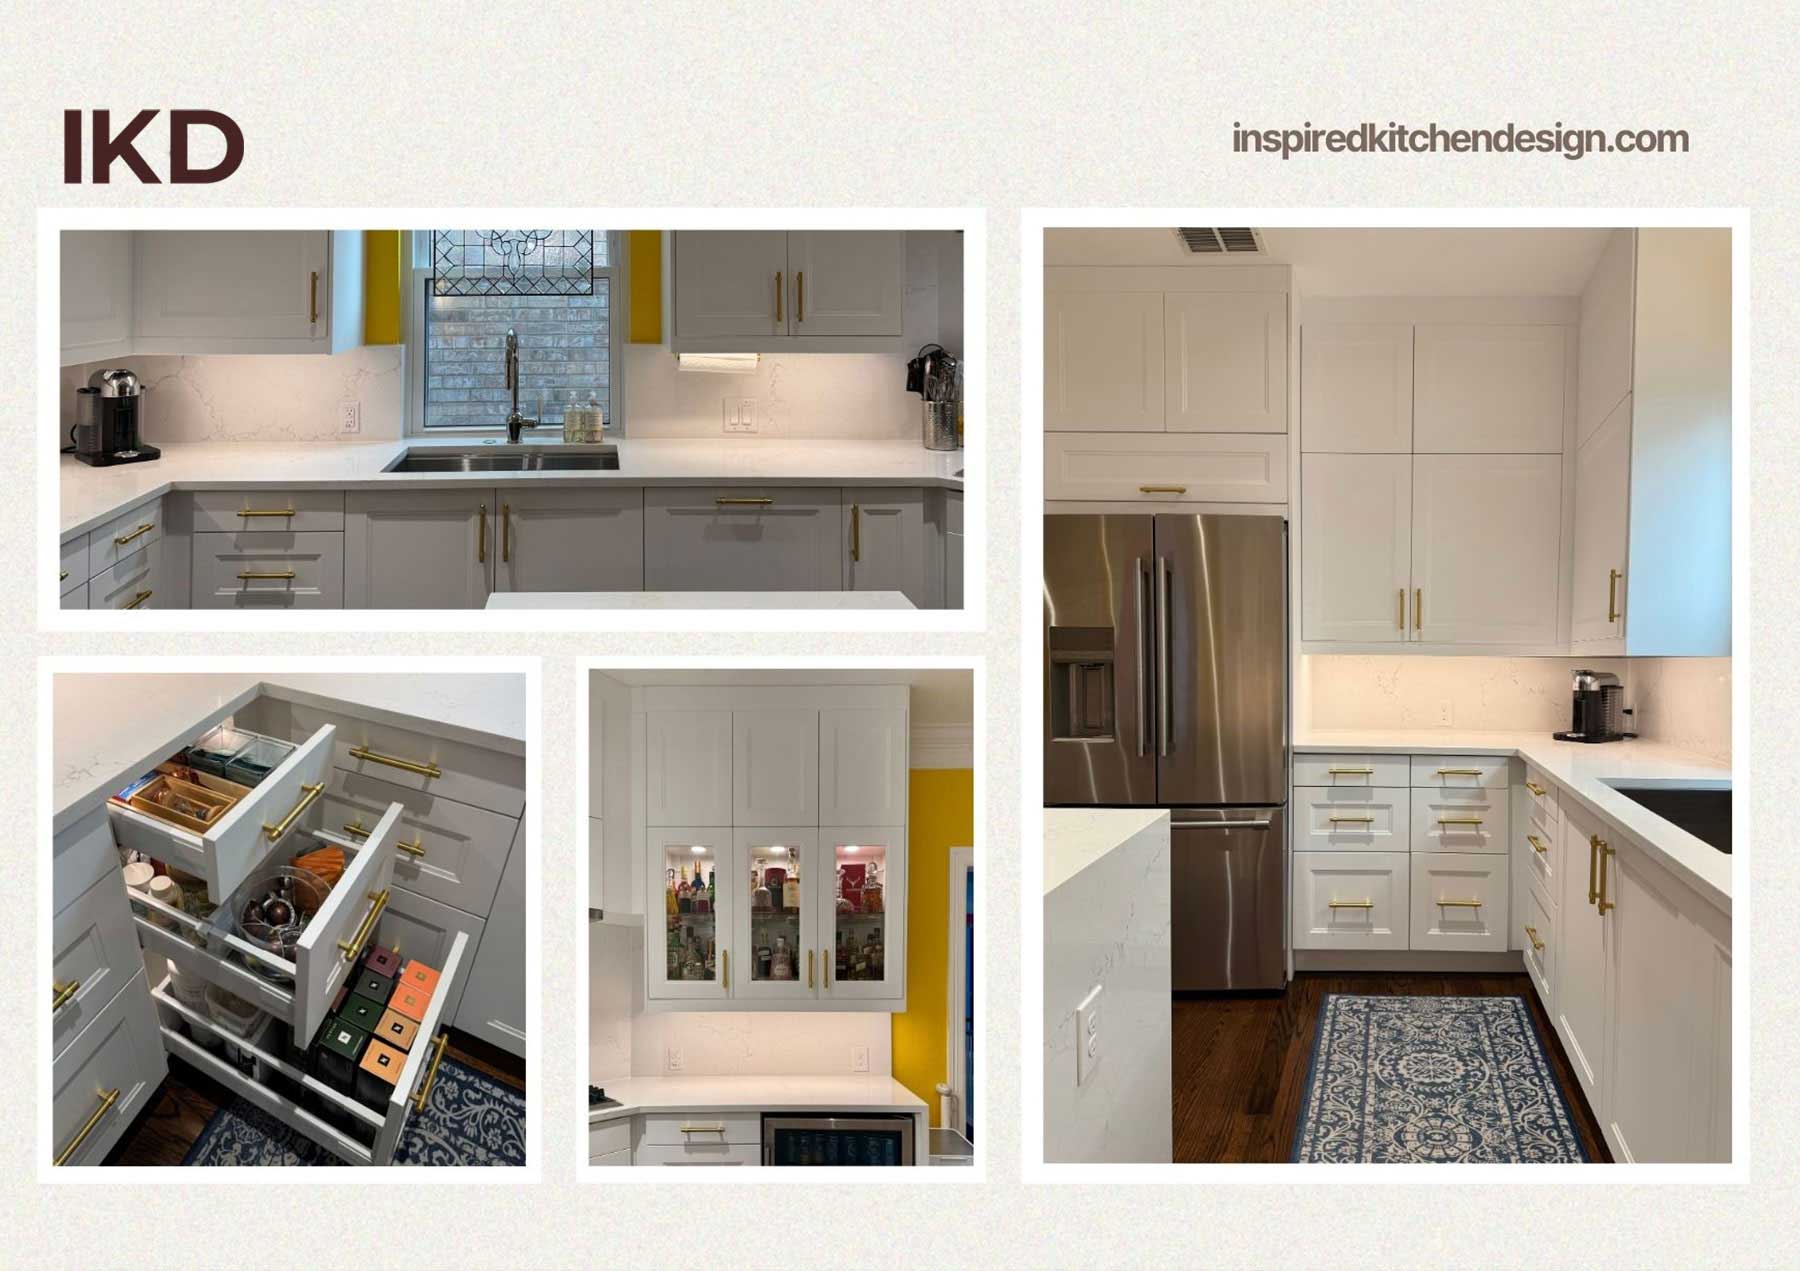
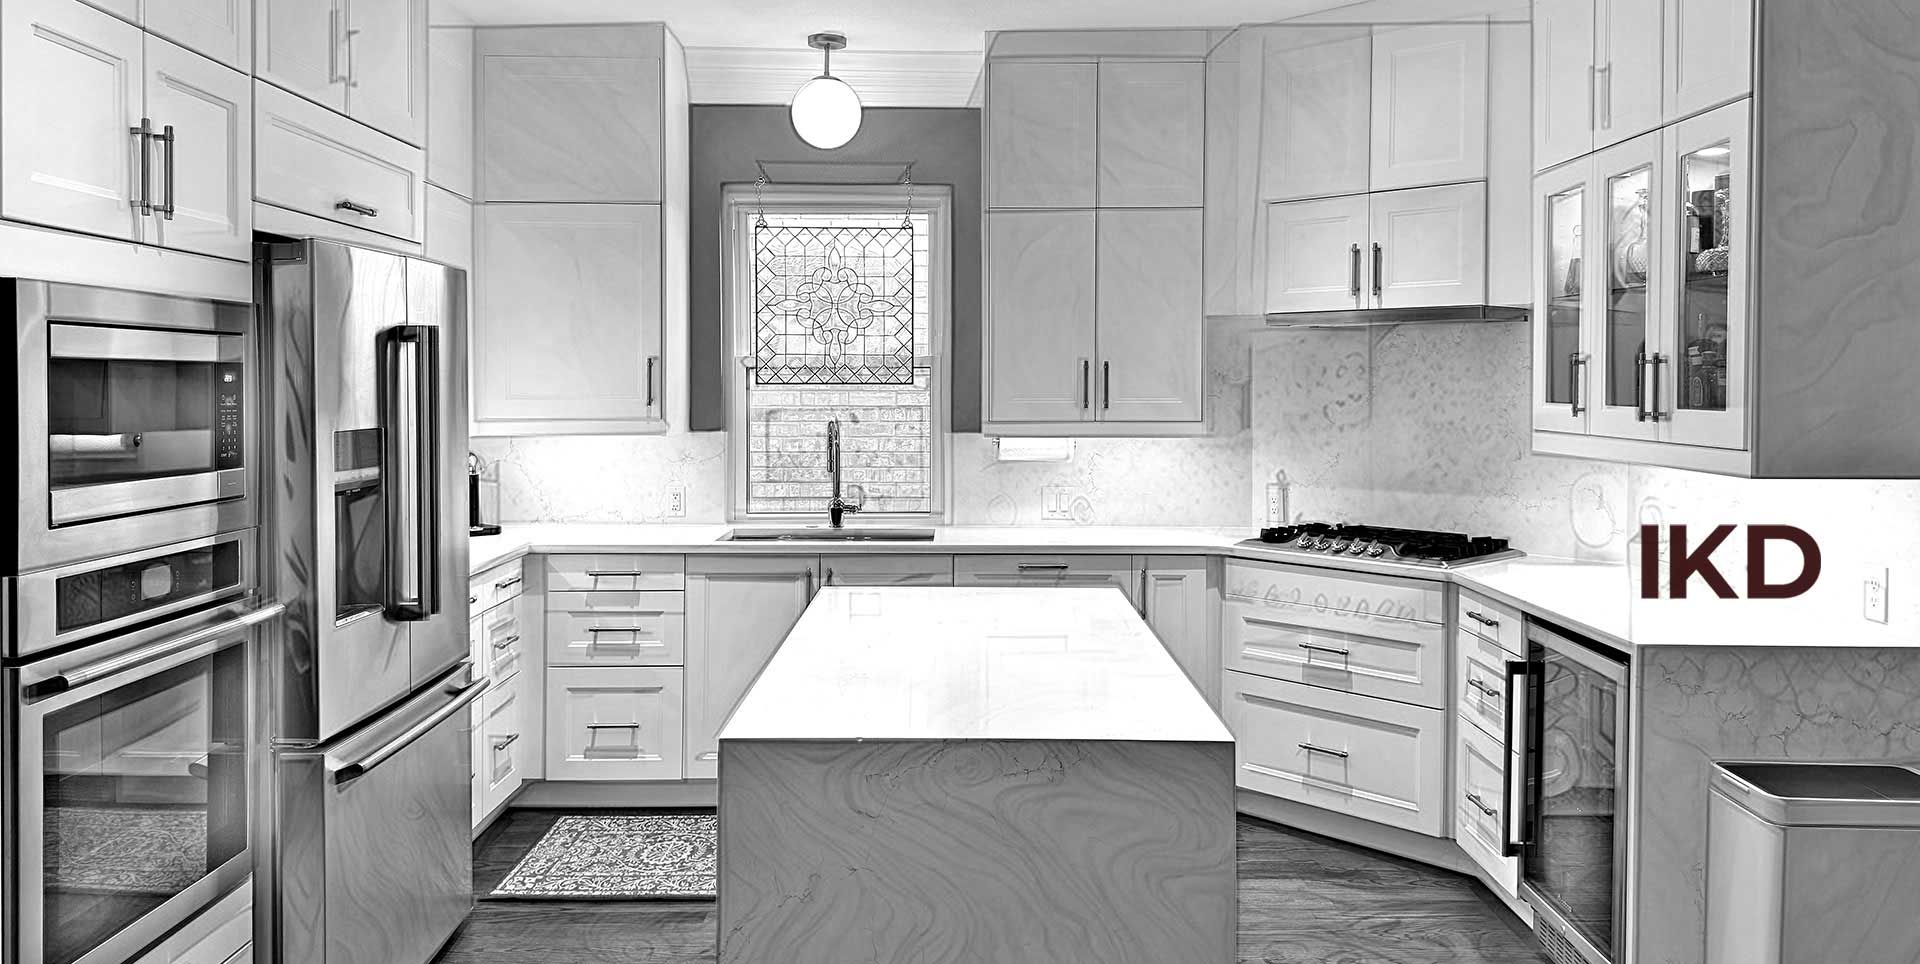
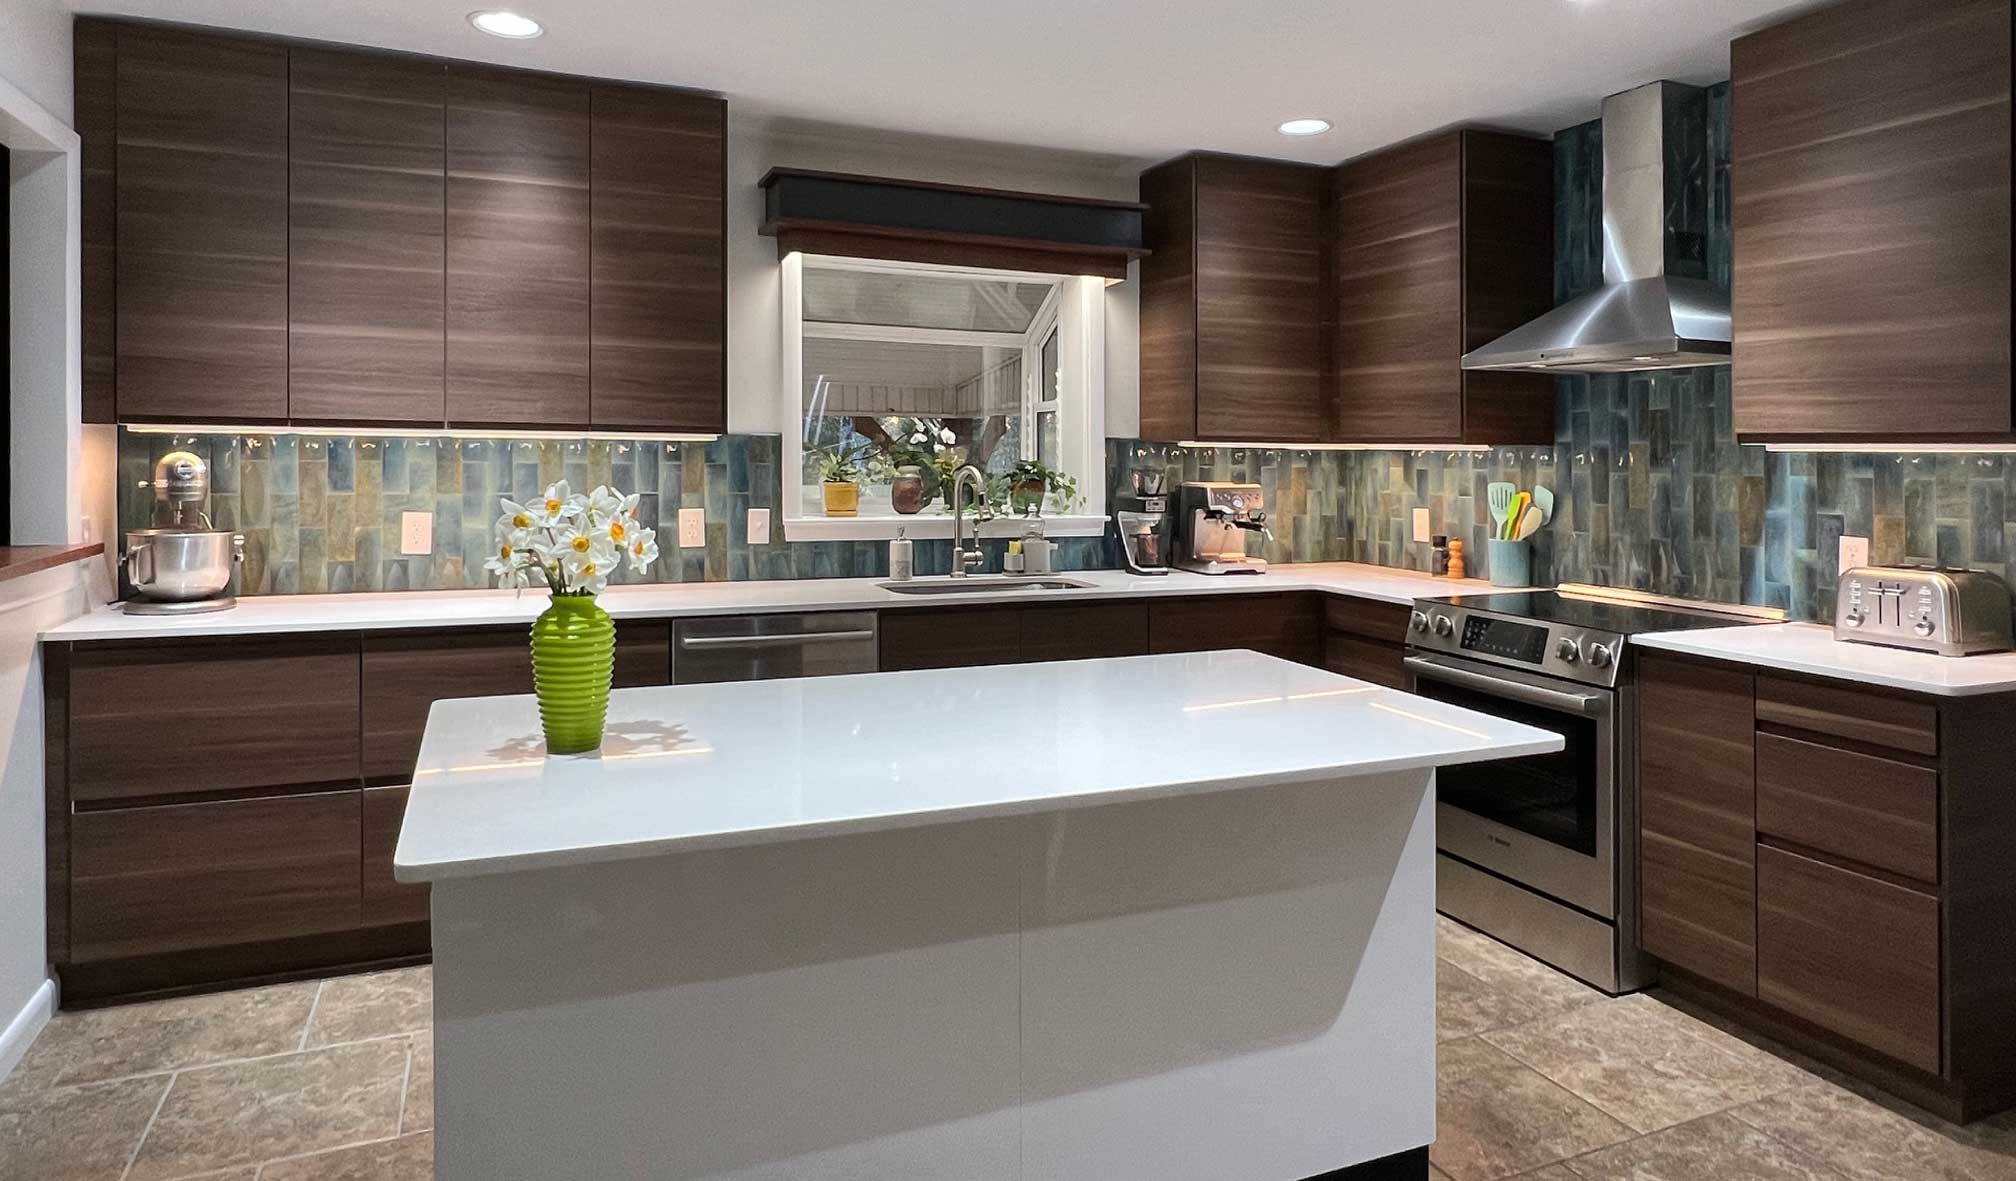
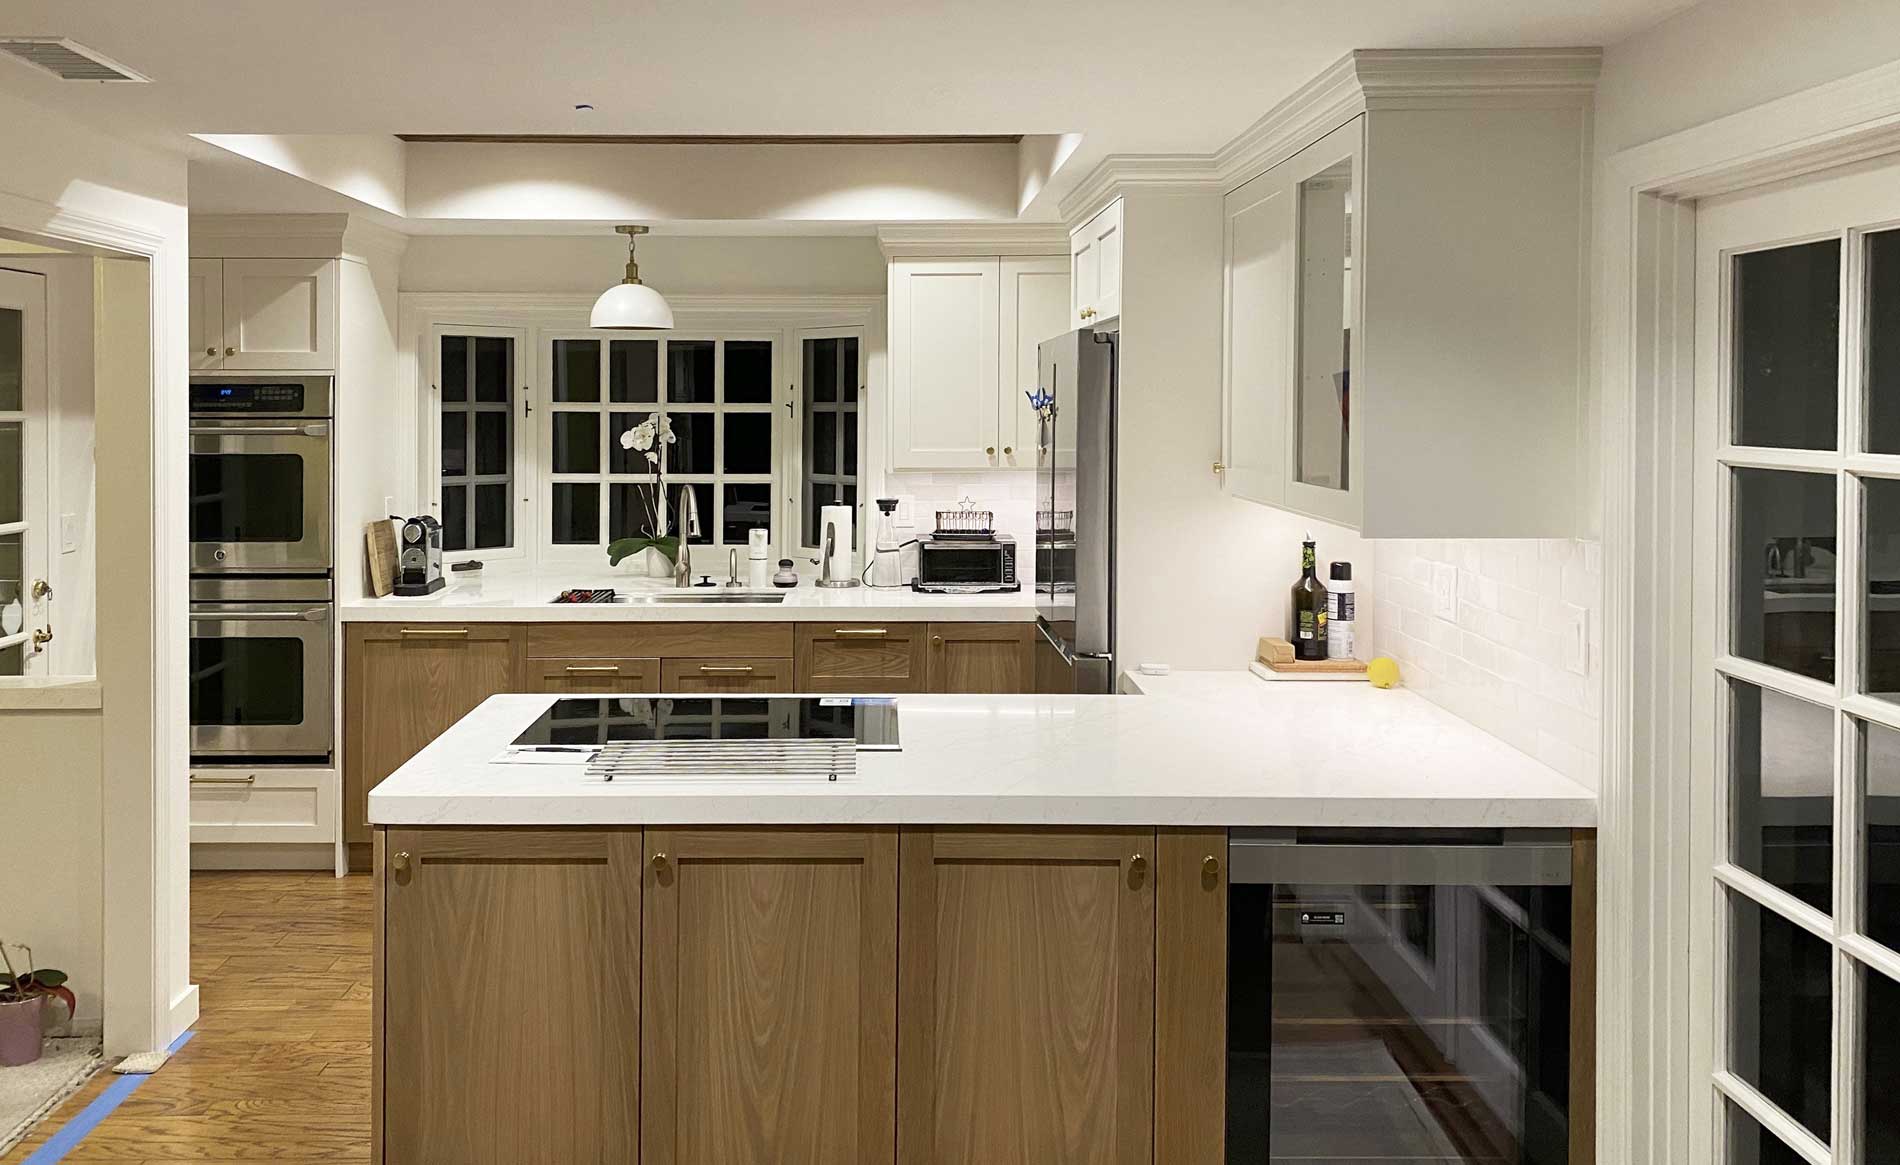
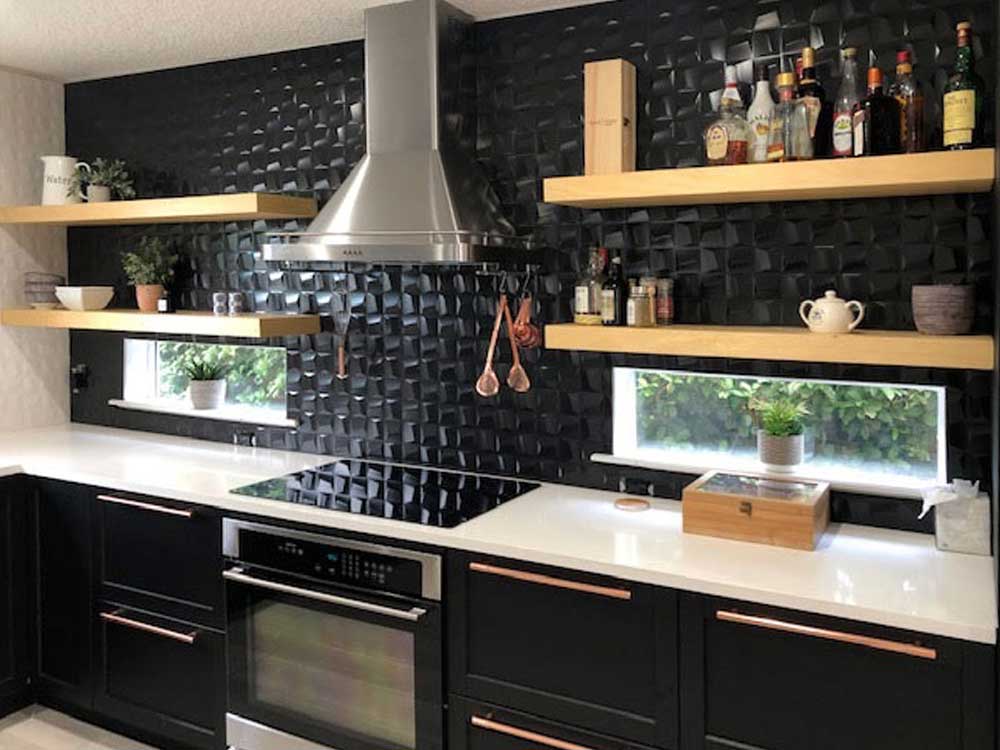
When you have enough lighting for your countertop in your IKEA kitchen, you are also helping to prevent accidents: it ensures that you can really see what you’re doing on the chopping board with those sharp knives. Task lighting can be fitted under the overhead cabinets and above the sink, well out of the way of wet surfaces.
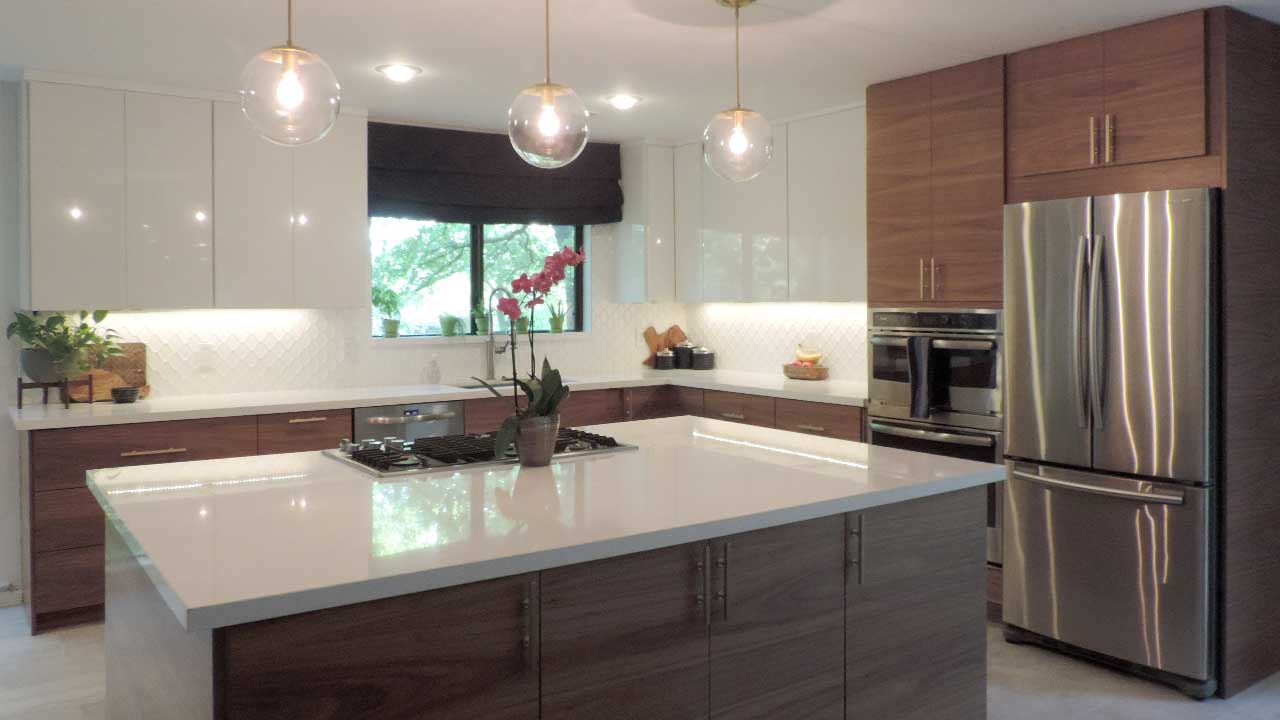
If your kitchen has an island or a peninsula, make sure you also have a light for that area as well by using hanging lamps with a dimmer switch over the table. This will allow you to have brighter light for homework, sewing or other activities and softer light for mealtimes.
Luckily, IKEA has many different light options for every spot. Our favorites are: MITTLED LED kitchen countertop lighting strip, TVÄRDRAG cabinet lighting in a black finish and the MITTLED LED spotlight.
6. Are all lights, vents and plumbing fixtures properly planned?
A house’s pipes are mostly hidden in walls and floors. Using some simple lines and plumbing symbols, you can make a good working drawing of your plumbing system before renovating your IKEA kitchen. They definitely change the way your kitchen will look like and can even determine the type of cabinets you’ll need to use.
How is this important for your kitchen design? An experienced IKEA kitchen designer will always ask for the location of your plumbing fixtures and lights before anything else. Knowing this not only helps to know where the sink will be placed but it also saves you lots of money by accommodating your design in such a way that you’ll have to spend less by changing pipes and taking advantage of light fixtures to plan for the main appliances and leaving enough space for a vent or pipe.
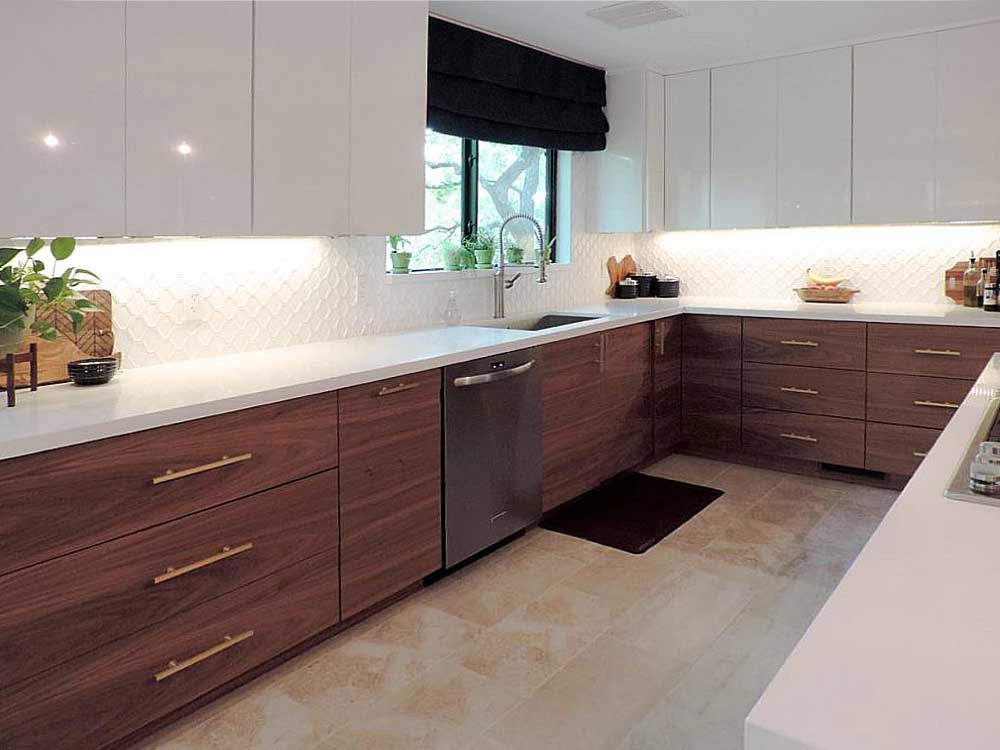
7. Has the toe-kick been designed for the thickness of your flooring? Will you install the flooring after or before putting the cabinets and toe-kick together?
Level floors are a rare thing… even in new homes. You might not even notice how badly a floor slopes until you start installing base cabinets and then discover that the dishwasher won’t fit under the countertop, for example.
One of the reasons for installing an IKEA toe kick is to hide any minor gaps between the flooring and the cabinets.
A solution might be to cut out the flooring where the cabinets will be installed, leaving flooring under the dishwasher, fridge and range. Much better to have a nice dinged up old subfloor to work on until the very end, and then install the new floor, install the baseboards, and do paint touch-up (or even all the painting).
Not to mention the total height of your cabinets, including the wall cabinets. Have you already considered your floor thickness within the total height?
It’s harder to compute the thickness of your finished floor while your kitchen is in the planning stages. It takes an experienced IKEA kitchen designer to do it. But the task is well worth the trouble to avoid the above problems. This is one of the many reasons to use an experienced IKEA kitchen designer.
Get a Professional IKEA Kitchen Design – All Online
Work with our certified kitchen designers to get a personalized kitchen designed around your needs and vision. If you’re interested in learning more about our service, make sure to check out our IKEA Kitchen Design Services.


