
Ensure the kitchen you want is also the kitchen you need
Buyer’s remorse is one thing, but when talking about thousands (or tens of thousands) of dollars, it’s more like buyer’s devastation. By test-driving your IKEA kitchen, you can feel more confident that the design you want will also work for you in daily life. Learn how to test drive your IKEA kitchen design so you can make any necessary changes before the builders arrive.
Take your time during the pre-design
Our designers will provide a detailed questionnaire before working on your kitchen design. This form will ask you to examine what you like and dislike about your existing kitchen, both aesthetically and practically.
We need to know if you’d rather have white shaker-style or wood-toned panel cabinets, but we also need to see if you have enough seating and if you have difficulty navigating your workspace in its current layout. Take some time to do what you love in your kitchen—baking, cooking, socializing—and list all the things that are and are not working for you.
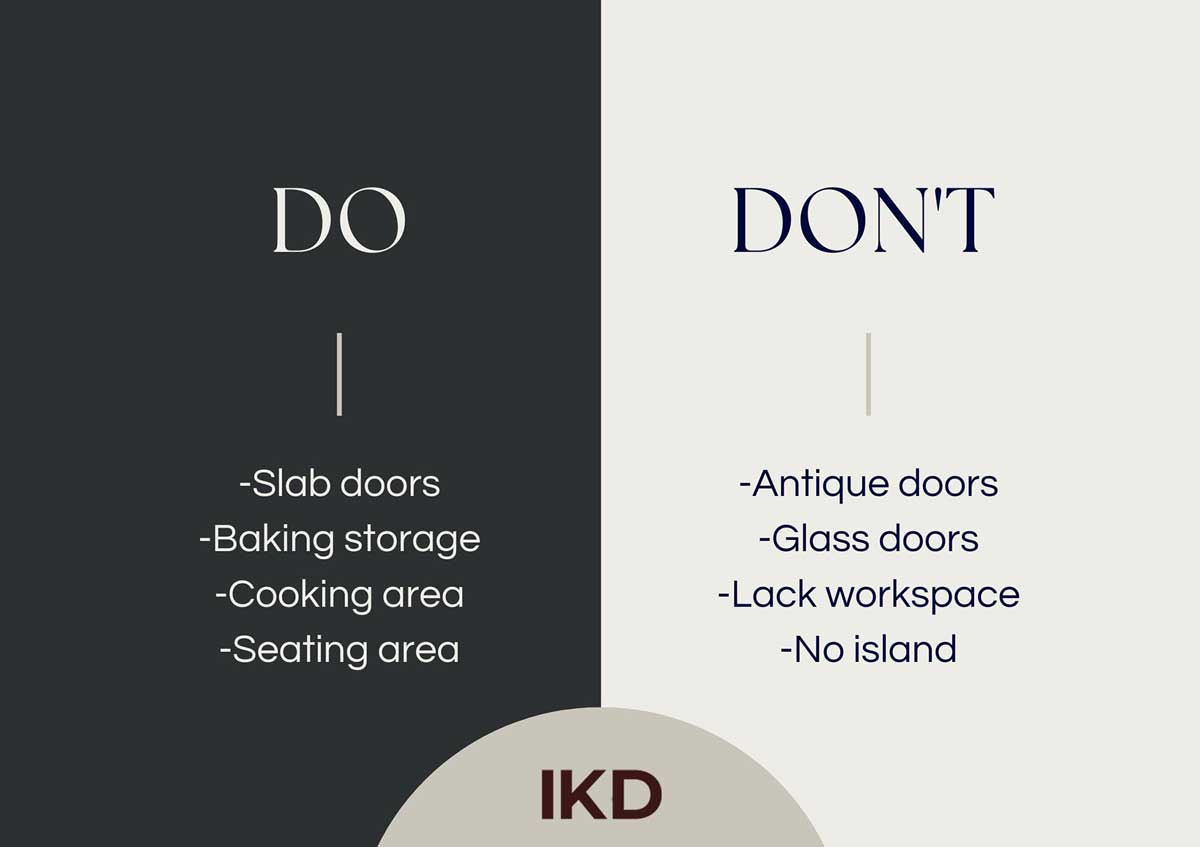
A thorough pre-design analysis will help our design match your vision.
Why Design
with IKD?
Why Design with IKD?
Carefully review IKD’s kitchen design package
A few days after submitting your design questionnaire to our professional designers, you’ll receive a detailed kitchen design package. Be sure to set aside some time to review the design after the initial excitement of getting a brand-new kitchen!! has settled.
Each kitchen design package includes two design revisions free of charge and redesigns at a discounted rate. So, if you need to make any changes, now is the time! Imagine working in the space, performing daily tasks, and engaging in any new activities you have planned for the new kitchen.
Need help visualizing it? That’s where test driving comes in.
Test Driving Your IKEA Kitchen Design
There are five steps to test-driving your kitchen, and you can do the first while waiting to receive your design package.
1. List
Before construction begins, you’ll need to clean out the kitchen drawers and cabinets. Why not get an early start? Get rid of anything that doesn’t belong in your new kitchen (like that deep fryer you got as a wedding gift and never touched), and then list everything that will go in your new kitchen—including items you might plan to purchase.
Divide the list into categories: cookware, bakeware, drinkware, utensils, etc. This will help you visualize how much you need to store in your new kitchen and, most importantly, where you’ll need the most storage.
2. Label
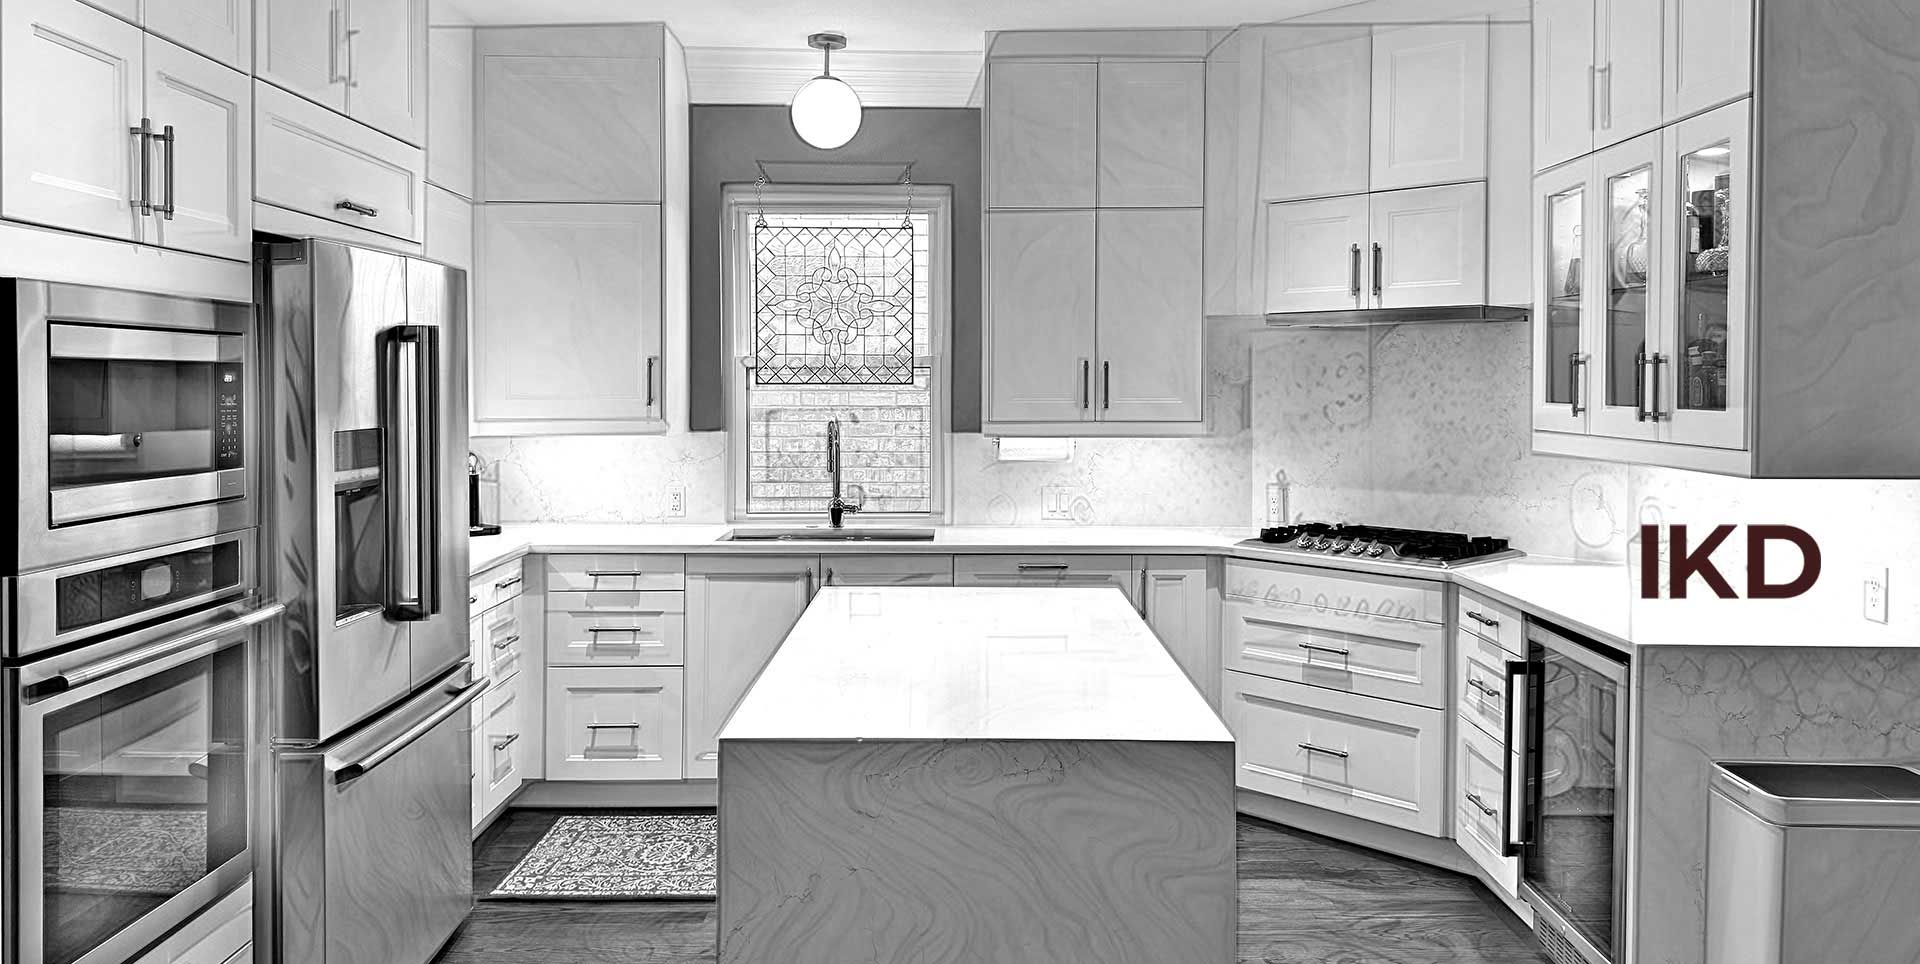
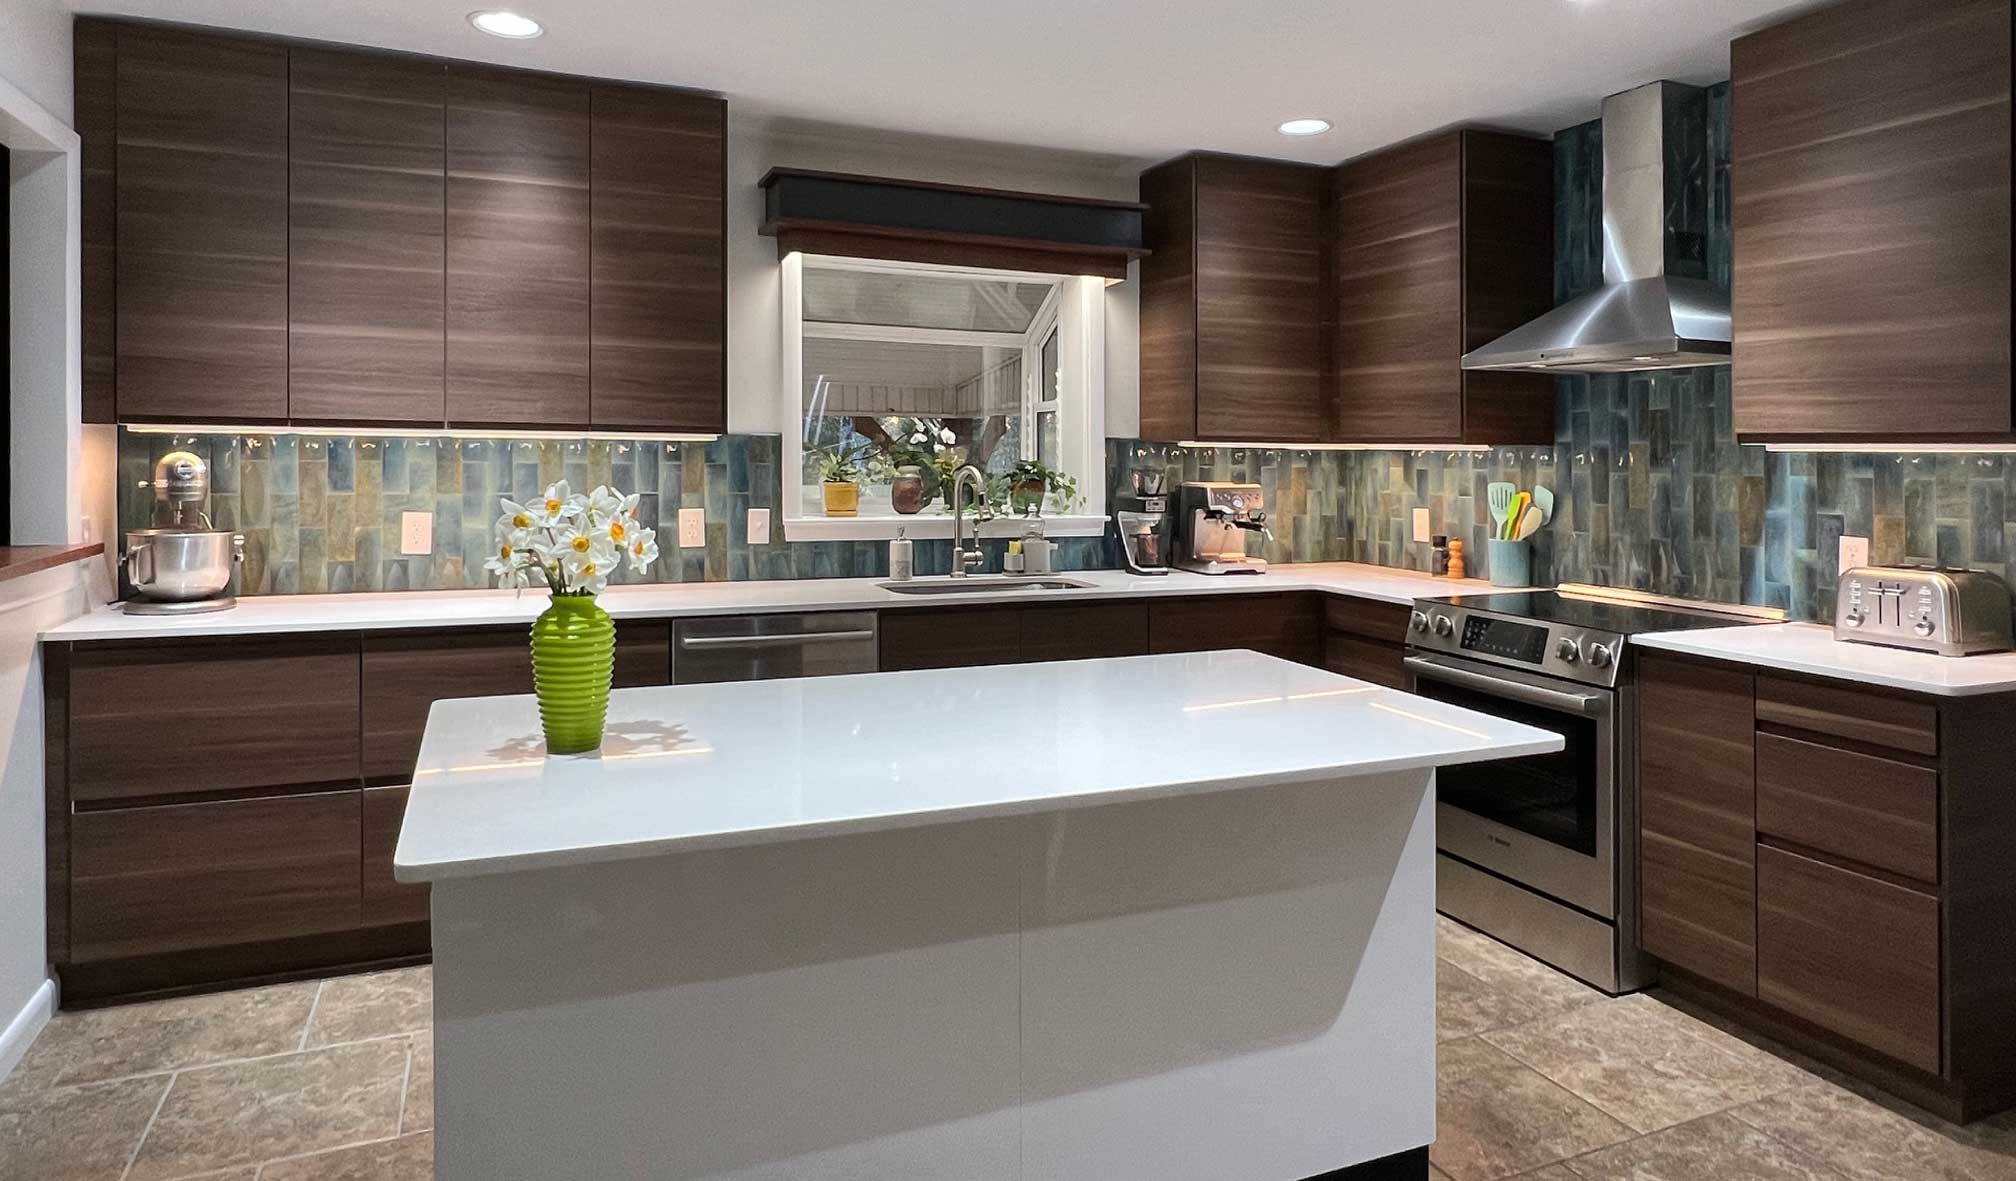
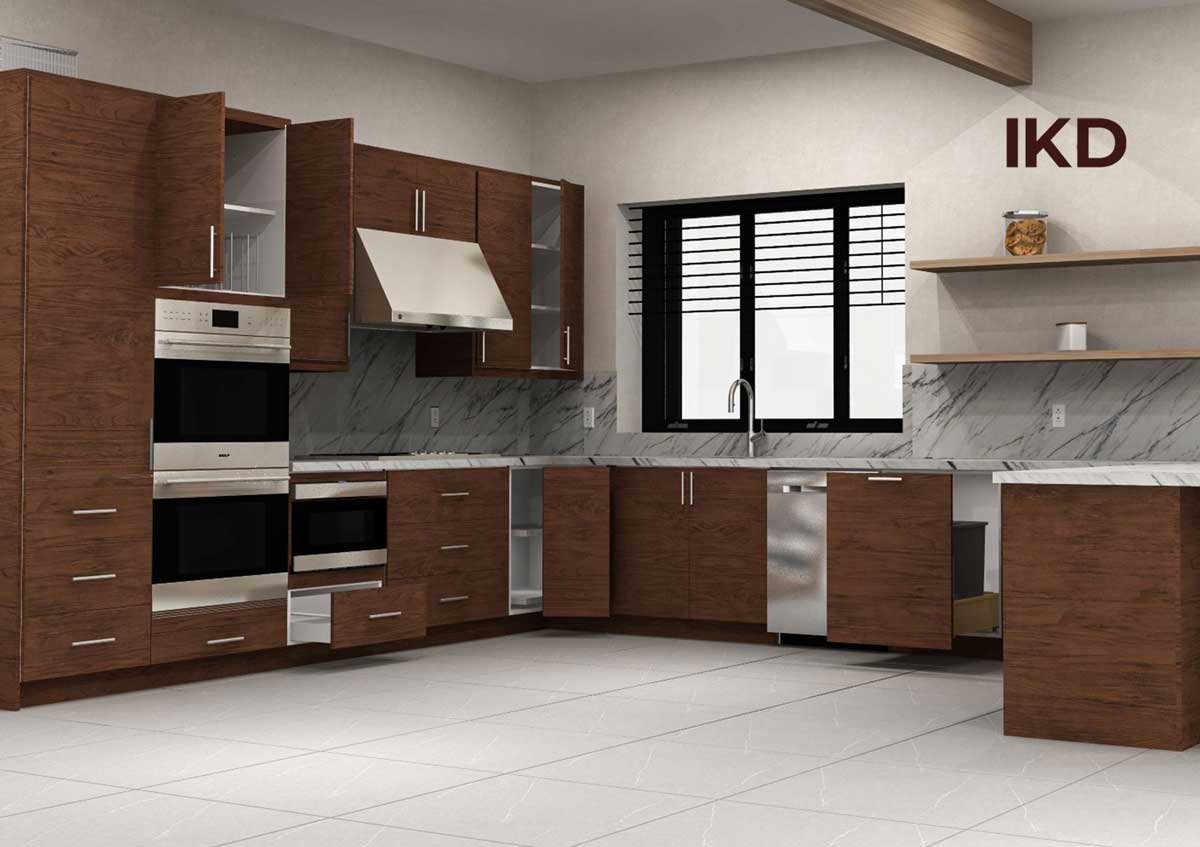
Once you receive your design package, you’ll find several high-resolution renderings of your new kitchen design that look something like this:
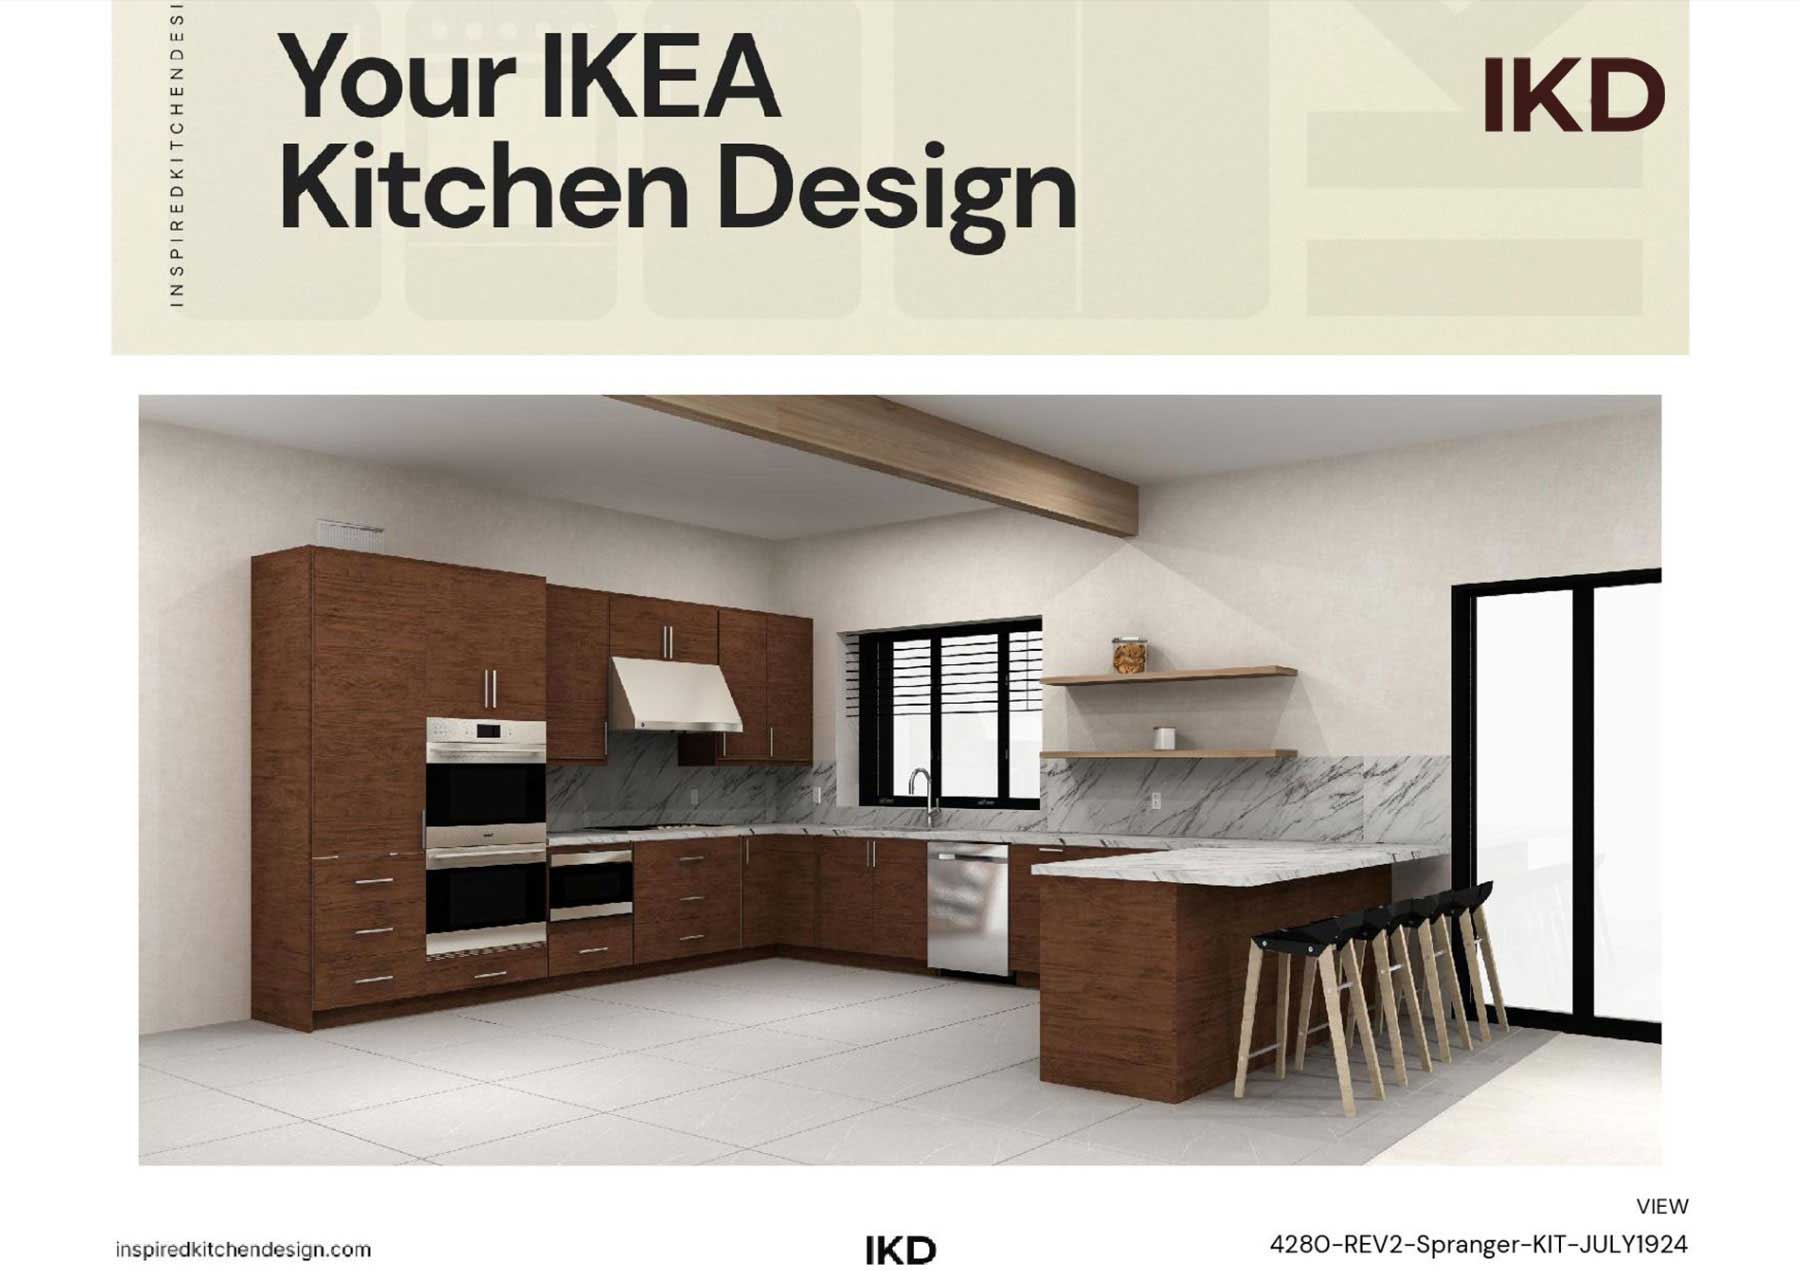
Print out the photo or copy the image to your device. Then, label the space. Take the list of kitchen items you made, and make sure everything has a home.
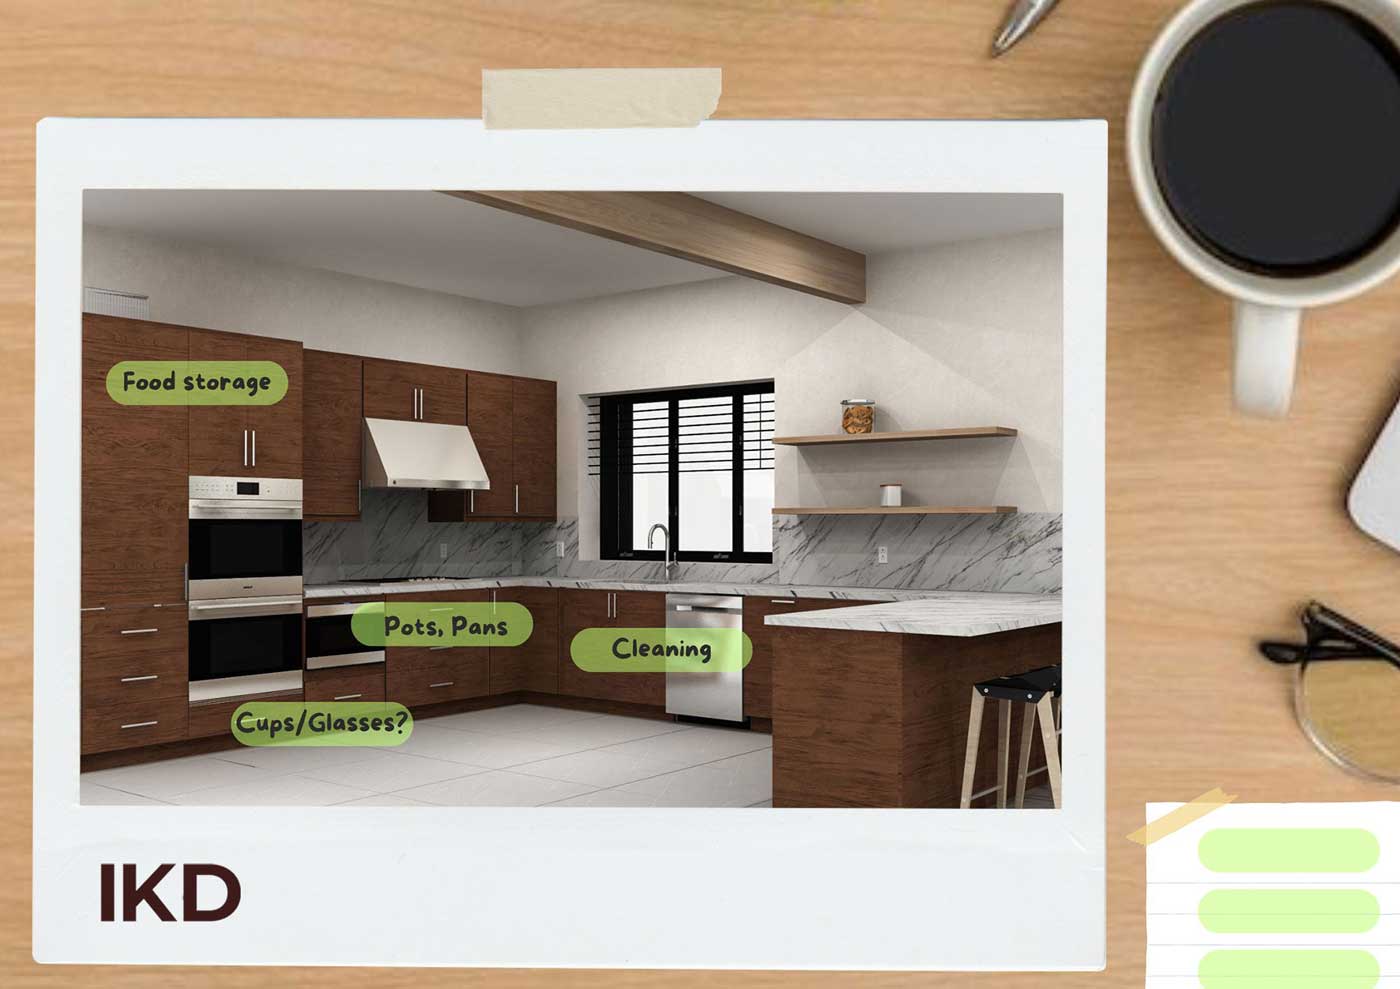
If you have anything left on your list, it’s better to know now than when you’re trying (and failing) to organize your new kitchen.
It happens more often than you think. Plenty of homeowners hate the dusty space above their kitchen wall cabinets and opt for ones that reach the ceiling in their new design, but they don’t always think about where to store the crockpot that lives there now (or their husband’s collection of Hofbräuhaus steins).
3. Explore
Now that everything has a home, we recommend looking at the top-view floor plan included in the kitchen design package.
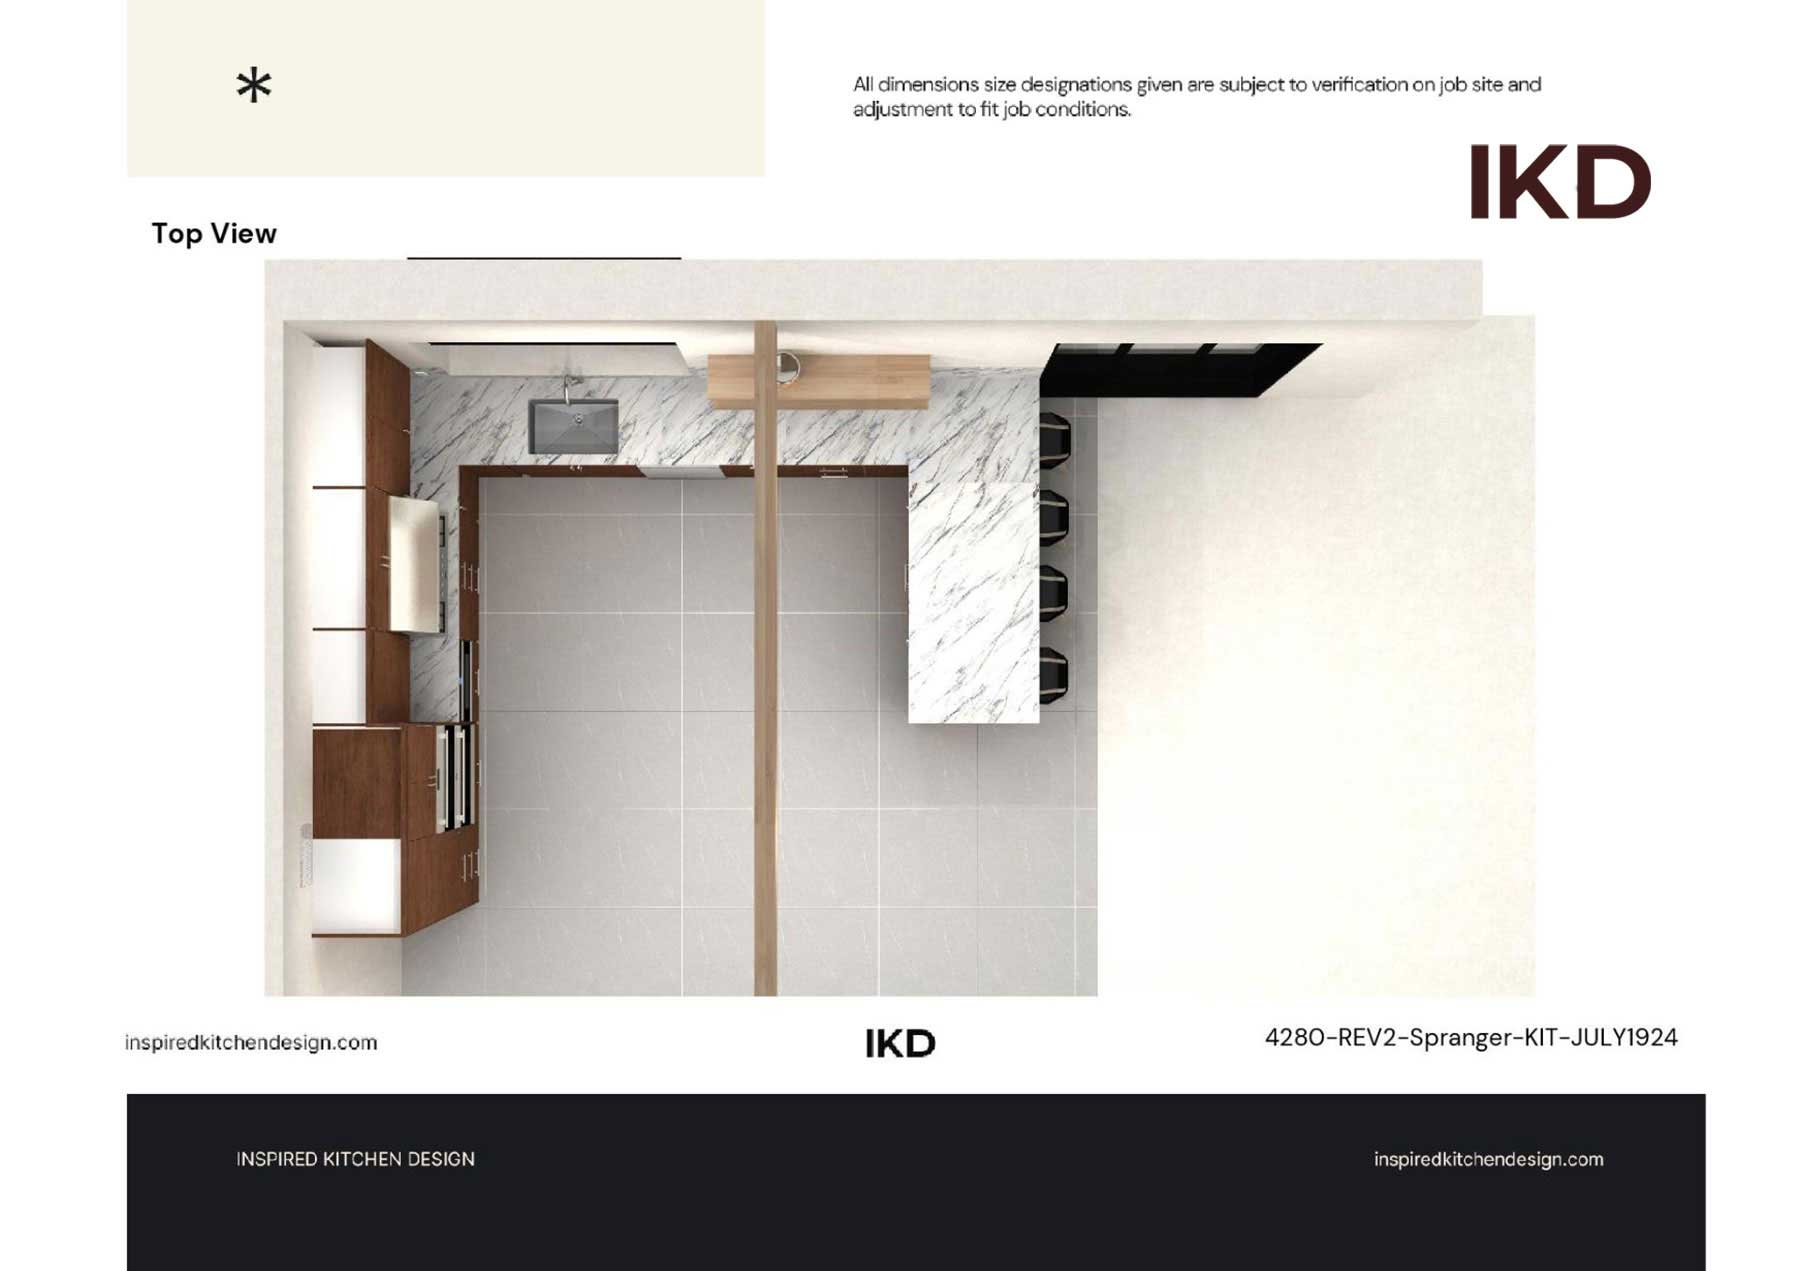
This gives you a visual of the layout and allows you to “explore” the new kitchen. Again, you can print out the photo and use a pencil or use your device and a stylus.
This is your chance to ask yourself: What would it be like to actually work in the kitchen?
Traditional kitchen work triangles are becoming less popular, with many customers opting for “zones,” or task-specific work areas. When creating your design, you may like the idea of zones, but would changing the layout so drastically work once you’re in it? Similarly, if you kept a work triangle because it’s what you’re used to, you may want to try zones instead.
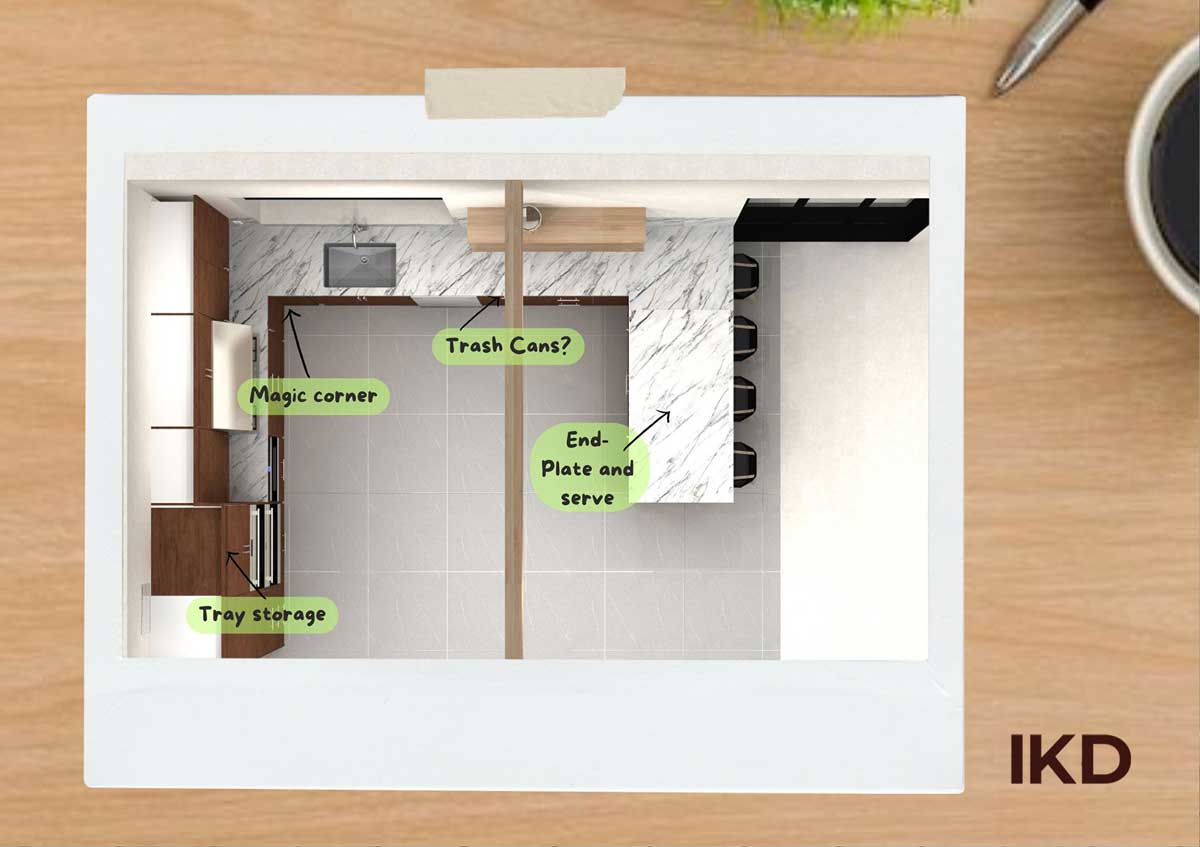
Take the floor plan of your kitchen and imagine preparing a dish from start to finish.
Where are the ingredients? Where are the pans? Do you have ample workspace? Here is what that might look like and possible considerations.
4. Change
Now, talk to your designer about what is and isn’t working in the kitchen design. Have you realized drawers may be easier to access than cabinets or that under-cabinet lighting may be beneficial? Do you have enough room to prep food and house countertop appliances?
Talk to your designer about any changes you want to make to the original design.
5. Finalize
Your designer will incorporate these changes into your IKEA kitchen design. Once you have a design that not only looks but also works the way you want, you’ll approve it and receive a detailed design package complete with your IKEA shopping list.
IKD makes it easy to get the kitchen you want
With 3D, full-color renderings, detailed floorplans, elevation drawings, and optional lighting designs, our skilled designers will do everything possible to help you visualize your new IKEA kitchen. IKD makes revising your design easy, and our design knowledge means that if you see a problem but can’t think of a solution, we probably can.
Get a Professional IKEA Kitchen Design – All Online
Work with our certified kitchen designers to get a personalized kitchen designed around your needs and vision. If you’re interested in learning more about our service, make sure to check out our IKEA Kitchen Design Services.


