A quick breakdown to explain the steps to proper kitchen measurements
Are you ready to start your new kitchen project? Getting a remodel for your home is exciting and scary at the same time. You wonder: Is this going to be ok? Do I have everything I need? What can I do to make this easier? We know it can be overwhelming.
We’ll show in easy, brief steps how to get your measurements ready. Homeowners and designers agree that this stage of the process is vital.

All that’s needed is a pencil, plain paper and a tape measure!
1: Take basic kitchen wall measurements
- Your finished countertop height will be 36”, so we recommend taking all wall measurements at 36” above your finished floor.
- Start in one corner of your project area and measure to an adjacent wall.
- Record the measurement in inches and continue around the room until all necessary walls have been measured.
- Your sketch doesn’t need to be perfect, just make sure that all dimensions are clearly visible.
- Do not round your numbers. If a wall it’s 10 ½”, write down this number.
- Make a sketch of the floor plan just measured and add dimensions as detailed below:
2: Measure doors and windows
- Measure each window and label them with a different name or letter.
- For doors: measure width and height.
- For windows: measure width, height and the distance from the window to the floor.
- Remember to include the trim as part of your measurements, so always measure from the outside edge of the trim.
- Record all measurements in inches.
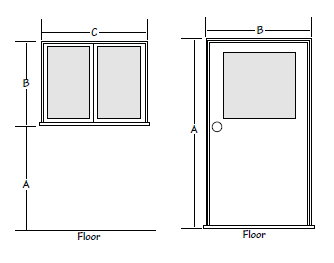
Kitchen doors and windows can interfere with your design.
3. Draw a detailed sketch of your floor plan
- Start at the corner of any wall that contains an opening and measure to the outside trim or edge of any window or door you find.
- Add opening locations to your drawing and identify them (window 1, window 2, door 1, door 2, etc.).
- For door locations, it’s useful to draw the ‘swing’ of the door.
- To confirm that all measurements are correct, total all wall and opening dimensions and compare them to the basic wall dimensions.
- Number each wall, as you will need to reference wall numbers to show other details.
4. Don’t forget your surroundings
- Review the area and look for any potential obstacles that may interfere with the design. Some of them are: soffits, beams, suspended light fixtures, lower ceilings, radiators, floor or wall vents, columns, angled walls, chimney chasers, heat registers, etc.
- For angled walls: measure the angle if possible. This can affect your design.
- To measure your ceiling height, take a measurement in three different places. The majority of older homes have unlevel ceilings. Record the lowest height measured. If you have a soffit that you want to keep, take measurement of it, and place it in your drawing as well.
- Create a vertical drawing (also called ‘elevation drawing’) of each wall showing window and door locations, finished ceiling height and any visible obstacles. (See our example below)
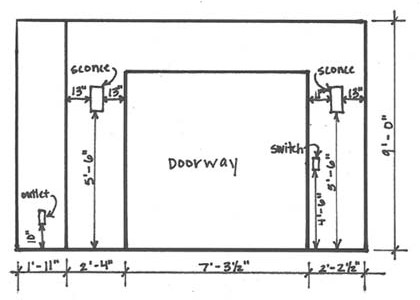
This will be really helpful for your kitchen planning.
5. Utility locations are also important
- Spot main utility/service locations and identify them at each wall. This gives your designer a hint of where you’ll need to put your gas range, your sink, fridge or your dishwasher, for example.
- Remember that utility locations are always measured to their centerline. See our example:
Related entries to a successful IKEA kitchen design:
The 5 biggest kitchen design mistakes people make
Get a Professional IKEA Kitchen Design – All Online
Work with our certified kitchen designers to get a personalized kitchen designed around your needs and vision. If you’re interested in learning more about our service, make sure to check out our IKEA Kitchen Design Services.


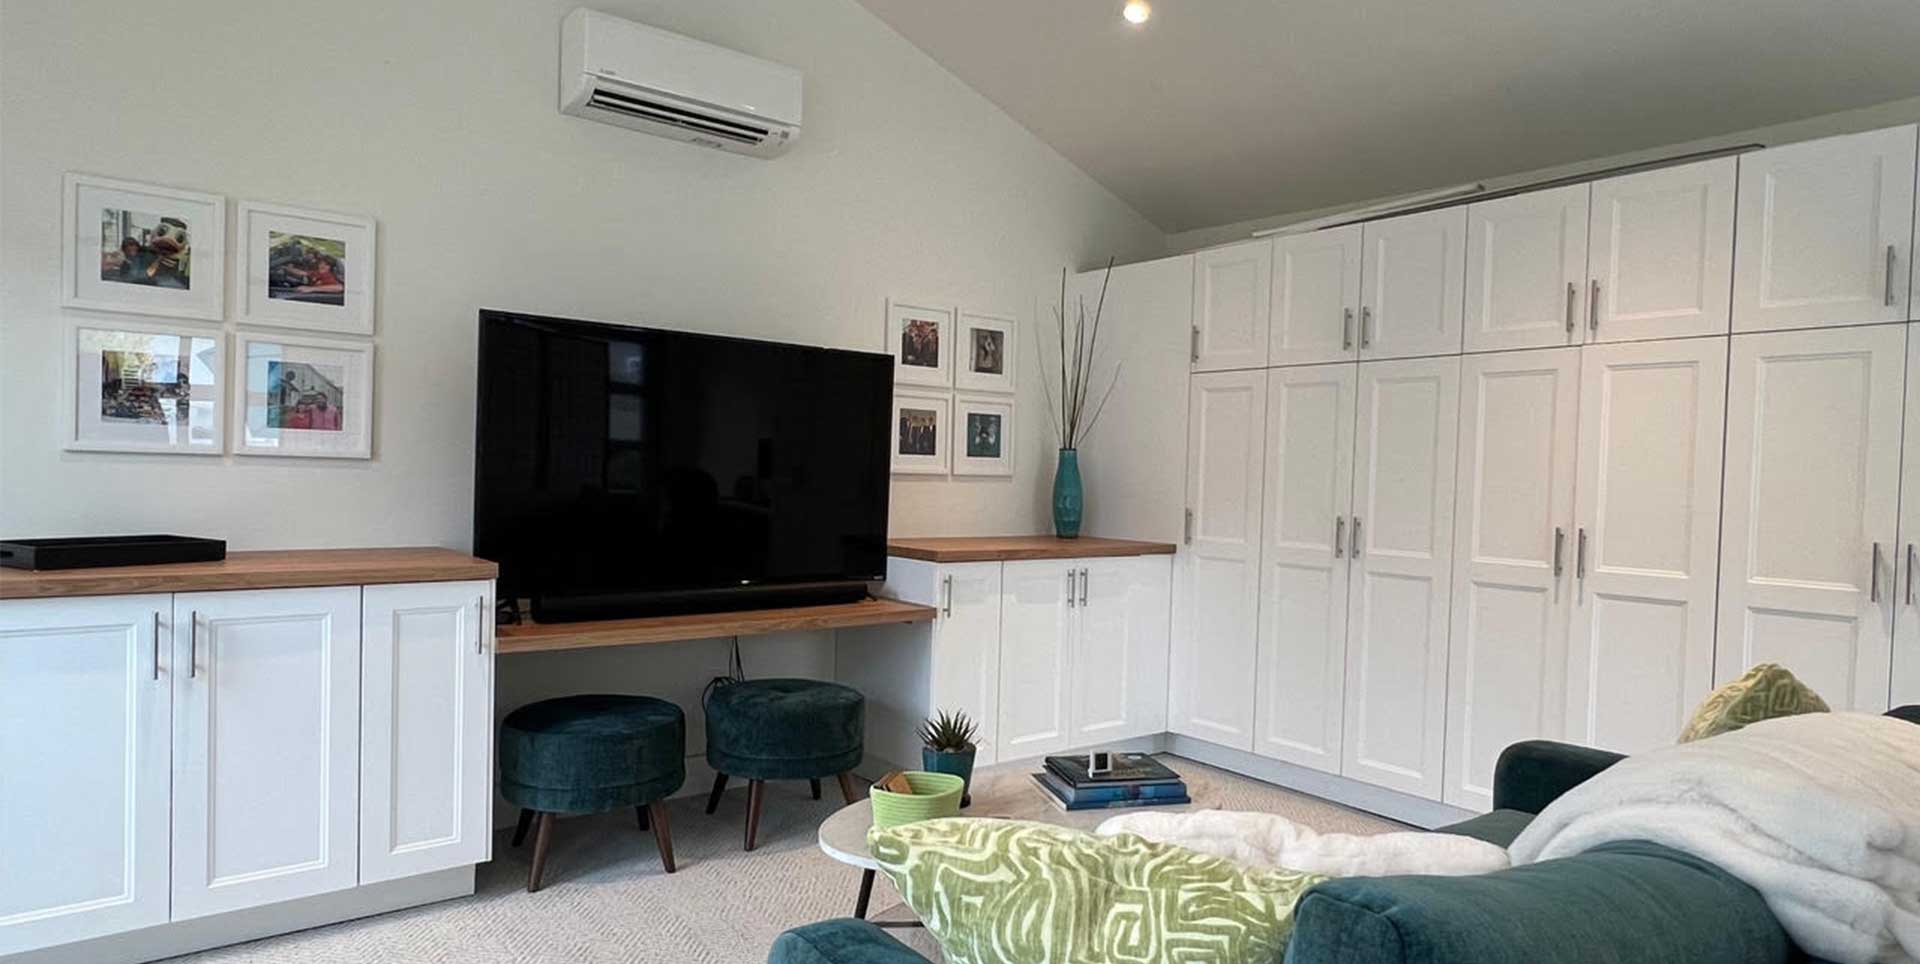
IKD Past Projects
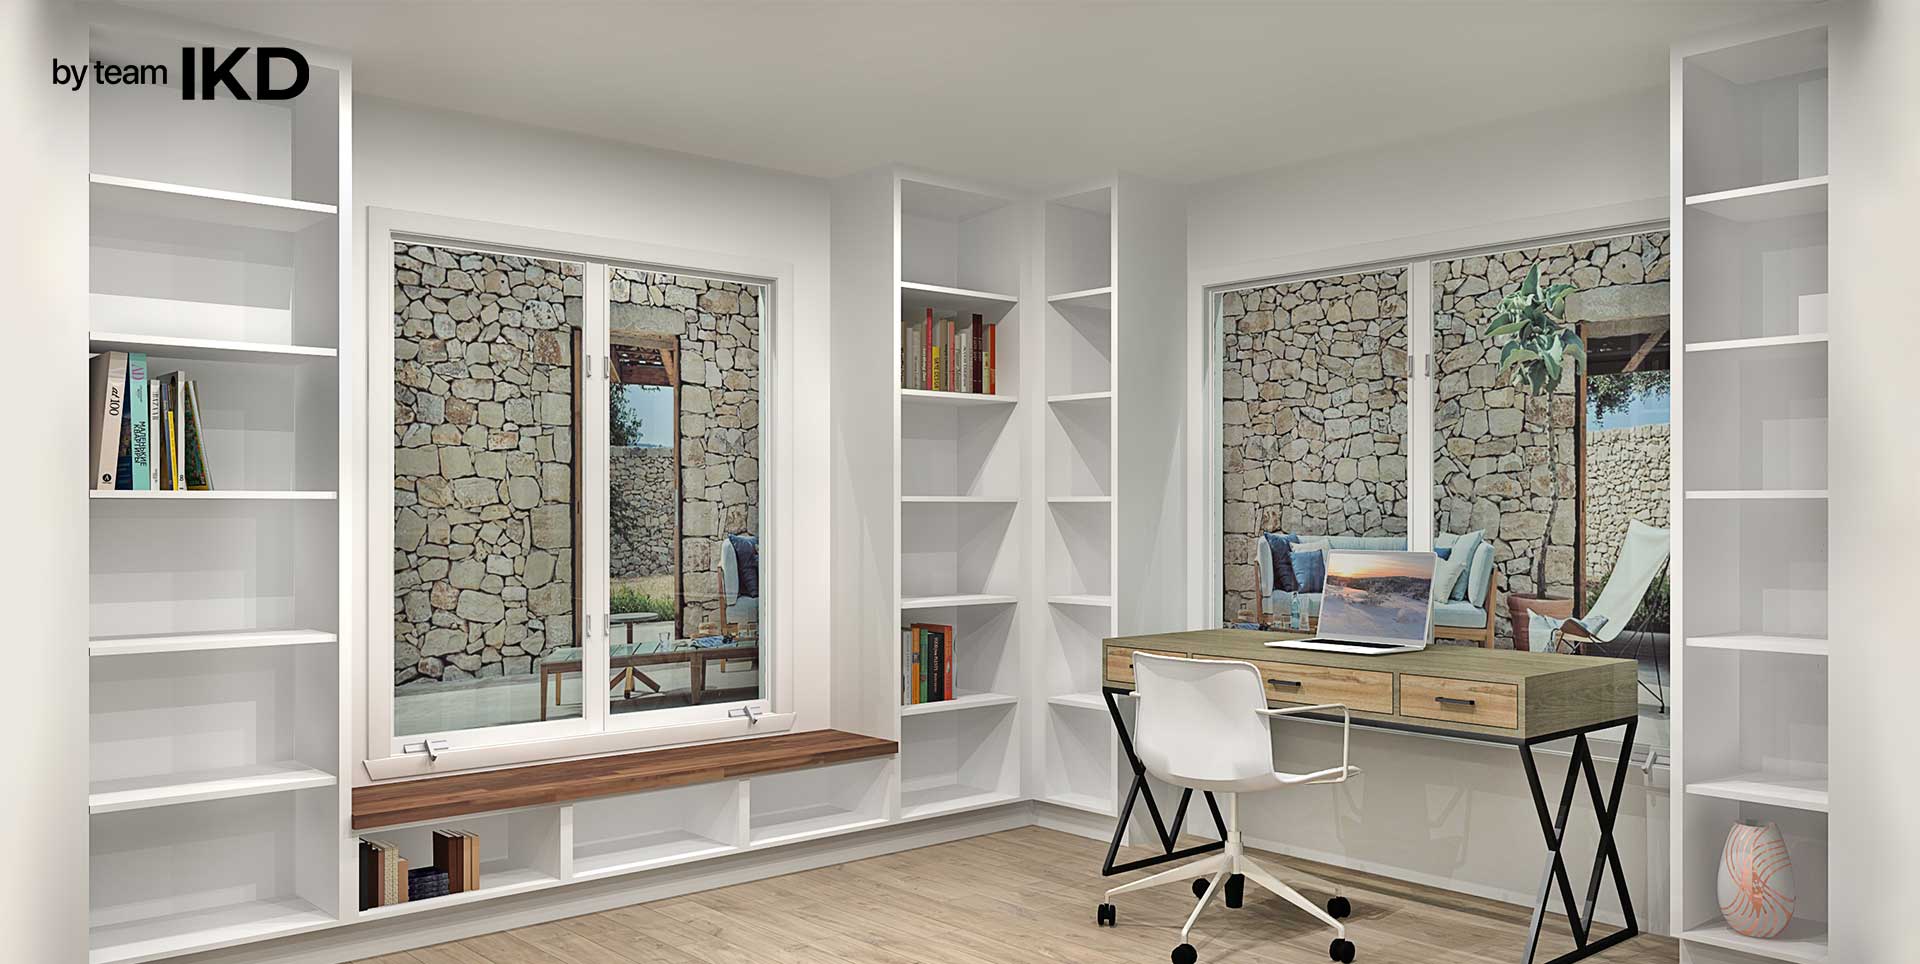
Transforming a Cluttered Storage Space Into a Modern Office Library
IKEA Laundry Room & Garage Remodel in Burbank, California
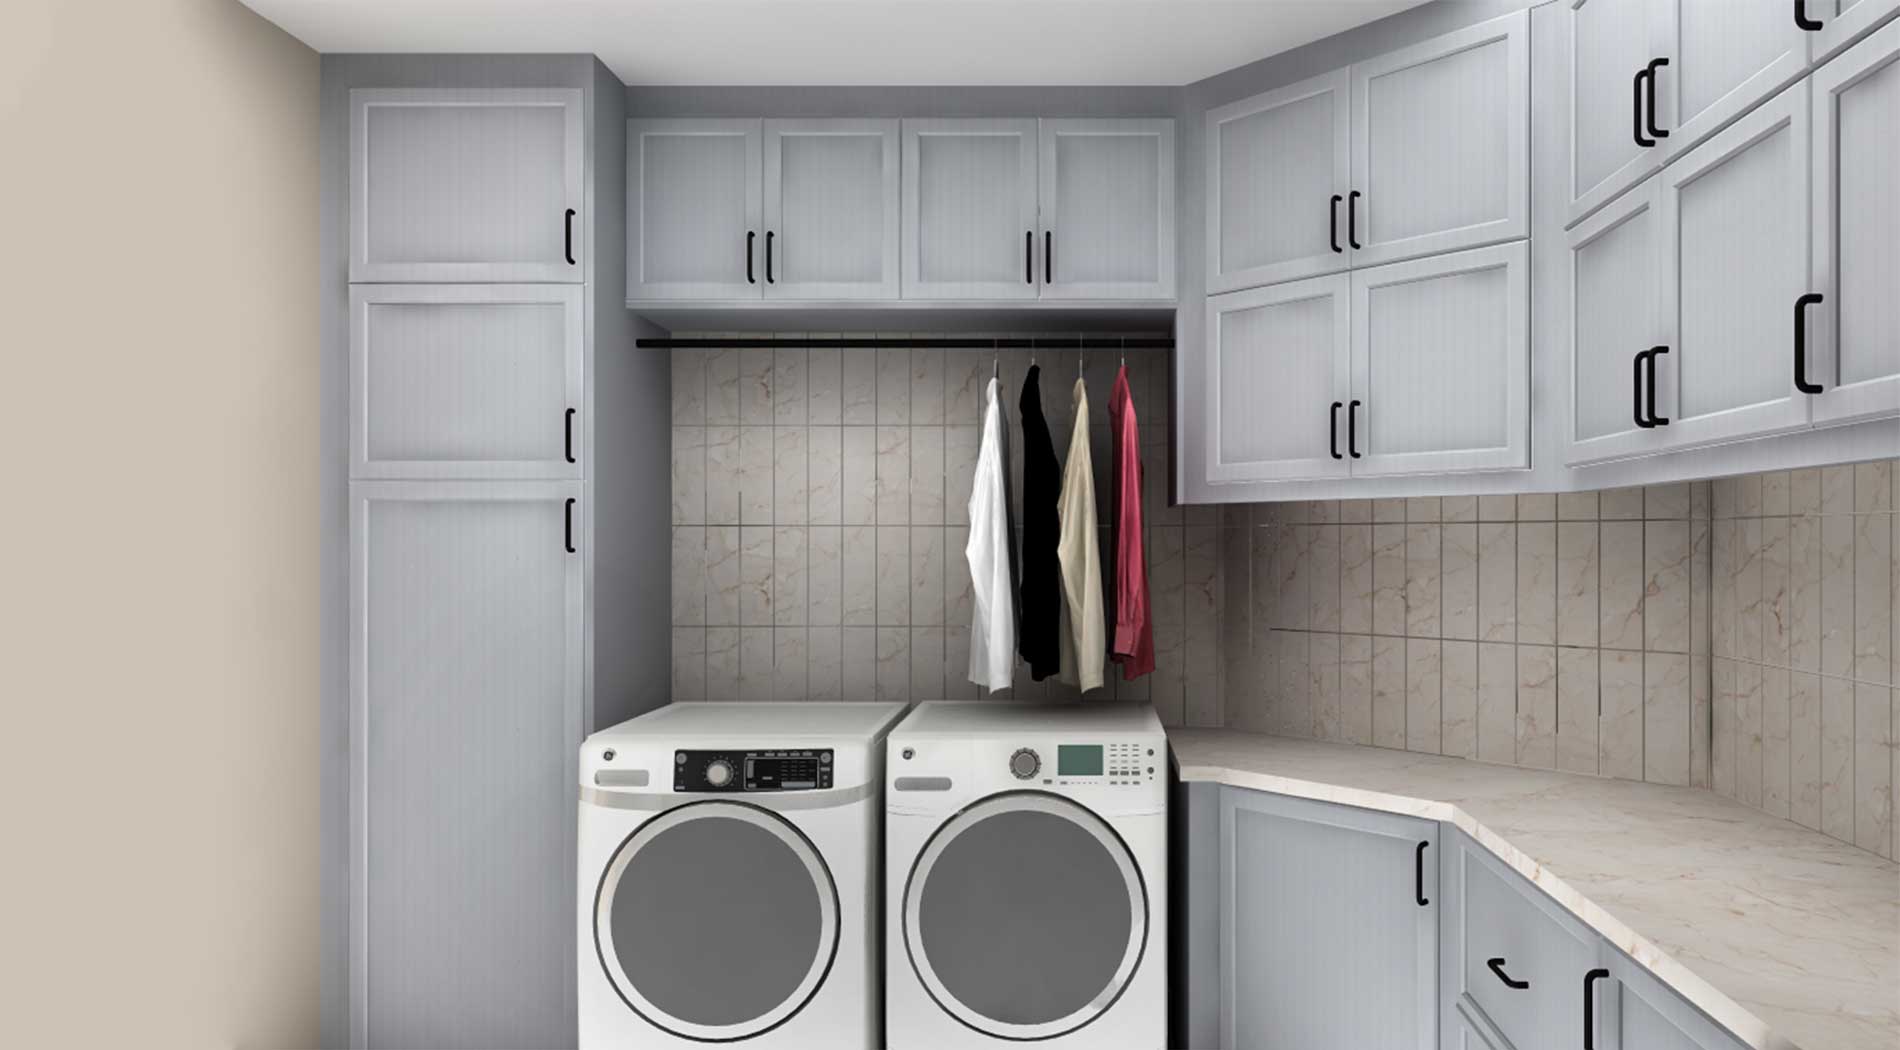
IKEA Laundry Room Uses Customized IKEA Cabinets to Overcome Design Challenges

IKEA Wardrobe & Mudroom Design in Australia | IKD Case Study

This family of five modernized their IKEA kitchen area
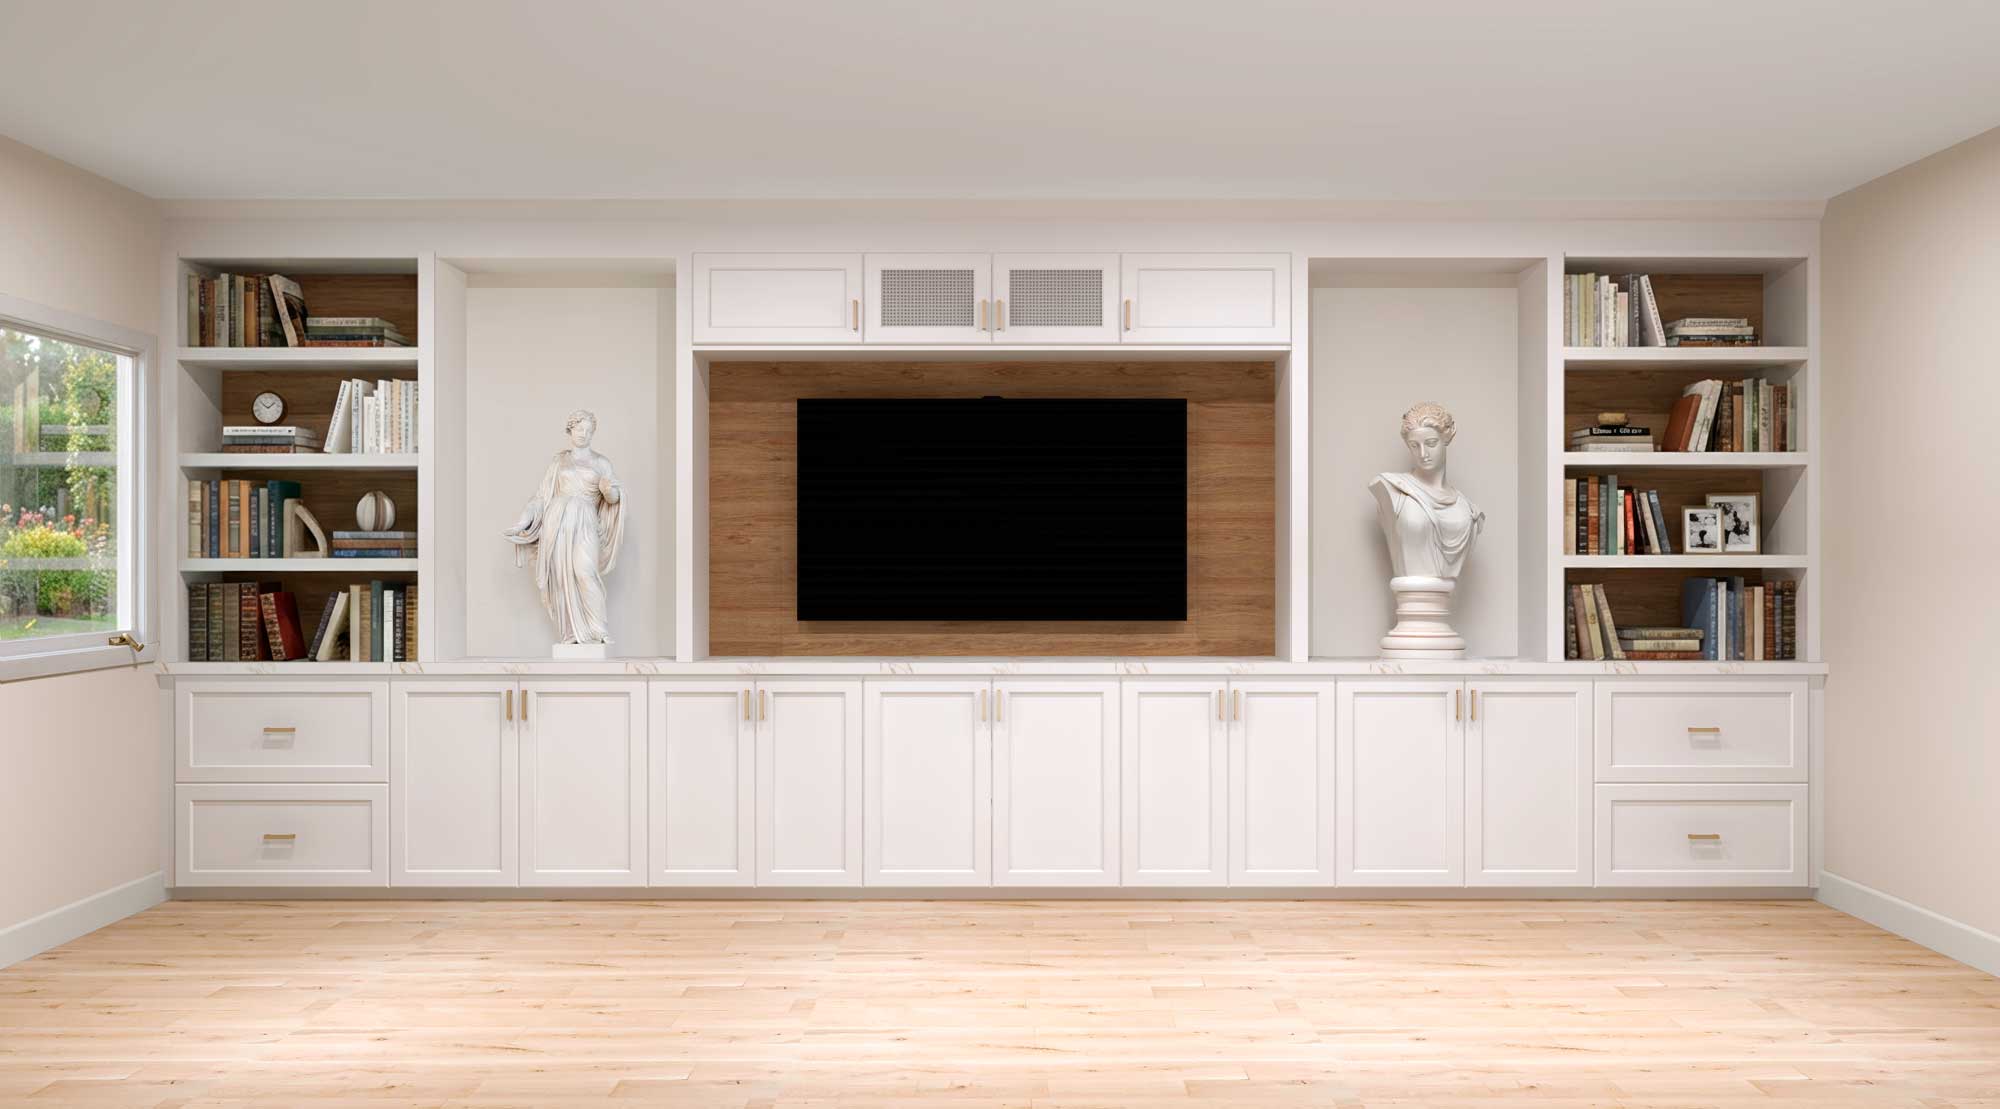
Concealed Comfort: A Custom IKD Media & Bar Design