
Getting maximum results with your DIY kitchen project
Starting an IKEA kitchen renovation doesn’t have to be an intimidating prospect.
Take it from our design team who have designed more than 3000 IKEA kitchens: There are great installation tips to follow if you decide to go the DIY path for your IKEA kitchen installation.
In fact, working with a design professional will help you answer the important questions about your project— what we like to call a checklist — to ensure that your IKEA kitchen project includes all of the necessary details.
So whether it’s providing better ways to install your cabinetry, or how to (or whether you should!) navigate IKEA’s notoriously buggy Home Planner software, we’re confident that the following tips will not only help you avoid IKEA installation mistakes, but will enable the entire IKEA DIY process to go as successfully as possible.
Let’s take a look!
Cabinets Should Be Perfectly Level
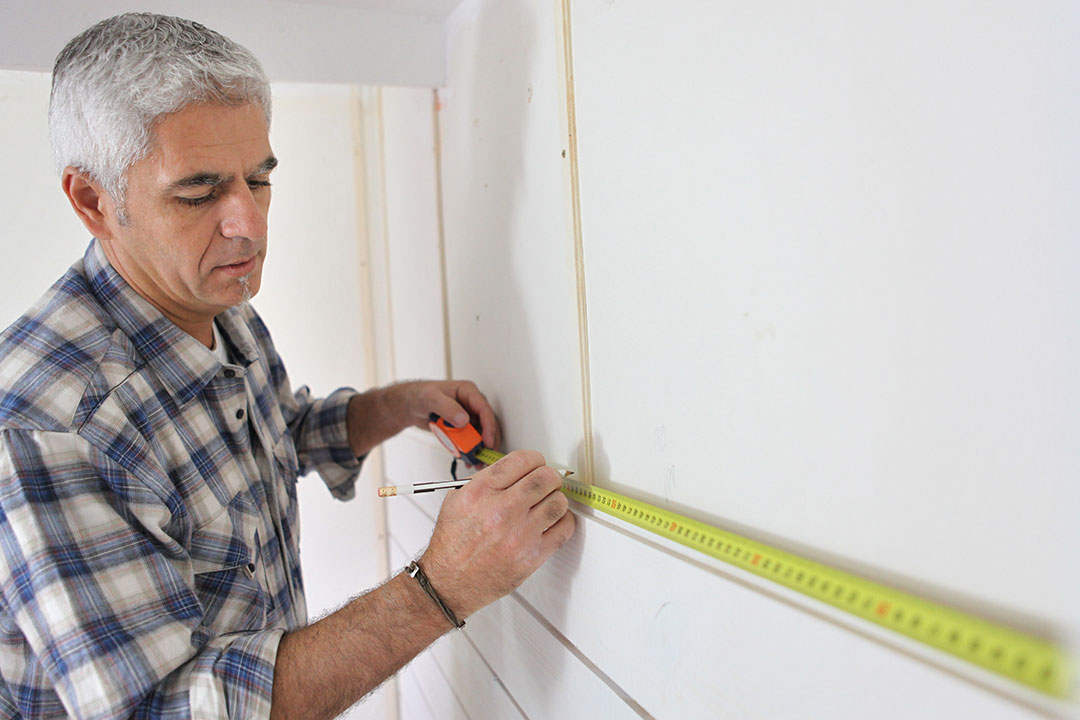
The first tip is that your cabinets should be perfectly level or your countertops will crack and your backsplash won’t be aligned.
We highly recommend that you not rush the job. Be patient and use a level to make sure everything is perfect. You don’t want to have to make repairs down the line because of a sloppy installation.
Why Design
with IKD?
Why Design with IKD?
With this is mind, it’s also very important to create a checklist of how the space is intended to be used, and ask yourself some key questions.
- For instance, how will the backsplash determine the distance between the countertops and wall cabinets?
- Or how thick is your countertop material, and will you need to build an edge for it?
This will determine the effectiveness of your work triangle and establish a proper flow for your IKEA kitchen.
Where to Start Your IKEA Kitchen Installation
The next tip is to start your IKEA kitchen installation with wall cabinets. This way, you won’t have to reach around the base cabinets if you install them first.
Trust us, it’s a lot more convenient to go top-down. After all, if you installed the base cabinets first then you’d have no space to fit a stepladder, for example, and it’ll make the overall kitchen installation literally and figuratively more painful than it needs to be.
Use Suspension Rails
Some think the rail system is optional, however we highly suggest using them. In fact, we urge you to use them.
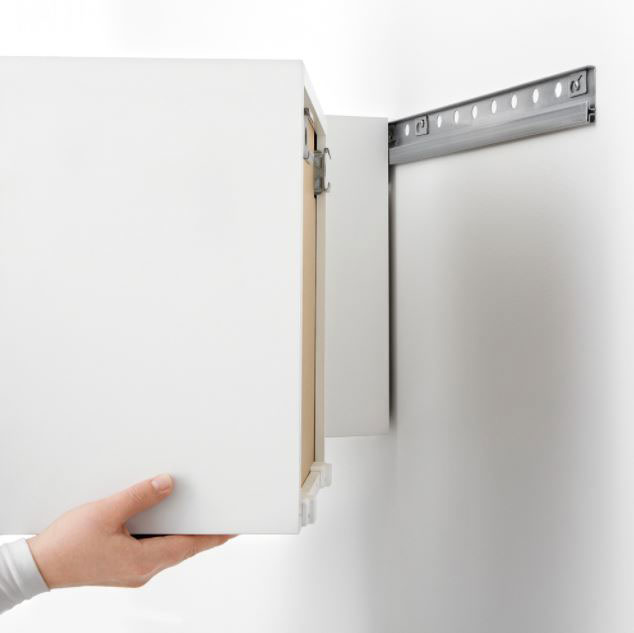
** Image from the IKEA website (https://www.ikea.com/us/en/)
What is a suspension rail you ask? Simply put, it’s a metal bracket screwed into wall studs that hold the IKEA cabinetry up. So, using the suspension rail — like IKEA’s BESTÅ suspension rail in silver —will help you level your cabinets and create a more professional look.
Don’t Rely on the Home Planner for Installation
We say this all the time: Don’t rely on the Home Planner for installation. There are reasons for this.
For instance, the Home Planner doesn’t give exact dimensions. So, if you can’t place a window in the exact location, well, imagine the rest!
There are other design limitations with IKEA’s Home Planner too, such as kitchens with curved walls or corners with either more or less than the standard 45 or 90 degrees. When this happens, the Home Planner doesn’t account for the loss of space in the corners of your design.
Therefore, proper professional design spacing is critical so that any newly installed drawers and doors don’t collide.
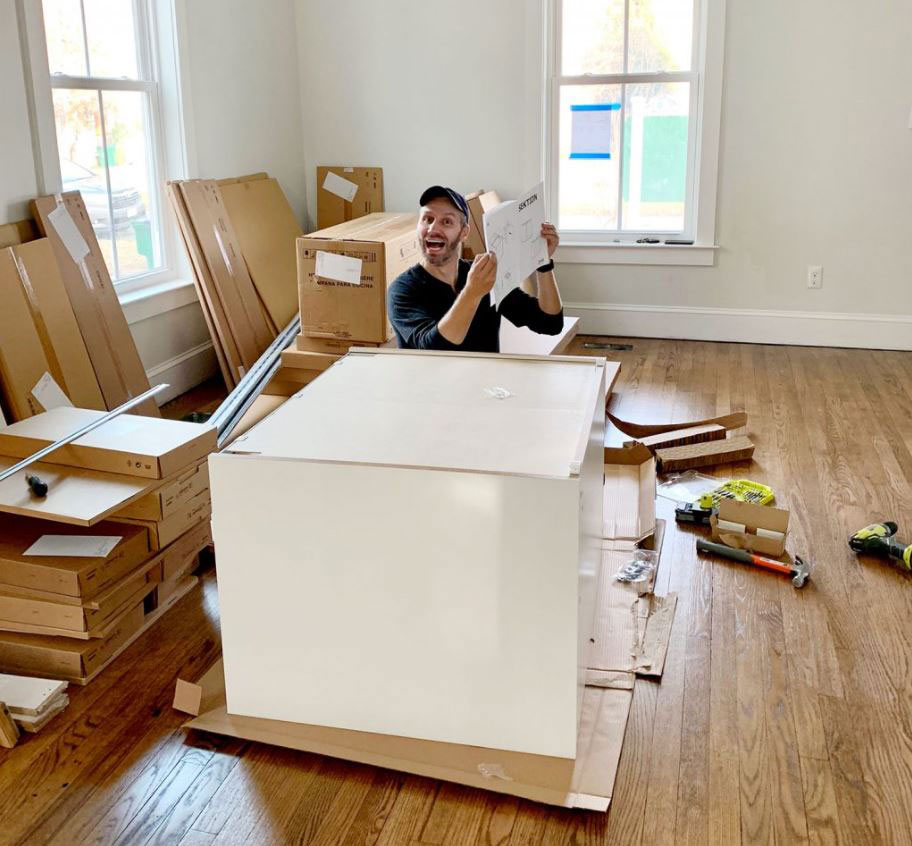
To that end, we also highly recommend using professional drawings. At IKD, our design package includes detailed elevation and floor plans that you can use for installation.
We do this through our streamlined online design process that is designed (no pun intended!) to guide you to think clearly about what’s really important about your kitchen. We can’t stress this enough.
Assess Your Skills
Are you ready to DIY? To assess your skills, but really assess them? Do you have the proper tools? Do you have the patience and organizational skills needed?
If the answer is no, then you really are better off collaborating with a professional installer familiar with IKEA cabinetry. We’ve even got a list on our Web site here.

If you’re ready, then consider some words of wisdom from IKD customers who have completed their DIY kitchens. For instance, make sure you measure properly; complete your priority checklist; avoid moving large items like electrical and plumbing; and make YouTube your best friend (for how-to videos on cabinet installation).
And if you get stuck, of course, listen to the experts!
Use IKEA FIXA Drill Template
I know we said five tips, bu there’s a bonus tip: Use the IKEA FIXA drill template when you begin your DIY installation; especially when installing pulls and knobs. It assures the project will be level and virtually foolproof. Read our dedicated article to learn how to use the IKEA FIXA drill template. You can thank us later.
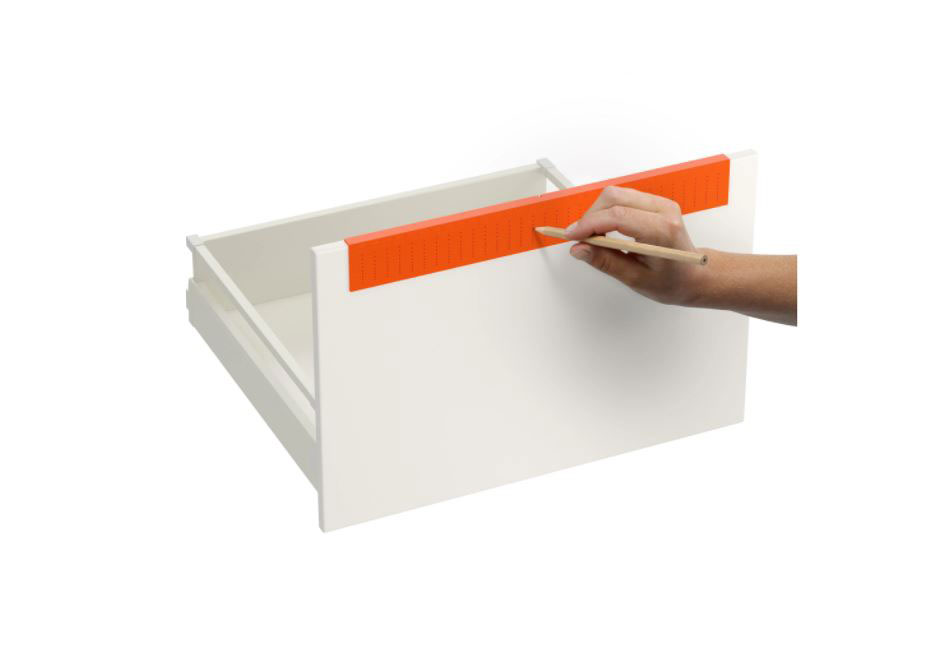
** Image from the IKEA website (https://www.ikea.com/us/en/)
Remember: IKD can help you get started with your IKEA design project. We assure you that if you follow these IKEA installation tips, your project will go much more smoothly — and be much more successful!
Get a Professional IKEA Kitchen Design – All Online
Work with our certified kitchen designers to get a personalized kitchen designed around your needs and vision. If you’re interested in learning more about our service, make sure to check out our IKEA Kitchen Design Services.


