How the right IKEA kitchen products rejuvenated an outdated condo kitchen
If you’re an IKEA customer with modern tastes whose looking to remodel your outdated kitchen and not sure where to start, look no further. Maybe your kitchen layout is inefficient and the space is underutilized. Maybe it needs to provide more workflow even for one individual. Or maybe you have visions of a seamless, custom style that provides unique character while also proving plenty of practical kitchen storage solutions. For Casey from Oakland, CA, these were the issues she was facing when she purchased a one-bedroom condo for herself and needed kitchen design assistance.
“I bought this condo and it needed a lot of work. This was a full-kitchen remodel in a small condo and the original kitchen dated back to 1974. It really needed to be rethought from the ground up. Everything, including the original old cabinets and appliances, were removed. I also had the popcorn ceilings removed and retextured and the kitchen peninsula was removed as well,” Casey says.
After doing online research on HOUZZ, Casey found IKD. Working with IKD designer Javier, Casey requested three design wishes for her IKEA kitchen remodel: An open and airy kitchen layout; a large, deep sink and a floor-to-ceiling pantry to maximize the 96″(H) ceiling. So the design team combined IKEA’s SEKTION kitchen cabinet system with IKEA’s ASKERSUND cabinets and IKEA VEDDINGE in white for the upper cabinets along with IKEA MAXIMERA drawers for ample storage options.
Casey explains: “My biggest concern was the layout. In a small space, I needed to follow the rules like keeping the dishwasher near the sink, making sure the sink and stove weren’t too close to the walls, and leaving enough space between counters so two people could easily do the ‘kitchen dance.’ Beyond that, I worried about the kitchen feeling cluttered. I wanted the counters to stay clean, which meant finding smart places to tuck away essentials like the coffeemaker and microwave.”
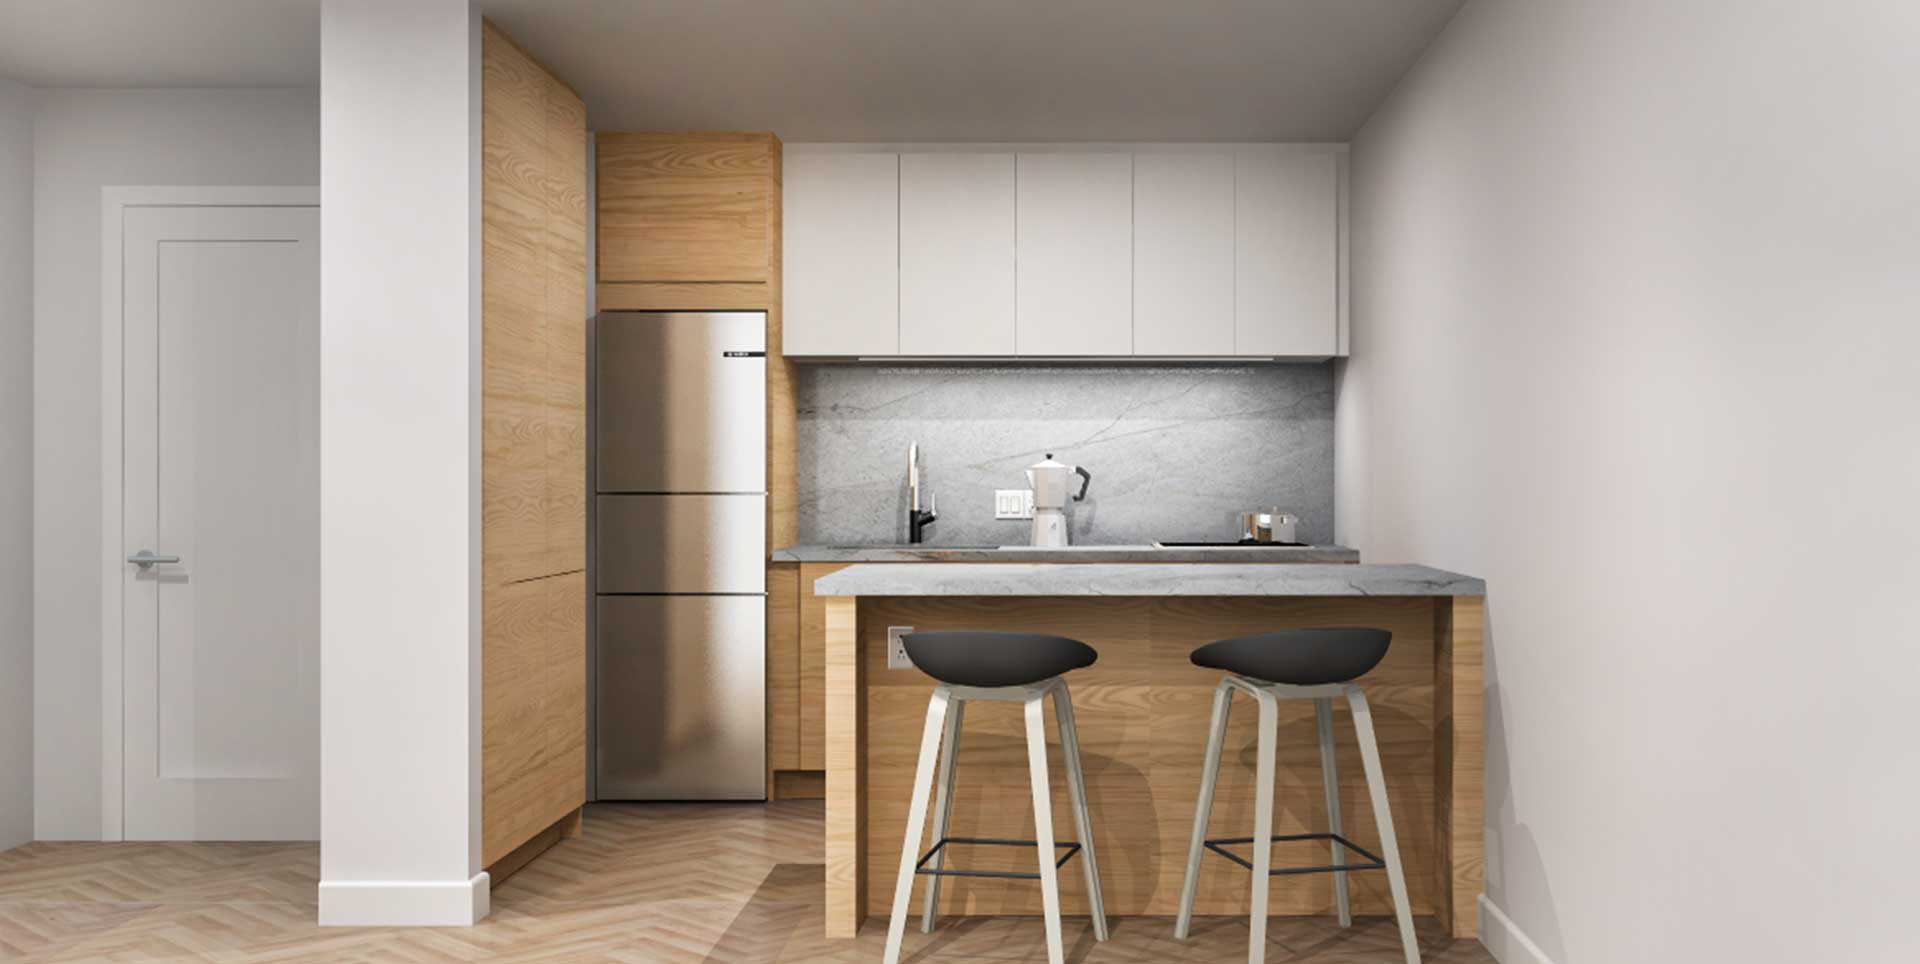
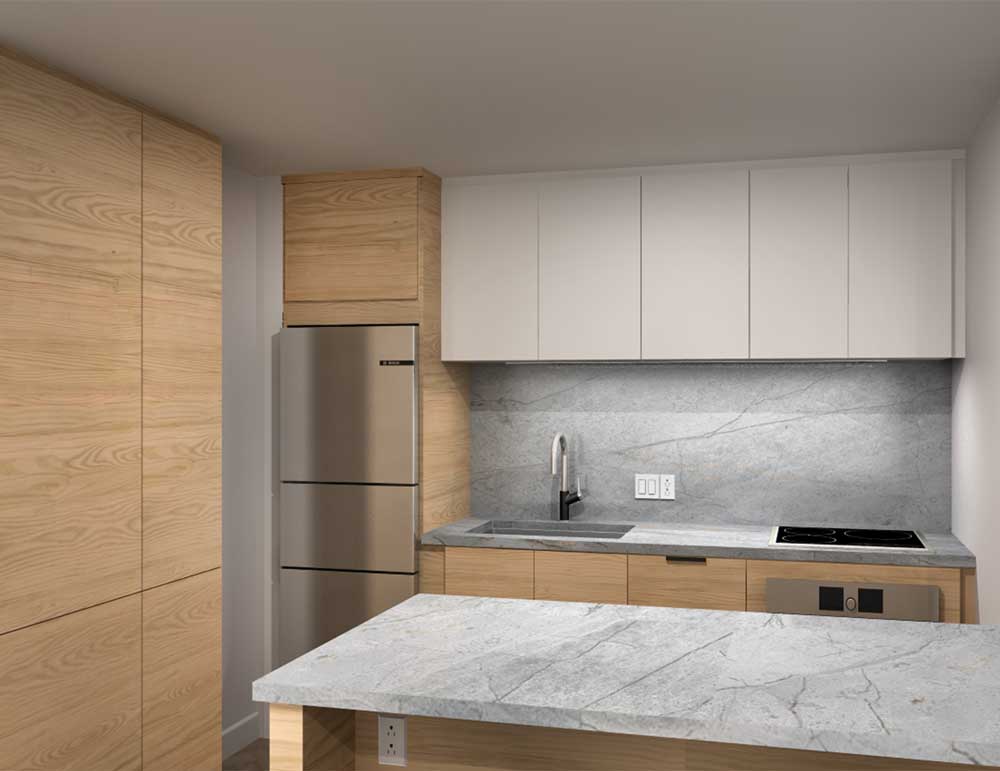
Casey had IKD’s design team relocate the appliances to the back wall, which created a large open peninsula area “that looks out through floor-to-ceiling glass doors to sweeping views of the city.” Casey also chose smaller, European-style appliances that make the kitchen feel more spacious as well. This includes a stainless steel GE 24” counter-depth bottom-freezer; a Blanco 25″ undermount stainless steel sink; a Lowe’s pull-out faucet; a Bosch 18″ dishwasher and a Bosch 500 Series 24″ stove, among others.

She adds: “One of my favorite details is the hidden coffee cabinet when we recessed the pantry into the wall. My electrician added outlets inside so the coffeemaker and grinder could stay plugged in but also out of sight.”
And Casey accomplished all this with an IKEA items list total of $4,094.95 (including $461.90 for her IKEA Extra Items list). Combined with the installation costs of approximately $4,000 and she was able to achieve her entire space within budget.
“My kitchen has a modern feel with warm wood tones and a clean, minimal layout. The IKEA ASKERSUND cabinets add natural texture, while the IKEA VEDDINGE uppers keep everything bright and airy. The quartzite countertops pair beautifully with the wood, bringing natural depth and a mix of warm and cool tones that I think create balance throughout the space,” he concludes.
Let’s take a look at how Casey’s IKEA kitchen came together!
Working with IKD
While Casey had originally used IKEA’s Home Planner design software to explore ideas, she also wanted to ensure her vision was realized.
“I chose IKD’s design service because this was a big purchase and I wanted to be sure it would actually work out. I worried there might be some key kitchen considerations I was missing and I wanted to see if the experts could bring in new ideas or a smarter layout.”
She concludes: “I shopped around a lot and visited other cabinet stores but it often felt chaotic and could’ve gotten really expensive. The IKEA process felt very approachable. With the IKEA installation option, it offered a complete package that made the decision easy. I also really enjoyed being able to play around with the IKEA Home Planner design software. The prices were great, and when I found a cabinet style and color that matched my favorite design inspiration photos, I knew it was the right choice.”
Built-in Obstacles
Since her kitchen was in a condo, Casey — and her existing space — didn’t have much wiggle room.
“The hardest part of this kitchen design was figuring out where to place the appliances. The plumbing couldn’t be moved because it had to line up with the units above and below, and the stove vent also had to stay fixed since it exhausts outside. I wanted the design to feel open and bright, but I also needed to maximize storage. I also needed smart storage for essentials like the coffeemaker and microwave while keeping the counter space clear,” she explains.
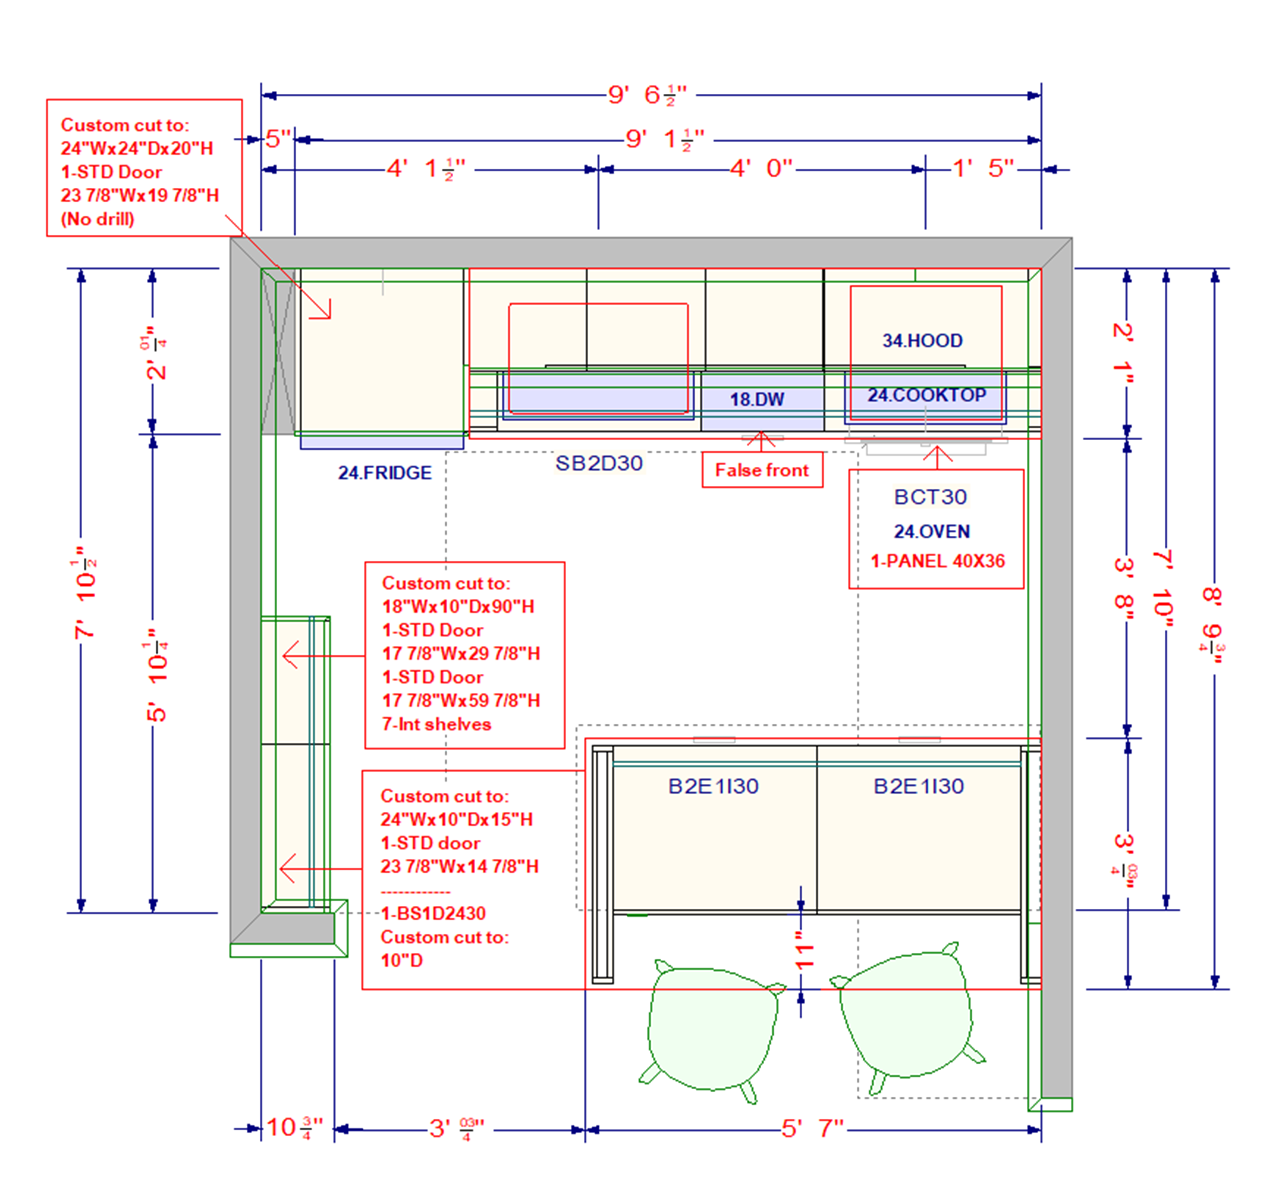
The kitchen layout’s west wall was the only wall that could be manipulated during the remodel since it was not a load-bearing wall. It also included an outdated heater facing the living room that was able to be removed.
Design wishes
Casey wanted an open, airy space, as well as a large deep sink and a floor-to-ceiling pantry.
First the design team removed the refrigerator from the original island and used smaller appliances along the back wall to open up the space. This included the 25″ Blanco sink and pull-out faucet as well as the stainless steel GE hood which measures 34″(W)x20″(D)x30″(H).
“Small sinks always make a kitchen feel cramped to me, so I prioritized having a wide and deep sink over a larger stove and the trade-off was absolutely worth it. The larger sink makes the kitchen feel both more spacious and is really functional,” Casey describes.
The internal sink cabinet size measures 28-½”(W)x22″(D).
Storage was also a must, and Casey wanted a wall of pantry storage that looked and felt built-in.
To make it work, the IKD design team opened up the west wall so the pantry could be recessed while still leaving a 36″ walkway. This created a slight projection that tucks the refrigerator into the corner establishing a seamless design element with clean lines.
IKEA Cabinet Choice
Casey selected IKEA’S ASKERSUND complemented with IKEA VEDDINGE cabinets in white for the upper cabinetry.
“I chose IKEA’s ASKERSUND because I loved the light, yet warm wood tones it offers. It adds texture without feeling heavy. To balance it, I chose VEDDINGE for the uppers, which keeps the space bright and clean,” Casey says.
The design team ran the uppers as a single line of 30″ cabinets all the way to the ceiling. That left 30” of space from the countertop to the bottom of the cabinets. Originally, Casey feared the cabinet placement might feel too high, but the extra clearance kept the back workspace open and bright, she says.
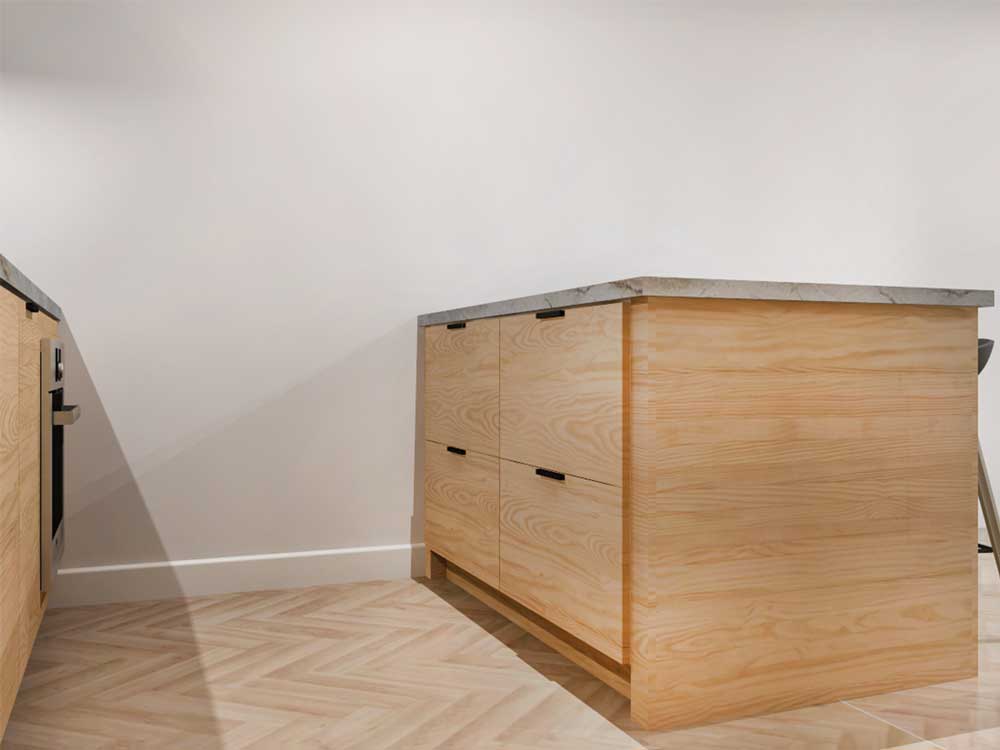
For the base cabinets, it was all about uniformity. The island and pantry both have rows of 15″ IKEA MAXIMERA drawers offering extra storage. On the sink wall, a 36″ cabinet allowed for the 9″(D) Blanco 25″(W) undermount stainless steel sink, giving Casey more flexibility when prepping and cleaning up meals. He also adds that the 18″ cabinet doors align with the 18″ paneled dishwasher giving the space a consistent, uncluttered feel. Other IKEA items featured include IKEA UTRUSTA shelves in white; UTRUSTA hinge with built-in damper; IKEA FORBATTRA cover strip and fasteners in white; an IKEA FORBATTRA toe kick; and a galvanized IKEA FIXA countertop support fixture.
IKEA Cabinet Hacks
Casey’s kitchen also required some custom IKEA cabinet modifications, otherwise known as IKEA cabinet “hacks”.
“I had a 6.5″ gap next to the stove and oven and didn’t want to waste it with a filler piece. So we cut down a regular base cabinet and door to create a slim 4-5″ cabinet that now holds all my cutting boards. It is one of my favorite features,” she says.
Next was addressing kitchen storage and the need for a floor-to-ceiling pantry. Originally, the pantry was too deep for the space. So the design team recessed the pantry into the wall and custom cut the shelving to 24″(W)x10″(D)x15″(H) and the base cabinets for the pantry were custom cut to 10″(D). This solved the storage issue and created a built-in look as well.
Lastly, Casey wanted to store her microwave above the refrigerator. Although IKEA didn’t have the right kitchen cabinet in stock, Javier modified a base cabinet by cutting it to the desired height and adding a panel on top. In the end, a custom cabinet measuring 24″(W) x 24″(D) x 20″(H) was created, giving the design a seamless, built-in appearance.
Appliance Selections
Casey also had particular taste when it came to her appliance selections for her IKEA kitchen.
“My appliance choices were inspired by my time living in New York and Europe, where smaller, high-quality appliances are the norm. Even in households that cook a lot, compact appliances work beautifully. In my condo, they make the kitchen feel intentional and efficient rather than cramped,” Casey explains.
Regarding her choice of the GE 24″ counter-depth bottom-freezer, Casey says the freezer drawers on the bottom are easy to organize. And in regard to the Bosch 18″ dishwasher, she says “it’s compact but powerful, and for a one-bedroom condo it’s perfect.”
Other appliances he chose include the Bosch 500 Series 24″ three-burner induction cooktop in black, as well as the Bosch 24″ Wall Oven.
The design theme is completed by the quartzite countertops from Natural Stone in Berkeley, CA, which provide the natural stone aesthetic and green tones he wanted.
Parting Advice
After the success of her IKEA kitchen remodel, Casey offers some parting advice for others planning to remodel their kitchen using IKEA cabinets.
“I would talk to everyone you know who’s remodeled a kitchen. Ask them what they love about their kitchen design and what they wish they’d done differently. Those small insights are huge. One piece of advice is to choose drawers over lower cabinets when possible. They hold more, they’re easier to access, and they keep everything better organized.”
She concludes: “I spent hours on Houzz and Pinterest, exploring possibilities and thinking carefully about flow, light, and storage. In the end, the most rewarding part was finding the balance between efficiency and a calm, cohesive aesthetic.”
As you can see, even the most outdated layout can be transformed into a modern and efficient IKEA kitchen. If you’re ready to update your kitchen then our design team is here to guide you. We will provide kitchen design assistance that incorporates your vision and features IKEA cabinets to create a space that reflects your tastes. Let’s get started!
Get a Professional IKEA Kitchen Design – All Online
Work with our certified kitchen designers to get a personalized kitchen designed around your needs and vision. If you’re interested in learning more about our service, make sure to check out our IKEA Kitchen Design Services.


IKD Past Projects
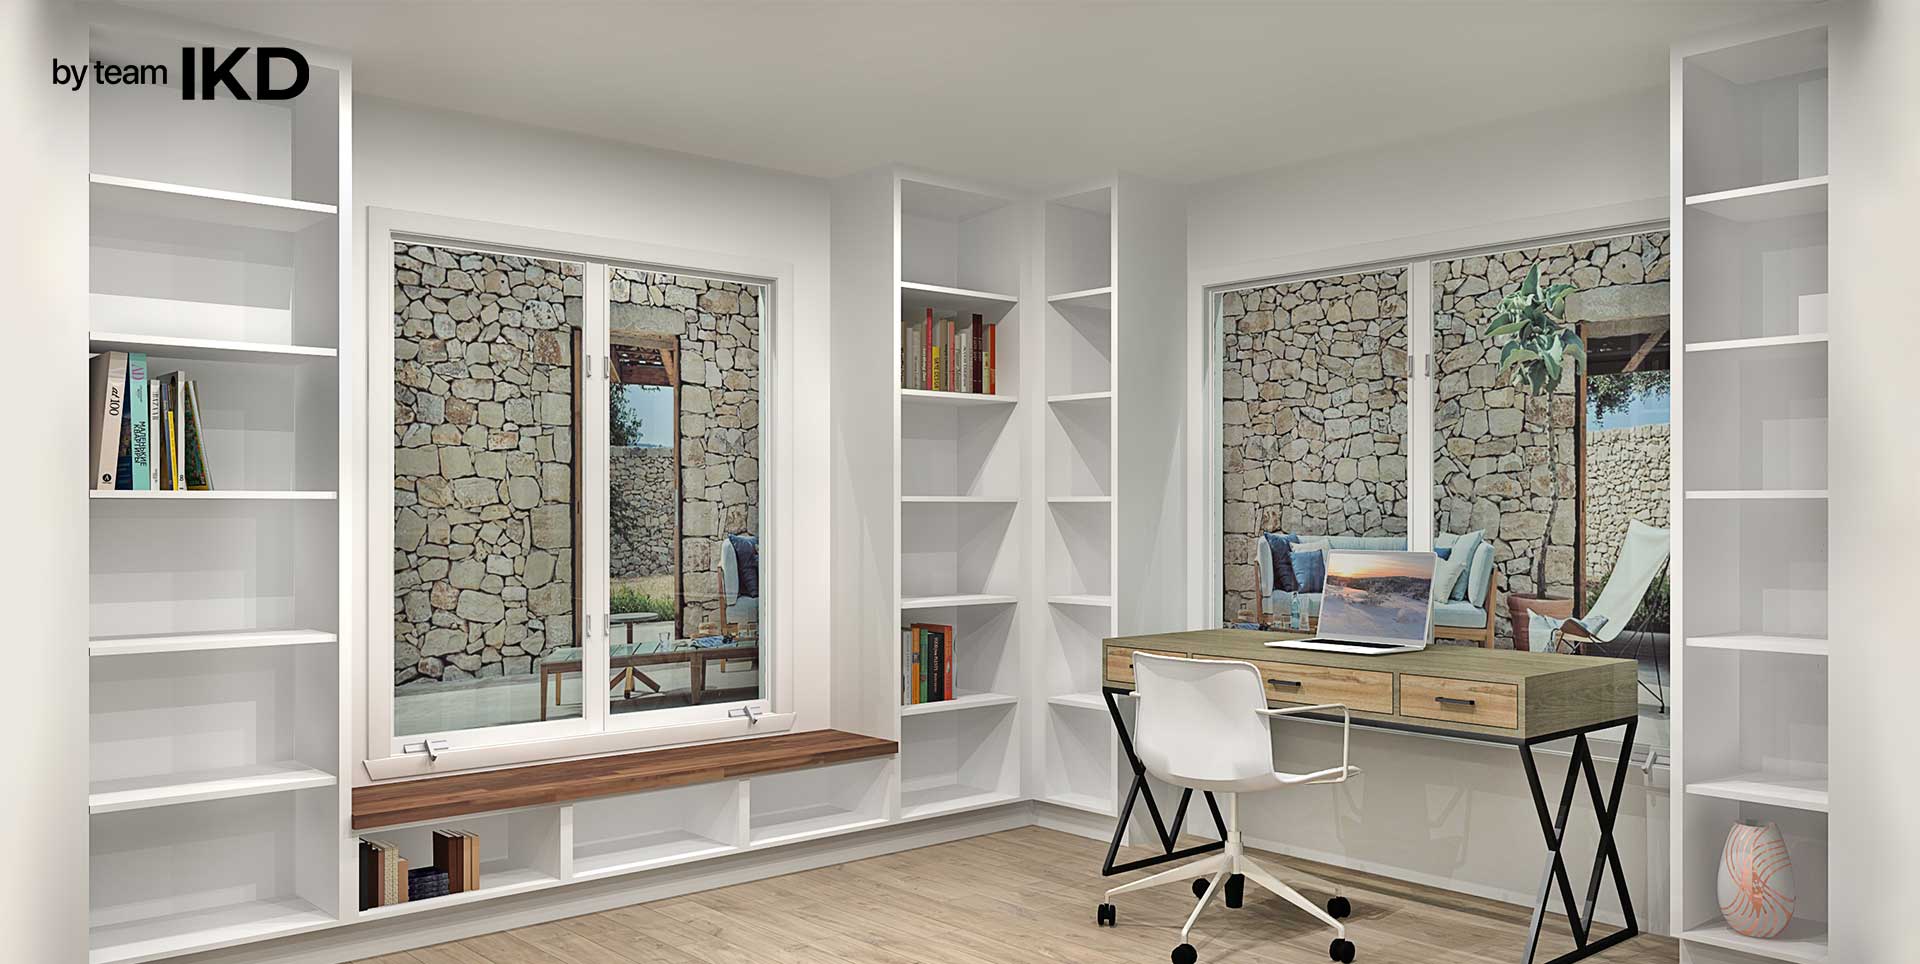
Transforming a Cluttered Storage Space Into a Modern Office Library
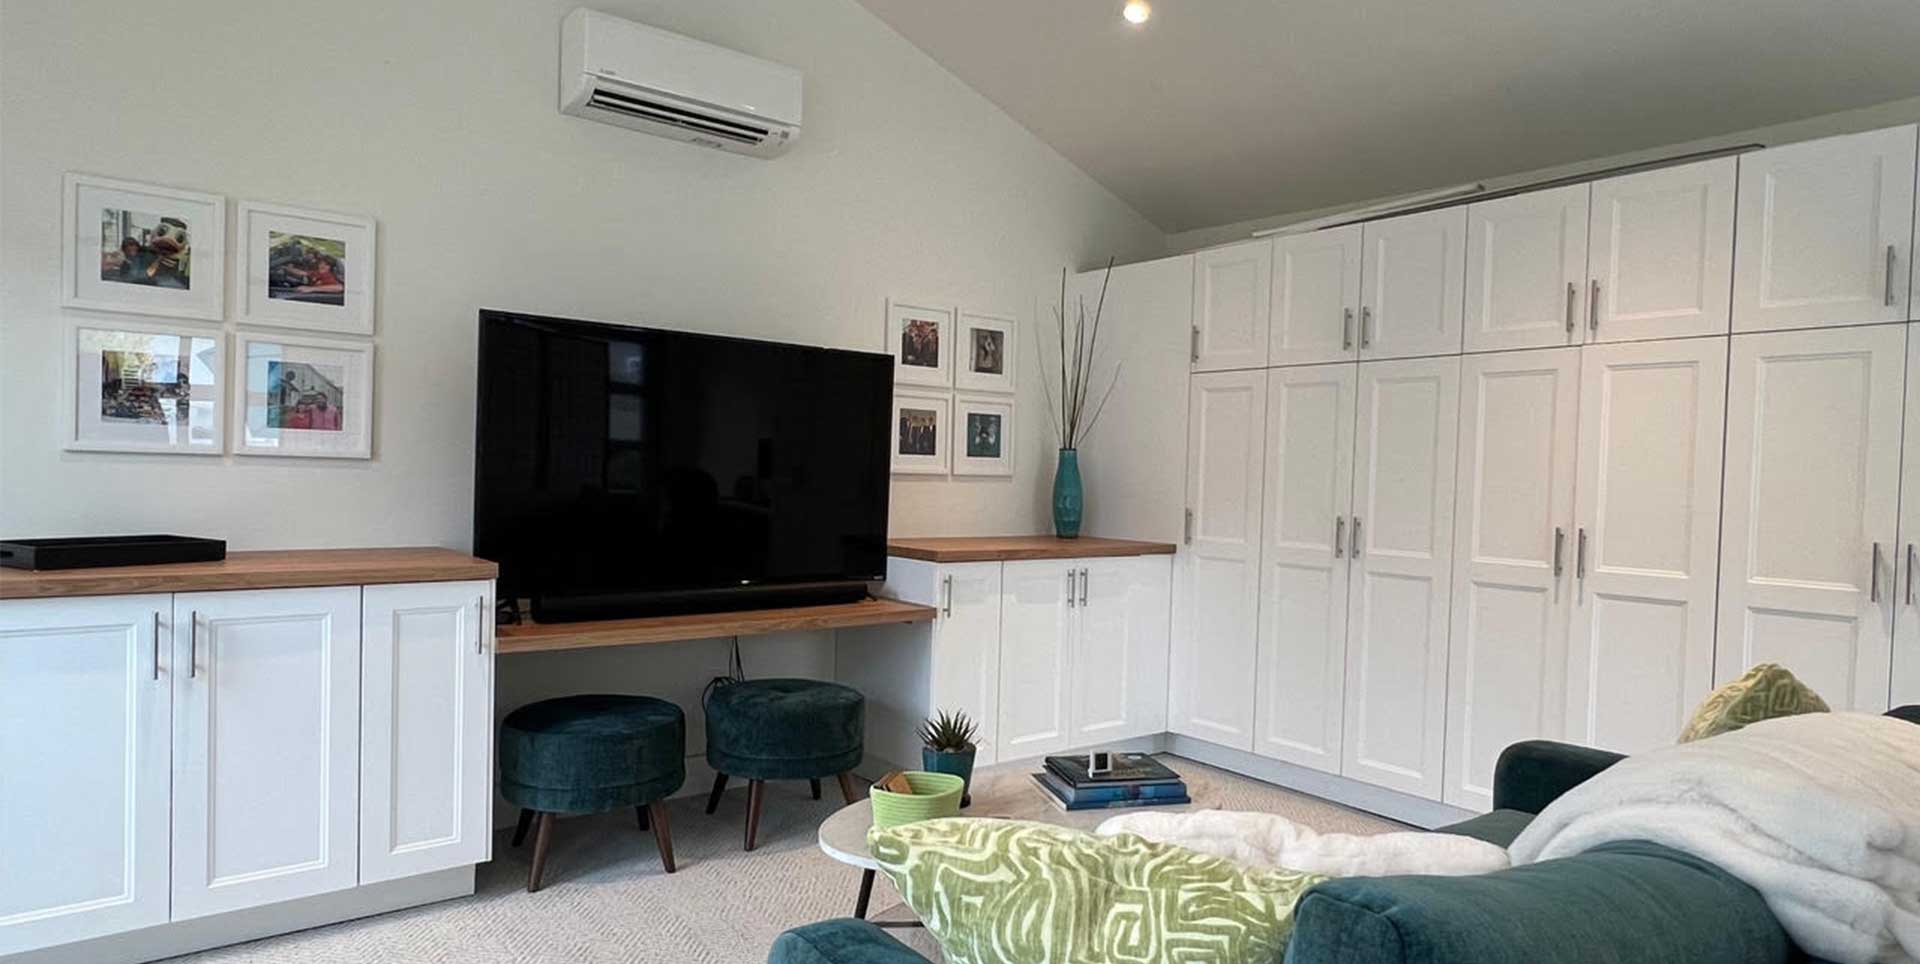
IKEA Laundry Room & Garage Remodel in Burbank, California
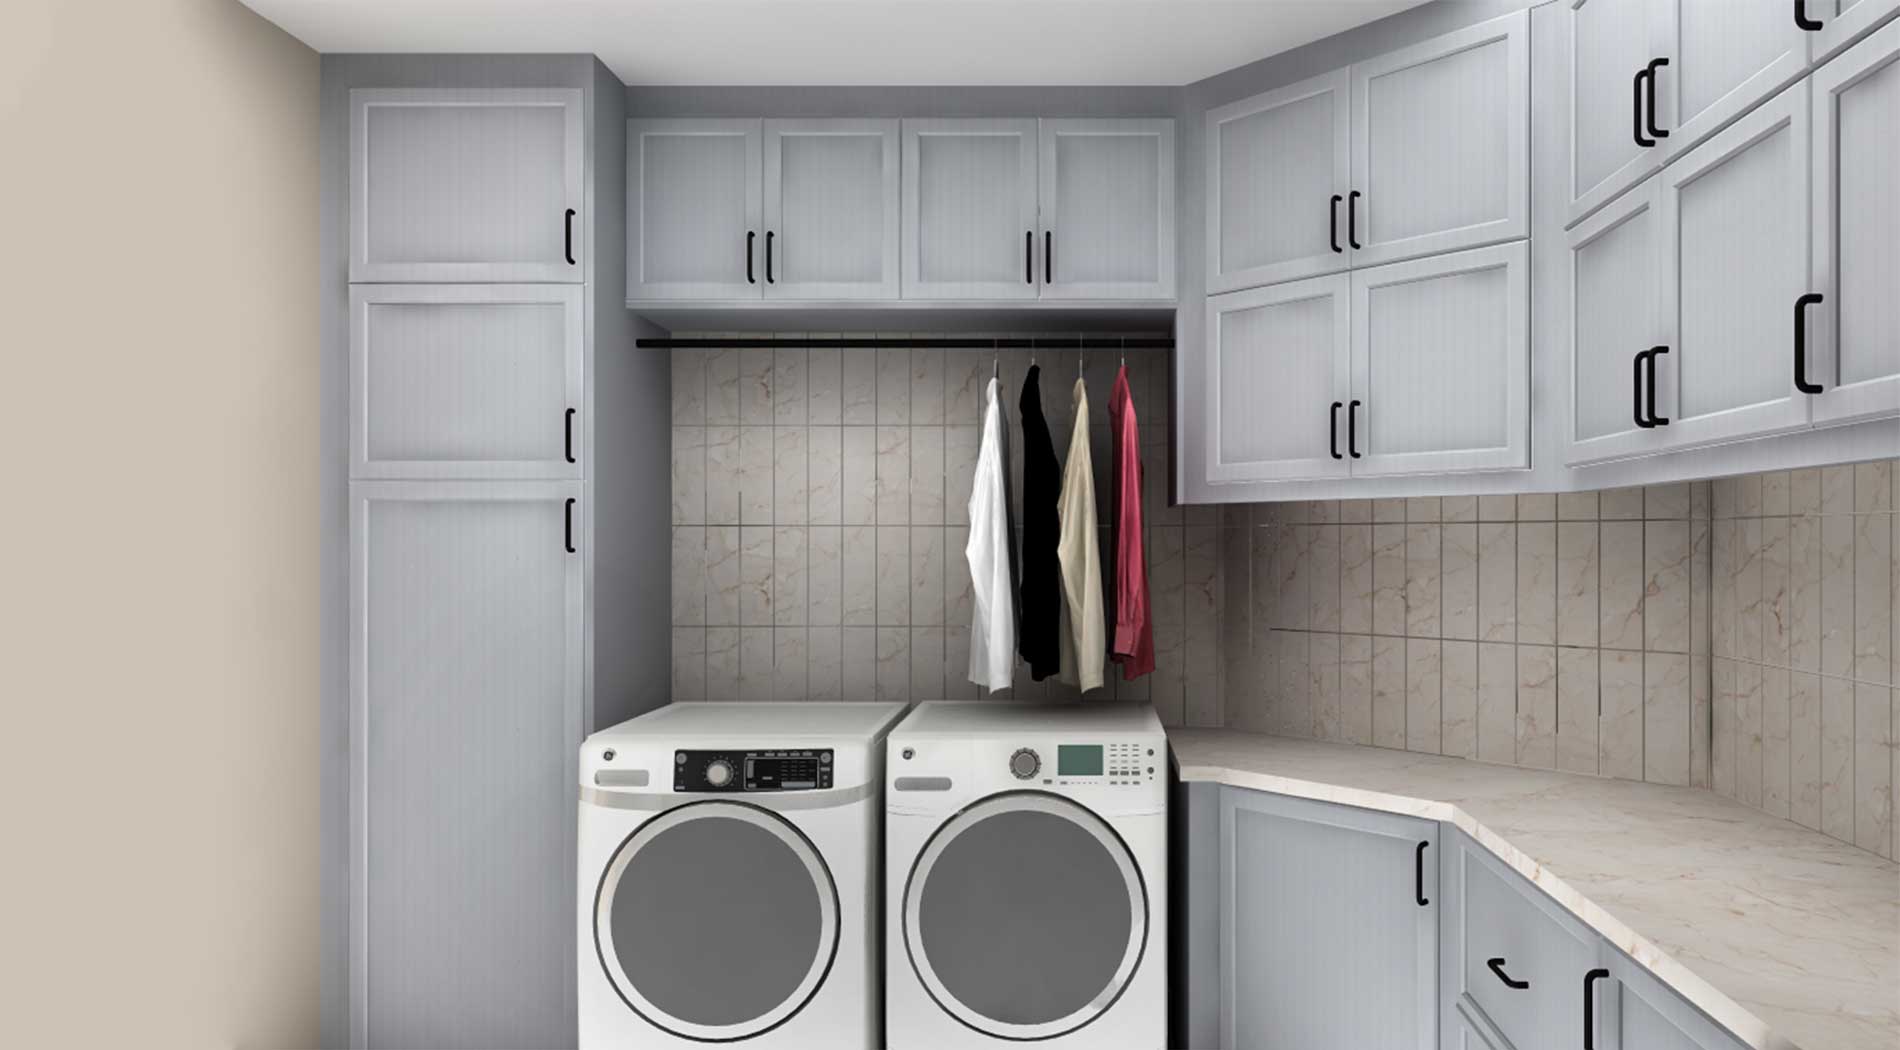
IKEA Laundry Room Uses Customized IKEA Cabinets to Overcome Design Challenges

IKEA Wardrobe & Mudroom Design in Australia | IKD Case Study

This family of five modernized their IKEA kitchen area
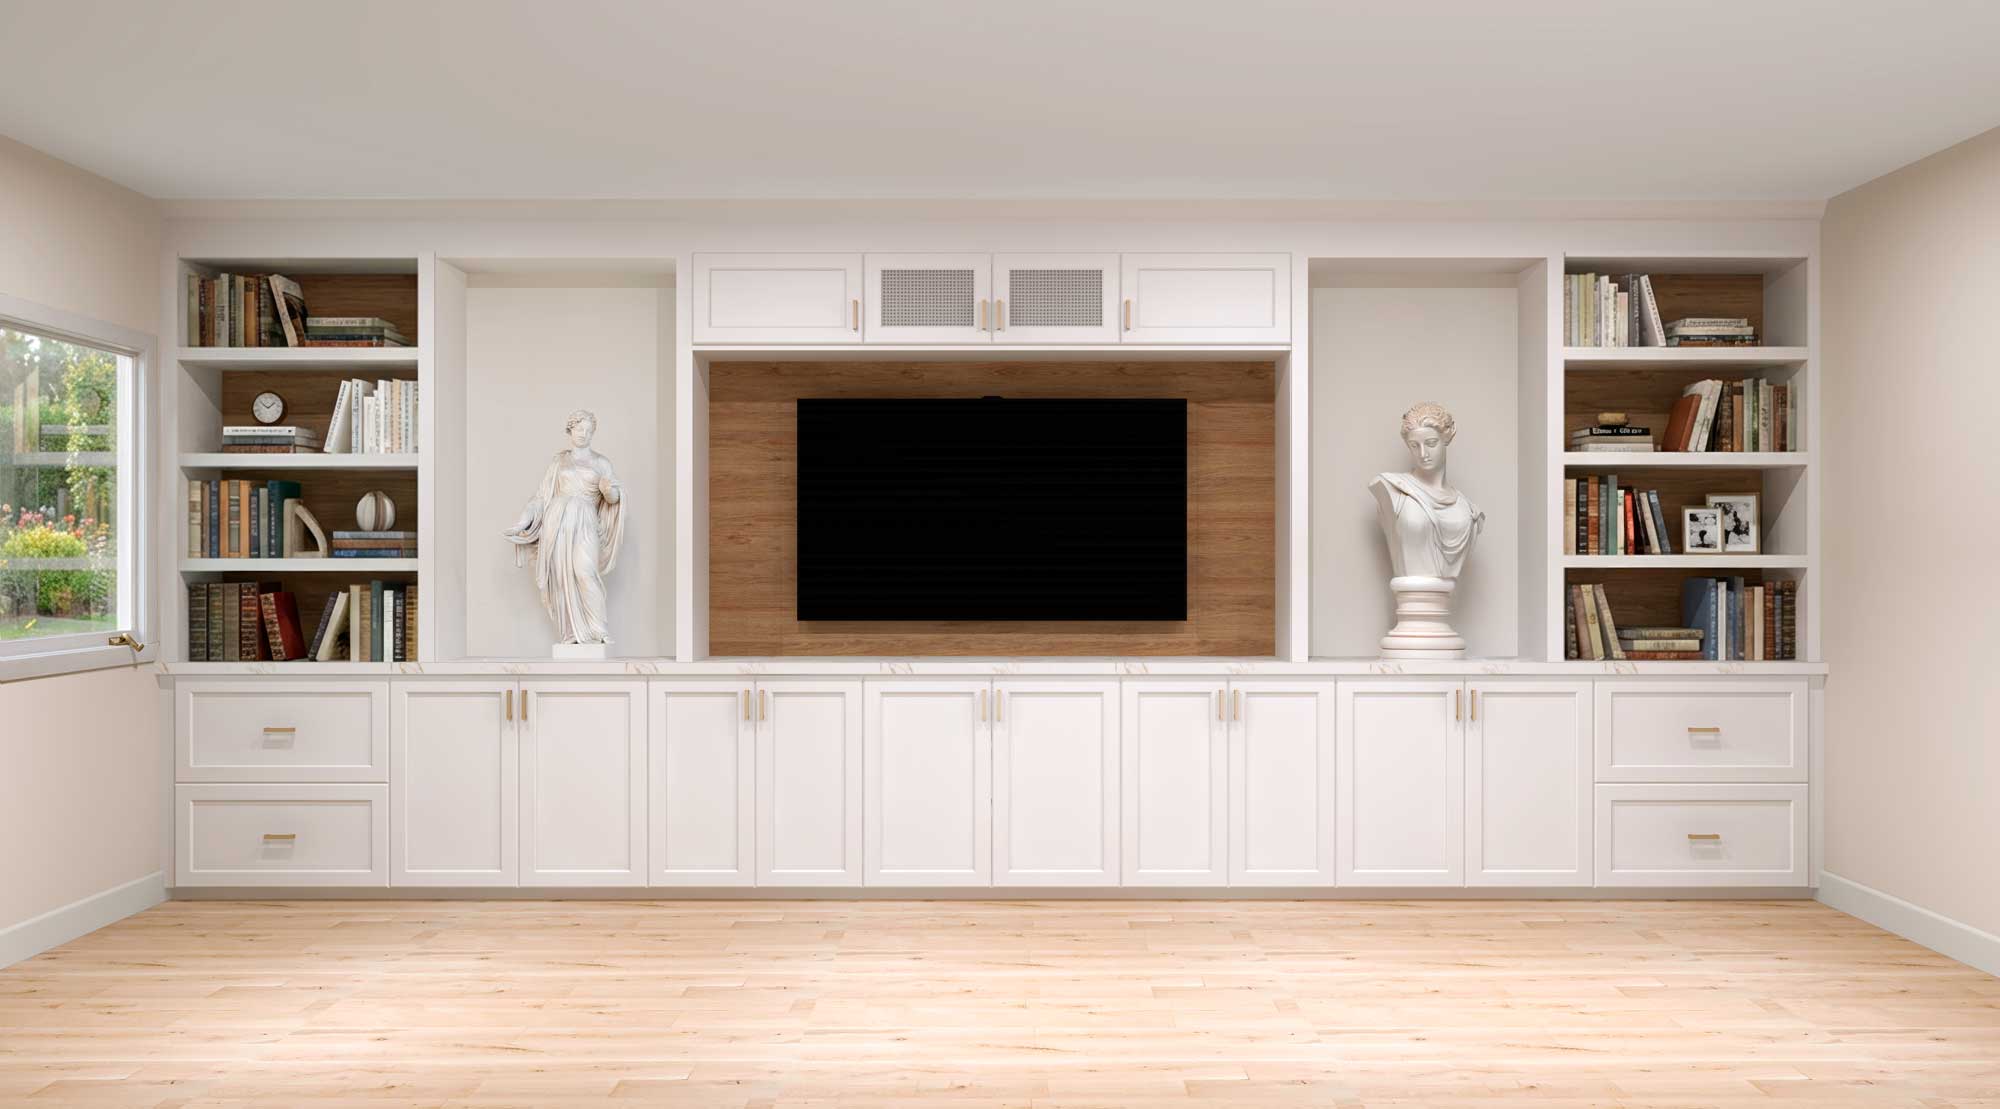
Concealed Comfort: A Custom IKD Media & Bar Design