
Taking the best photos of your IKEA kitchen is a snap
You and your camera are IKD’s window into what your kitchen really looks like and what we’re
reallyworking with for your kitchen redesign. The more we know about your kitchen, the better. Great photos lead to a great design.
You don’t even need a fancy camera to take the kind of great photos we need. You can take them with your smartphone.
So what makes for great photos? Wonder no more. We’ve got you covered.
Tip #1: remember, these are “before” photos
What we mean is, you don’t need to send us glamour shots! You know, the photos you take for your realtor so he or she can sell your home. They make prospective buyers want to buy your home.
Instead, don’t be afraid to show us your kitchen along with its warts.
Tip #2: take photos of your kitchen during the day
Natural light makes for the best photos. To take advantage of the natural light of your kitchen, you need to think about:
-
Windows
-
Doors
-
Time of day
Light will come in through windows and doors. Even if you have a fairly dark living space like I do. Pay attention to the time of day when natural light seems bright enough for clear photos, but not so bright that you get a glare or overexposure.
Tip #3: pretend you’ve landed on mars
You’ve heard of the cocktail party effect, right? It describes a person’s ability to listen to only one person talking despite the noise of the party around them.
Focus has a lot to do with this. Similarly, in our kitchens, we become so focused on what we do in the kitchen that we can forget what it really looks like!
Pretend for a minute that you’ve landed on Mars. How would you take photos of this experience to show your family? Everything would be so new you’d notice and photograph every last detail.
Having this mindset can give you fresh eyes when considering and capturing the details of your kitchen.
Tip #4: turn like a clock
One way to make sure you catch all the details is to stand in the middle of your kitchen and turn like a clock. Face the sink and take a picture. That’s midnight. Then turn to three o’clock, six o’clock, and nine o’clock, taking photos of each section.
Make sure you can see from the floor to the ceiling in the photo; or take multiple photos.
Tip #5: don’t overlook the elements
With this tip you photograph the quirky details of your kitchen. Here’s a list of things to look for:
-
The heating source. Where’s the heat coming from? And where is it? One of our clients had their appliances and base cabinets on a platform. Underneath was a water-based heating system that ran underneath the appliances. A toe-kick would be a bad idea in this kitchen because it would seal off the heat.
-
Similarly, if you have central air conditioning, show us where the vent is in your kitchen.
-
Pipes, plumbing, and gas lines. Where are they and how big are they? Another one of our clients wanted a bigger kitchen sink with storage underneath. Then we discovered the huge pipe underneath the existing sink! Take photos of pipes even if they’re inside a cabinet.
-
Architectural details. Photograph the spot where hanging cabinets do (or don’t) meet the ceiling. Include beams, columns, soffits. We will build around these pieces.
It’s easy to take photographs for your IKD IKEA kitchen redesign. Buy our IKD design package today to get started on the kitchen of your dreams.
Have you gone through this process? What other tips would you recommend to our customers?
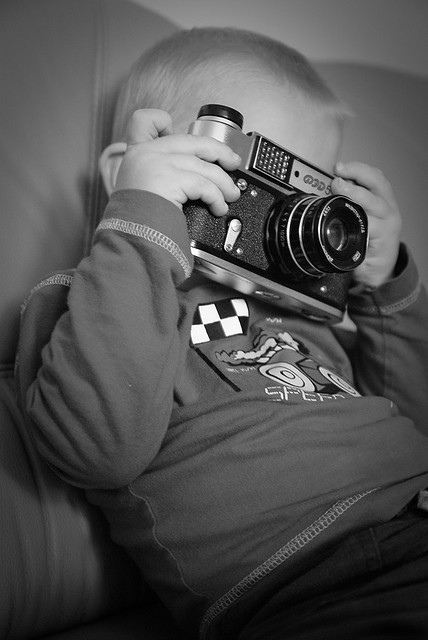
“Creative Commons Old camera in freshman’s hands” by Slawek Puklo is licensed under CC B 2.0
“Creative Commons clock” by Denis Mihailov is licensed under CC BY 2.0
“Storage Solutions”
Get a Professional IKEA Kitchen Design – All Online
Work with our certified kitchen designers to get a personalized kitchen designed around your needs and vision. If you’re interested in learning more about our service, make sure to check out our IKEA Kitchen Design Services.


