
What Is an Appliance Garage?
Small appliances can take up a lot of countertop space, and who has room for that? Certainly not our serious chefs who need the room for all the cooking and baking they do.
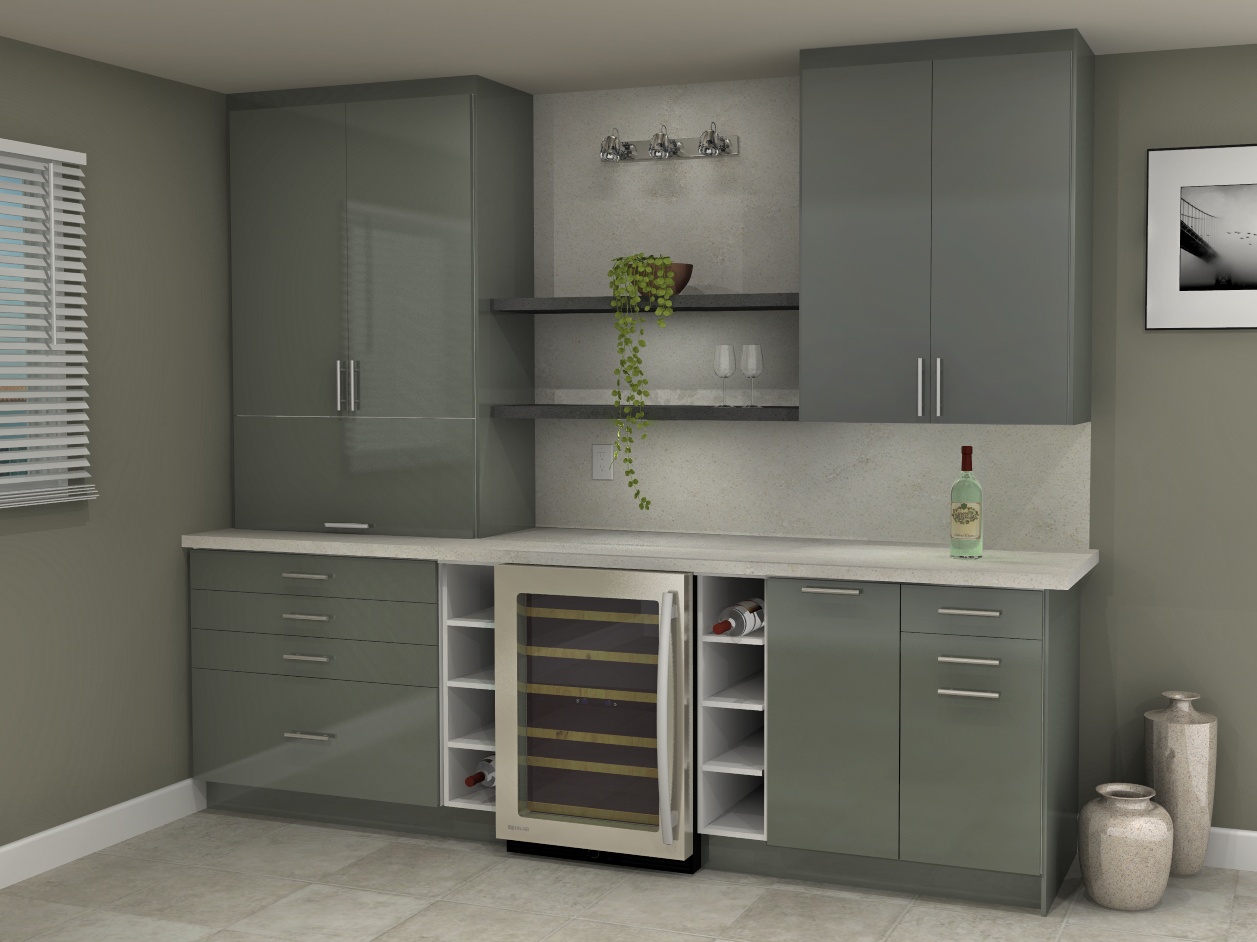
This is where an appliance garage can come in handy. It’s a special cabinet like the one you see above, and it’s built to house all of those useful items like toasters, blenders, food processors, stand mixers, you name it.
It’s ideal for small kitchens or if you’re simply looking to reduce clutter.
Sadly, IKEA’s kitchen line SEKTION does not include an out-of-the-box appliance garage the way the old kitchen line did.
But the demand is still there. We include a custom IKEA appliance garage in one of our customer’s kitchen designs at least once a week.
That fancy IKEA hack you see in the picture above? You don’t need to hunt down an old AVSIKT. Get it in your IKEA kitchen when you follow these steps.
Where Should You Put this IKEA Hack in Your Kitchen?
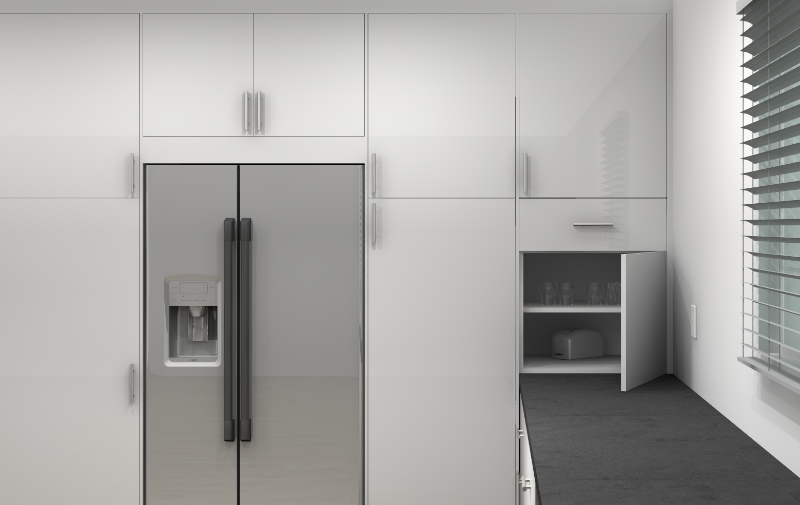
Appliance garages go great in kitchen corners. For example, we designed a custom IKEA appliance garage for one of our customers in their Italian-style kitchen remodel.
How to Make this IKEA Hack for an Appliance Garage
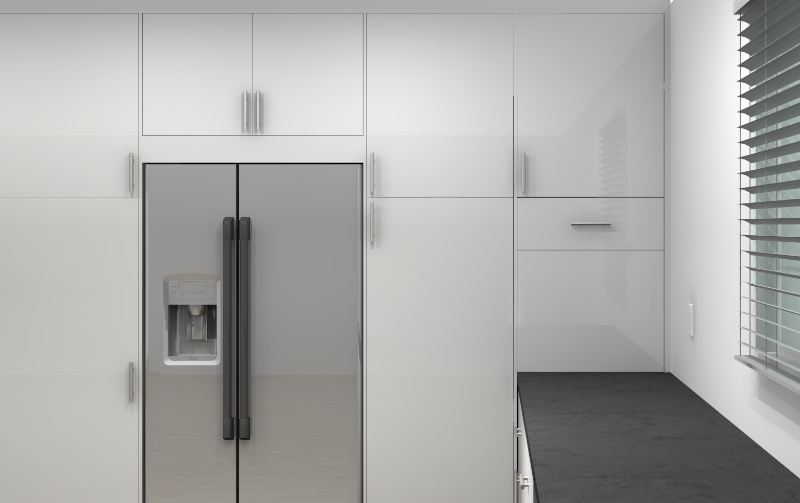
Our IKEA hack uses a tall pantry cabinet to make the appliance garage. It’s more cost efficient than stacking a lot of smaller cabinets.
You’ll take a pantry cabinet that’s 80″ high and cut it down to 58.5” high. Why that particular height? Because that’s exactly the space we have from the countertop to the top of the wall cabinets, assuming your kitchen ceiling is the standard 96” height.
Of course, this could change if your particular kitchen countertop is thicker than most, or if your ceiling is lower.
We always recommend measuring the cabinet surface from the top of the wall cabinet to make sure you cut the cabinet down to the right height.
Then you’ll want to think about how to divide up the remaining space for storage. Our hack assumes that you will use standard IKEA doors and parts. That’s why we divided the appliance garage into two shelving areas with a drawer in the middle.
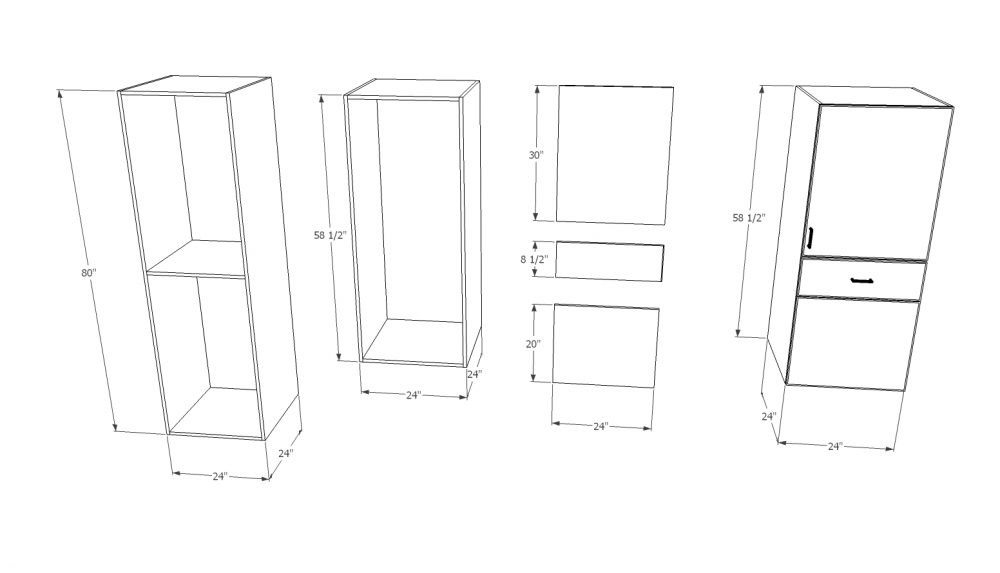
The second-from-the-right image shows the three door sizes you’ll need. The 30” and 20” doors are actual doors, but the 8.5” “door” is cut from a panel. Each of these doors is 24” wide because base cabinets are 24” deep.
Where two base cabinets meet at a corner is also a 24” by 24” space, and that’s why this IKEA kitchen hack is 24” by 24” too.
(Note: Of course, if you decide to use your own custom doors from Semihandmade or another provider, you wouldn’t have this problem. The door could be as high the space available from the counter to the top of the wall cabinets!)
We recommend using shelving for the 30” and 20” areas, and a drawer for the middle section. You’ll need to use a 5” high low MAXIMERA drawer. It will be small, but you could put spices, aluminum foil, plastic wraps, or small plastic food bags here.
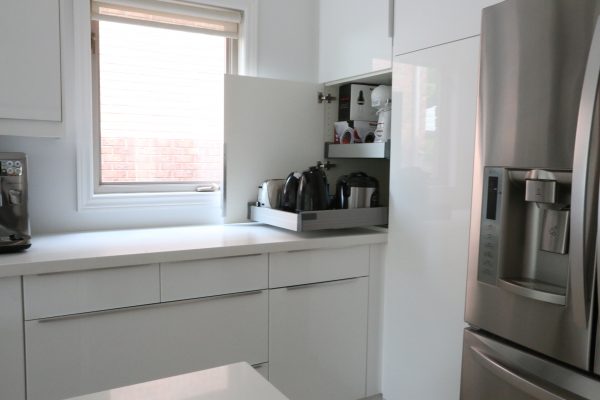
To make your appliance garage really functional, we recommend using lift-up hinges for the bottom door of your IKEA appliance garage.
This means the door won’t swing out, but will instead go straight up. You can see what this would look like in the custom microwave cabinet we designed for our client.
Please note: IKEA does not sell hinges like these, and you’ll have to purchase them separately.
List of what you’ll need:
- RINGHULT high-gloss gray SEKTION cabinet door, 24″ x 30″ (of course, you can do this with a different door style, too)
- RINGHULT high-gloss gray SEKTION cabinet door, 24″ x 20″
- UTRUSTA hinges 125° for the upper, 30″ door
- UTRUSTA door dampers for the upper, 30″ door
- Lift-up hinges for the bottom, 20″ door
Simple IKEA Appliance Garage Instructions
- Cut your pantry cabinet down to a 58.5” height.
- Take a piece of panel that matches your doors and cut the piece for the middle section. It will be 8.5” by 24.”
- Mount the cabinet frame on top of the counter and assemble the shelves and drawers however you want them.
- Cover any exposed cabinet sides from the bottom of the adjacent wall cabinets to the top, so your appliance garage hack looks finished.
Total Cost of this IKEA Appliance Garage
Remember, we used the more expensive RINGHULT doors in our example. If you choose different doors, this hack could actually be much less expensive!
- Take a piece of panel that matches your doors and cut the piece for the middle section. It will be 8.5” by 24.”
- Mount the cabinet frame on top of the counter and assemble the shelves and drawers however you want them.
- Cover any exposed cabinet sides from the bottom of the adjacent wall cabinets to the top, so your appliance garage hack looks finished.
Total Cost of this IKEA Kitchen Hack
Remember, we used the more expensive RINGHULT doors in our example. If you choose different doors, this hack could actually be much less expensive!
| IKEA Item | Cost |
|---|---|
| (1) SEKTION tall pantry frame; wood effect white; 24″W x 80″H x 24″D |
$125.00 |
| (1) RINGHULT door; high-gloss grey; 24″W x 30″H |
$164.00 |
| (1) RINGHULT door; high-gloss grey; 24″W x 20″H |
$168.00 |
| (2) UTRUSTA hinge; 2/pack |
$12.00 |
| (2) UTRUSTA door damper for hinge; 2/pack |
$12.00 |
| Grand total for this hack | $481.00 |
Note: Product availability, variations, and pricing may have changed from initial publication, and the above list does not include the cost of non-IKEA parts. Speak with our designers if you’d like a customized, ready-to-purchase product list for your IKEA kitchen.”
Get a Professional IKEA Kitchen Design – All Online
Work with our certified kitchen designers to get a personalized kitchen designed around your needs and vision. If you’re interested in learning more about our service, make sure to check out our IKEA Kitchen Design Services.


